
The 30 Worst Kitchen Gadgets Shoppers Say Weren’t Worth It
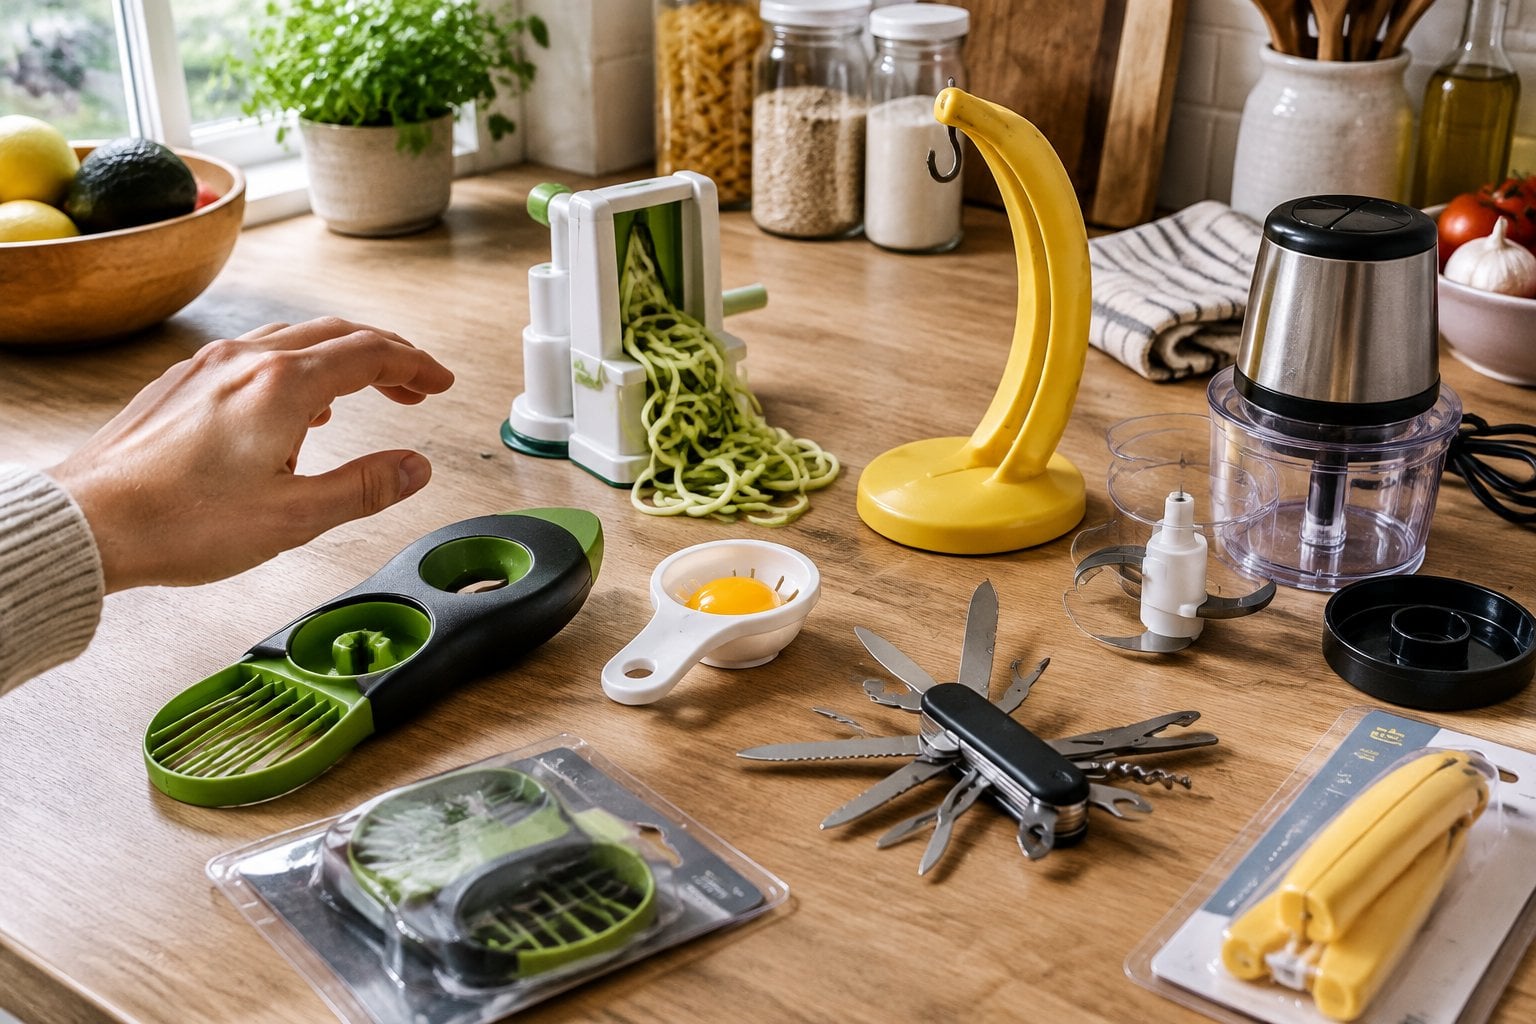
Every kitchen has one: the drawer where good intentions go to rest. Somewhere in there is a gadget that looked brilliant in the store, on a TV demonstration or in a holiday gift box, and got used exactly twice.
You’ve cooked through enough decades to know the pattern. A tool promises to save time, and then it takes ten minutes to wash, won’t fit the cupboard, or does one small job your paring knife has handled all along.
The 30 gadgets below come up again and again in shopper reviews, return complaints and kitchen testers’ notes. For each one, you’ll find what buyers say went wrong and what to use instead, which is usually something already in your kitchen.
1. Avocado slicer
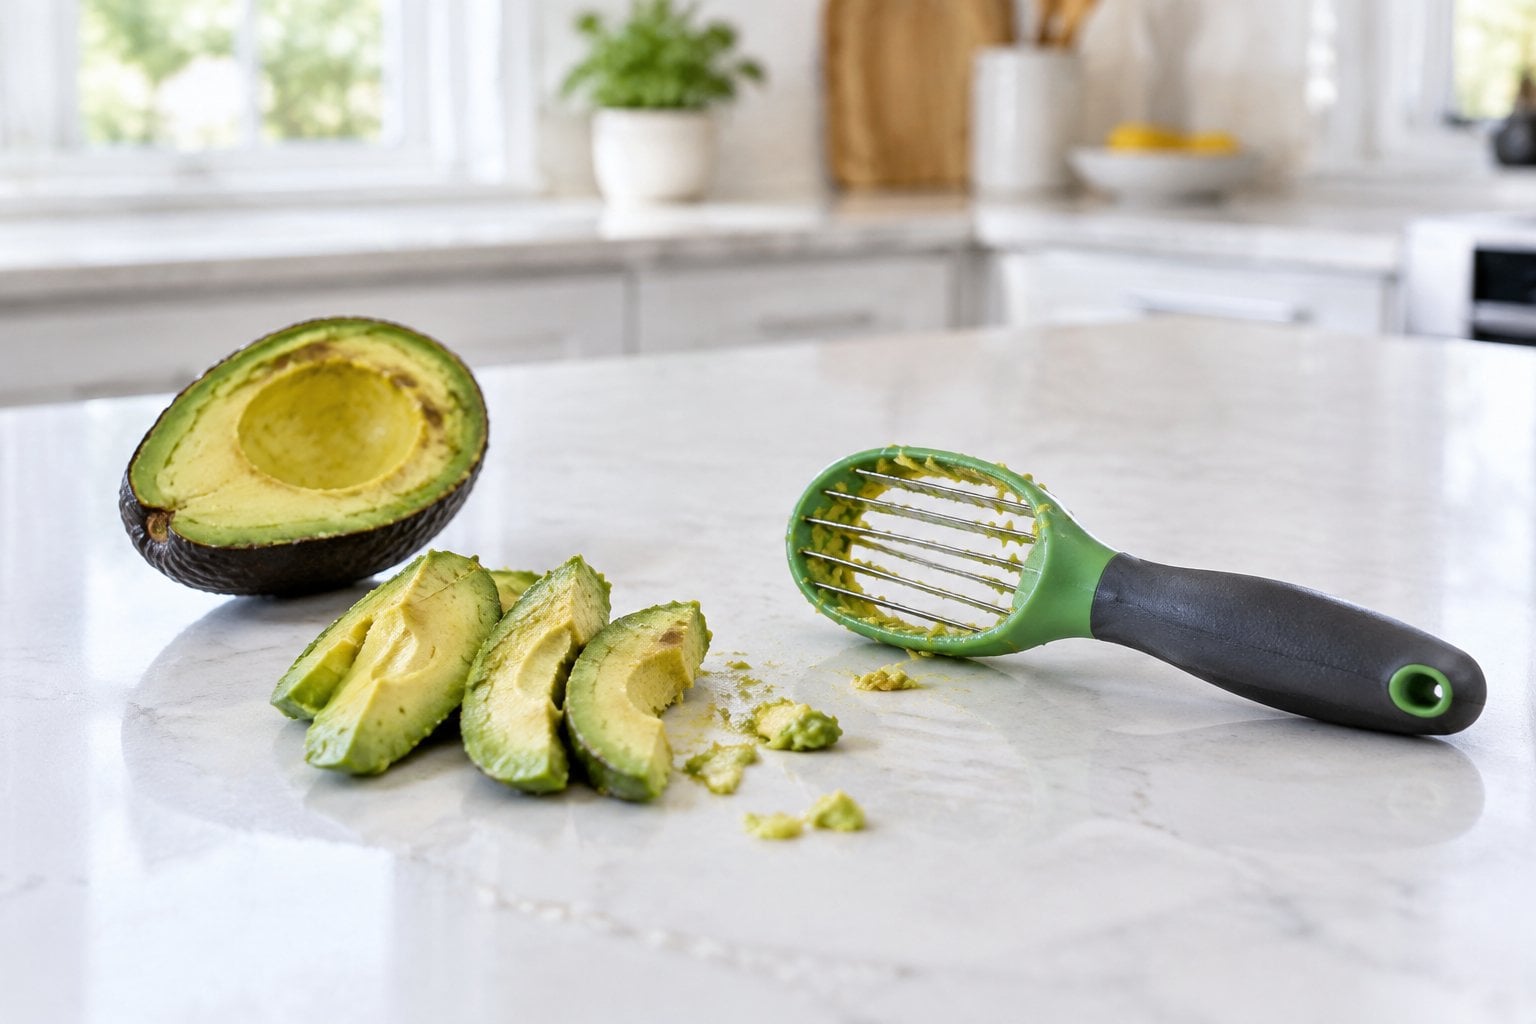
An avocado slicer usually packs three tools into one plastic gadget: a blade for splitting the fruit, a little scoop for the pit, and a row of wires for slicing. It looks clever hanging on the store hook. At home, it turns out to be picky.
Shoppers often say it only works when the avocado is perfectly ripe. A firm one won’t slice cleanly, a soft one turns to mush against the wires, and very small or very large avocados don’t fit the shape at all. Some reviewers also find the plastic blade too dull to get through the skin, so they reach for a knife anyway.
Cleanup is the other complaint. Green flesh packs into the gaps between the wires, and you end up scrubbing a gadget that saved you no time at all.
What to use instead: a paring knife and a spoon. Halve the avocado around the pit, twist the halves apart, score the flesh right in the skin, and scoop it out in neat slices.
2. Banana slicer
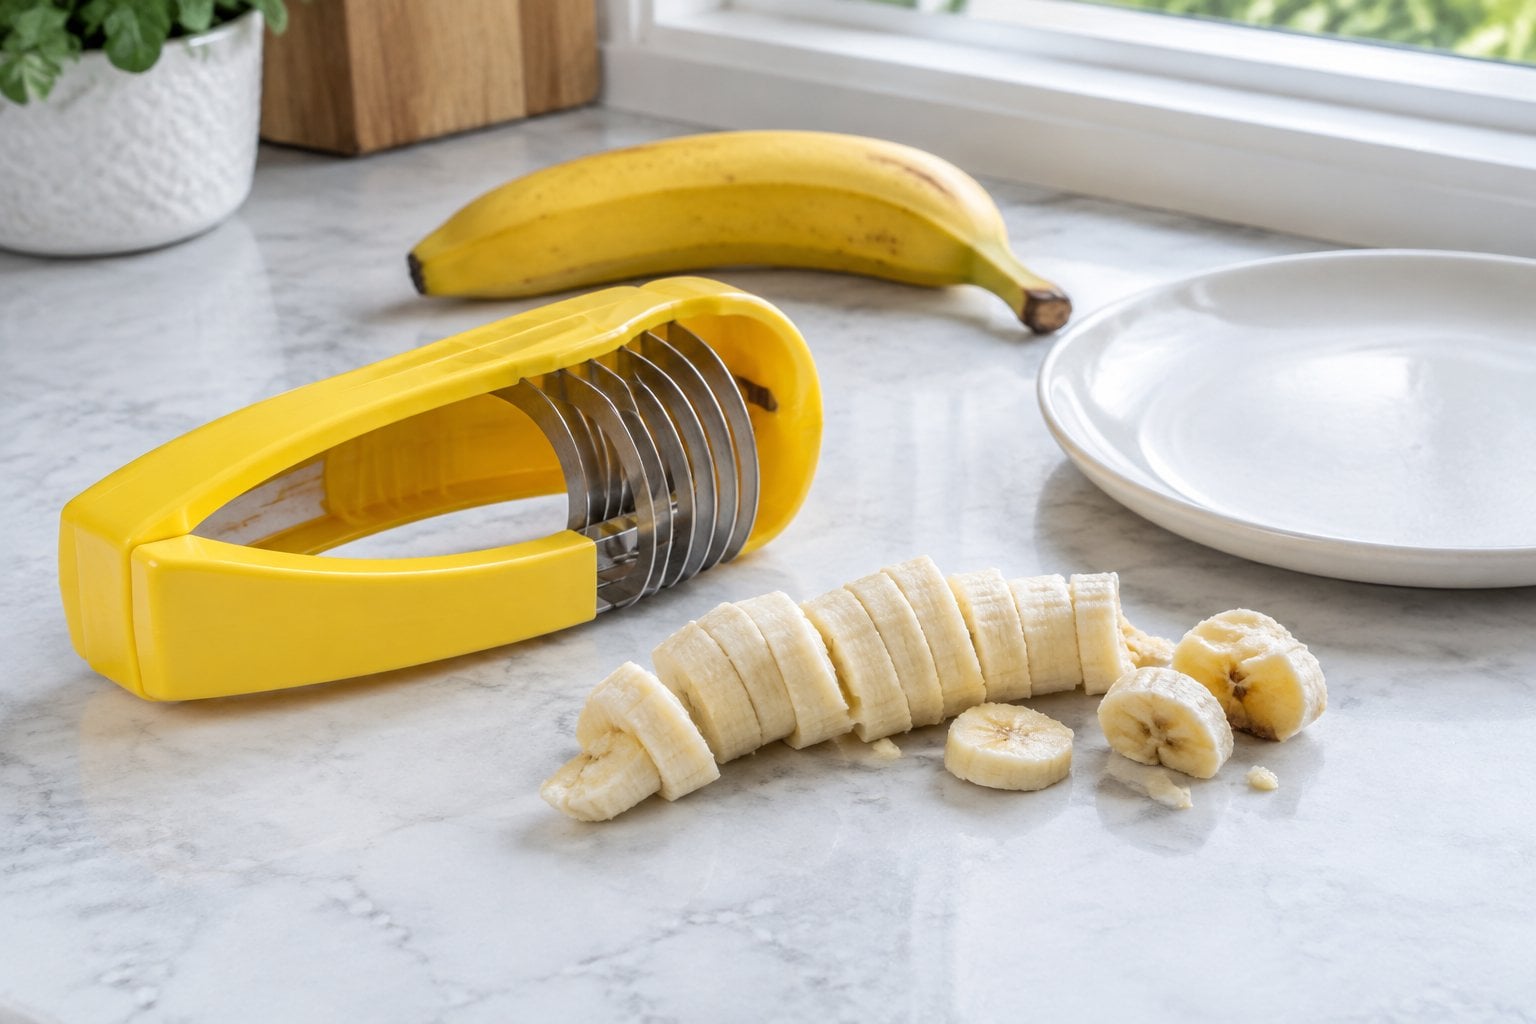
A banana slicer is a curved piece of plastic shaped like a banana, with a row of blades that cut a peeled one into rounds in a single press. It may be the most famous joke in the kitchen gadget aisle. Around 2012 and 2013, the Amazon page for one model, the Hutzler 571, filled up with thousands of tongue-in-cheek reviews, and newspapers and websites ran stories about them.
The joke works because the real problems are easy to see. Bananas don’t come in one shape, so a short or strongly curved banana gets squashed instead of sliced. A very ripe one smears between the blades. Then you have to clean banana out of a dozen narrow slots.
It also takes up a good chunk of drawer space for a job that takes about ten seconds.
What to use instead: a butter knife. Slice the banana on a plate, or right over the cereal bowl, and there’s one thing to rinse.
3. Strawberry huller
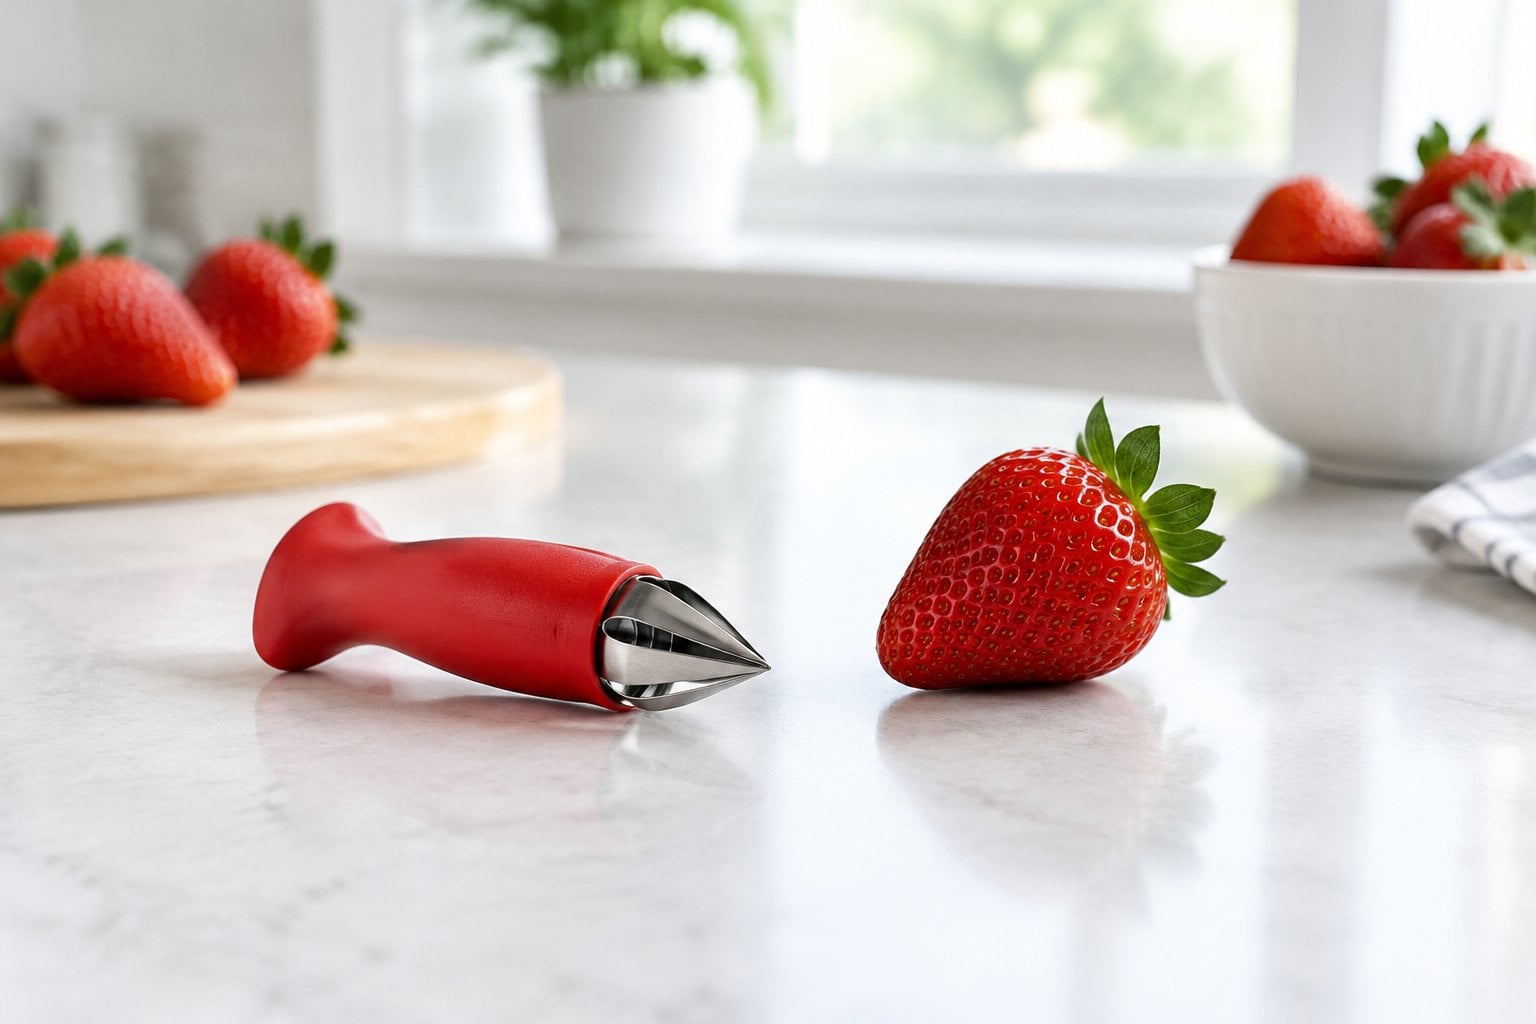
A strawberry huller looks like a little claw or a pair of tweezers, made to grab the green top and pull out the white core in one twist. When a quart of berries is waiting for the shortcake, it sounds like a real help.
Shoppers often report the opposite. The claw can take too much fruit with it and leave a big hole in the berry, or it misses the core and leaves the hard white part behind. Soft, ripe berries bruise or tear. Some hullers have thin metal teeth that bend after a season, and the spring-loaded ones can stick.
It’s also a tool you use a few weeks a year, which means it spends the rest of the year rattling around in a drawer.
What to use instead: a small paring knife. Slide the tip in at an angle around the stem and lift the core out in a little cone. Another trick many cooks swear by is pushing a sturdy drinking straw up through the bottom of the berry and out through the top.
4. Egg separator
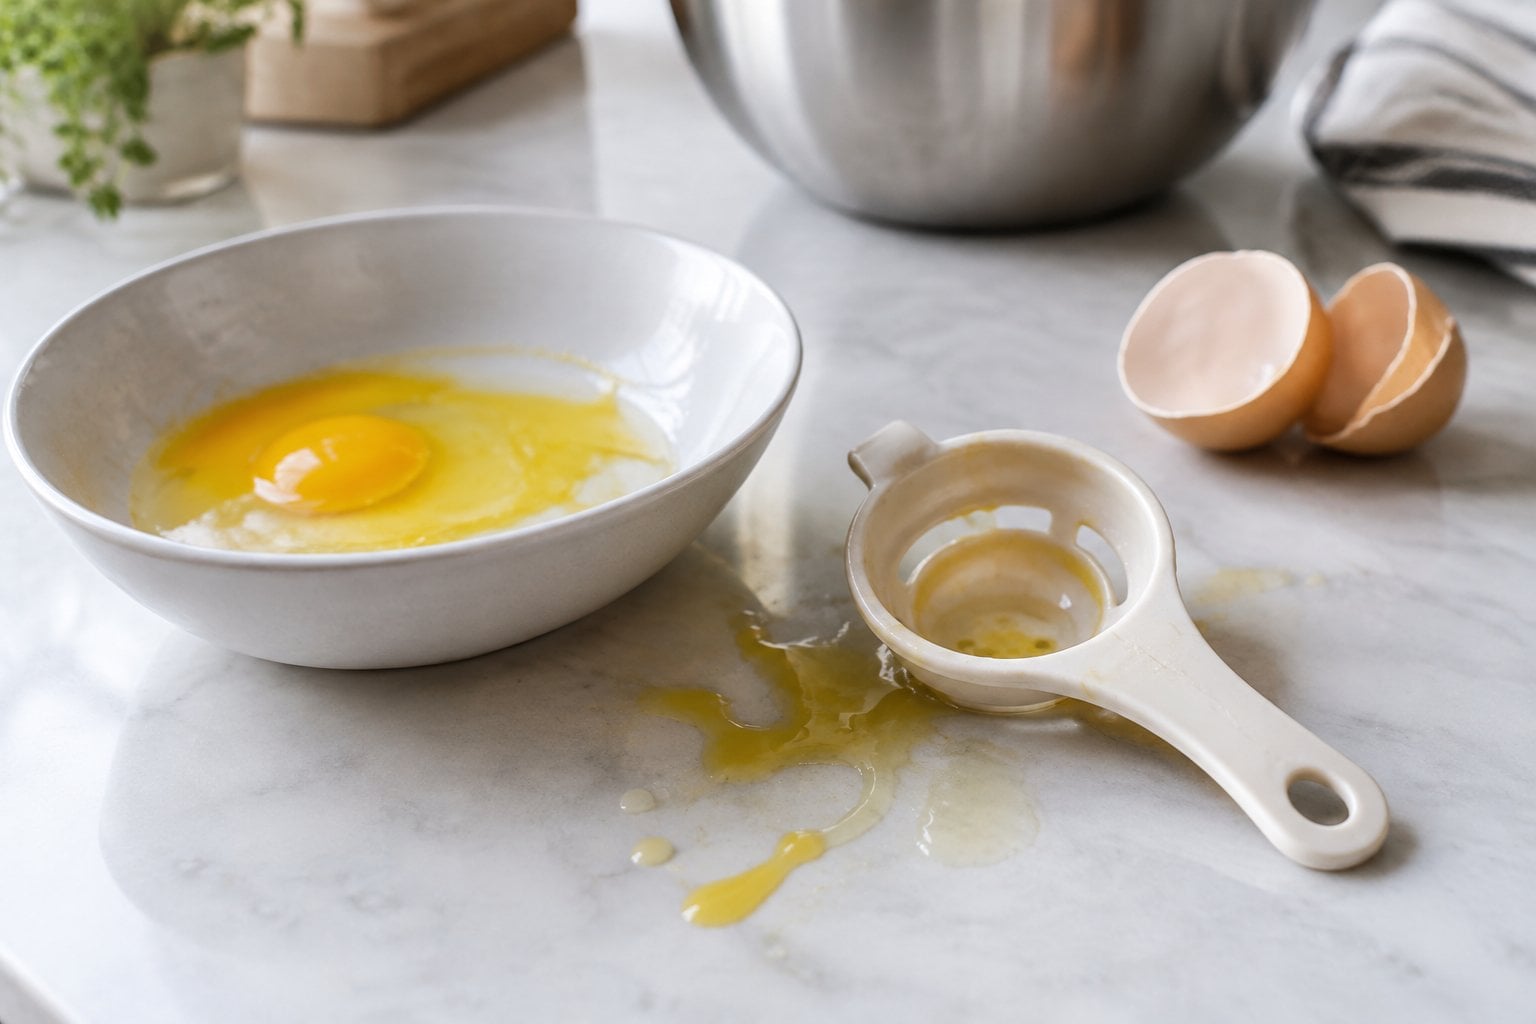
An egg separator is a small cup with slots that sits over a bowl. You crack the egg in, the white slips through the slots, and the yolk stays behind. It’s a simple idea, and the plastic versions are cheap, which is how so many ended up in kitchen drawers.
The trouble is that egg whites are thick and clingy. Shoppers often report that the white hangs onto the yolk and won’t drain, so they end up shaking the gadget or poking at it. Some yolks break on the way in, which spoils the whites if you’re making meringue. The narrow slots also catch dried egg, and raw egg isn’t something you want left in a gadget.
You’ve likely been separating eggs for years without one.
What to use instead: the shell itself. Crack the egg cleanly and tip the yolk back and forth between the two halves over a bowl. Or crack it into a clean hand and let the white slip through your fingers. Cold eggs separate more easily, so work with them straight from the refrigerator.
5. Cherry pitter
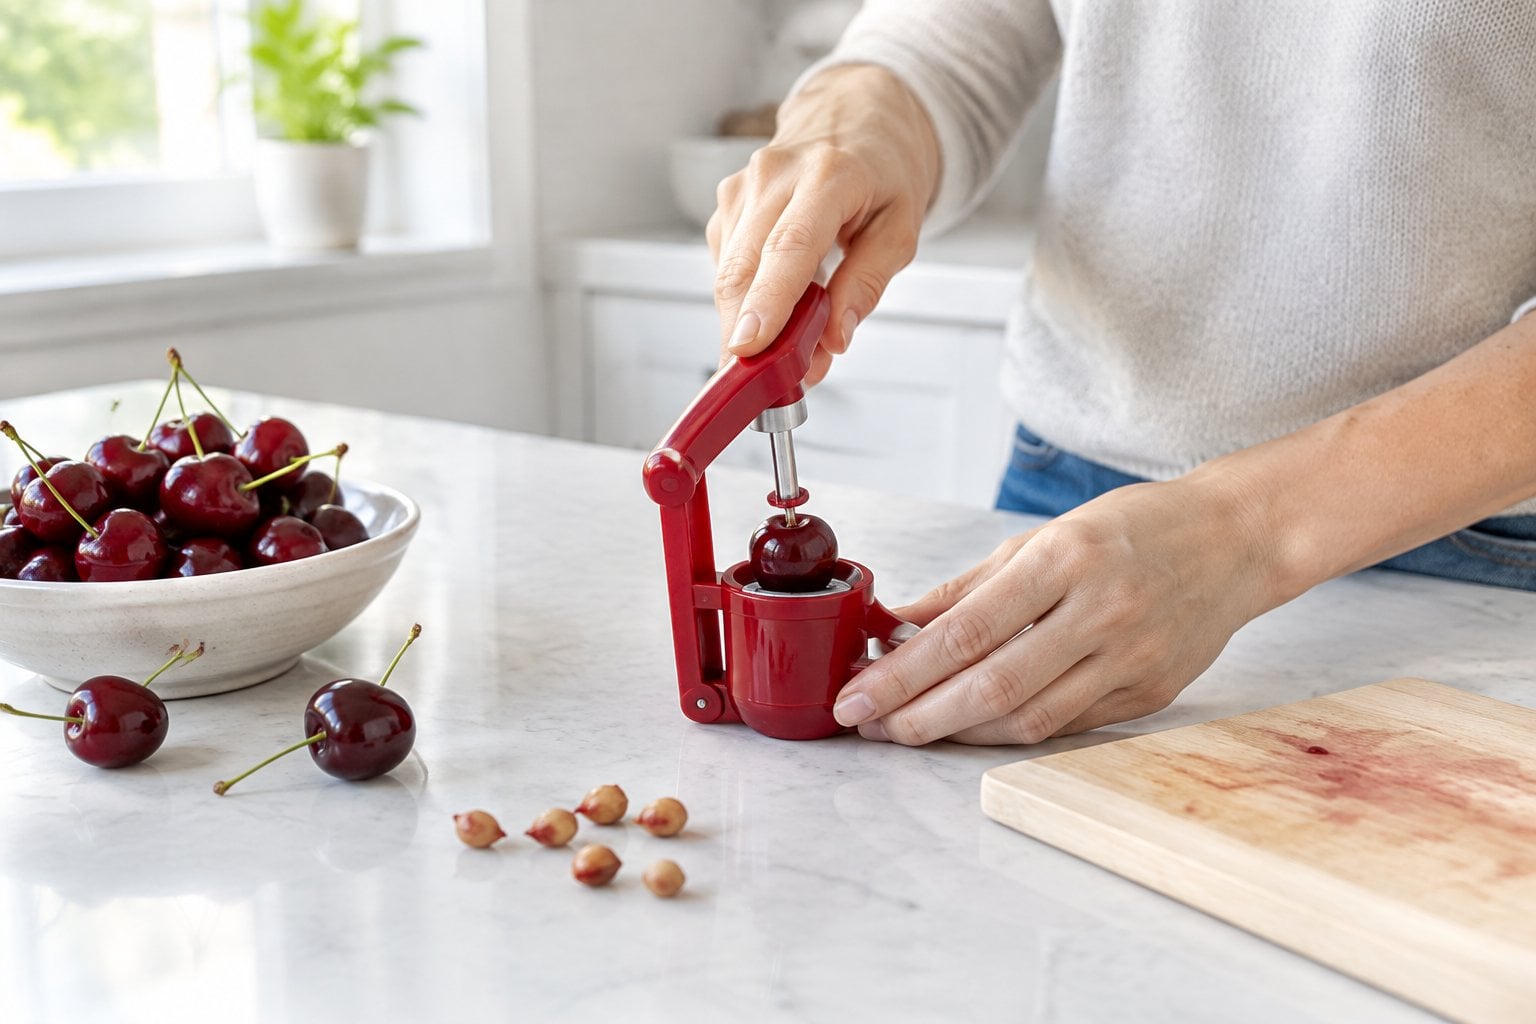
A cherry pitter looks like a small stapler or a pair of pliers with a plunger that pushes the pit out of the fruit. When you’ve got a big bag of cherries for a pie, it seems like just the right tool.
Many shoppers report juice squirting across the counter, the backsplash and their blouse. Single-cherry pitters work one cherry at a time, which is slow going for a pie’s worth of fruit. Some models miss a pit now and then, which is an unpleasant surprise for a tooth later. Cheaper ones can loosen at the hinge, or the plunger bends after a season.
To be fair, people who pit pounds of cherries every summer for pies, jam or canning often like theirs. For an occasional bowl of cherries, it’s more fuss than it’s worth.
What to use instead: a clean paper clip, unbent into an S shape and scooped in through the stem end. A chopstick or sturdy straw pushed through a cherry set on the neck of an empty bottle also pops the pit out and keeps the juice contained.
6. Garlic press
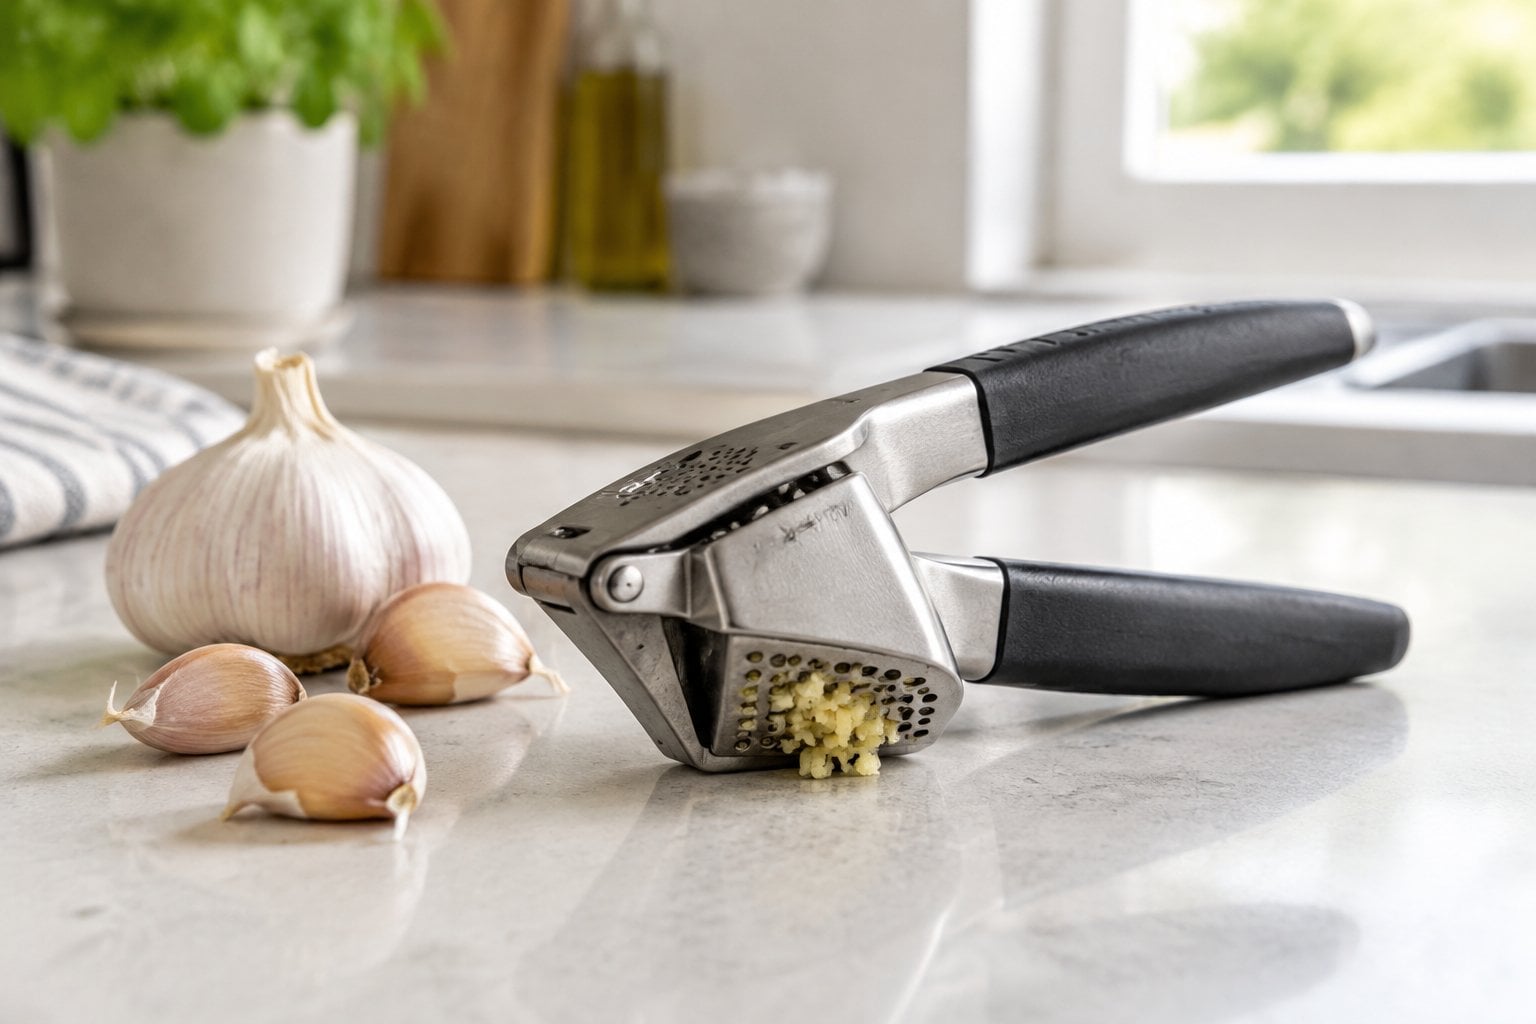
The garlic press divides cooks like few gadgets do. Plenty of people use theirs every day. Plenty of others bought one, fought with it and gave up. The late chef Anthony Bourdain was firmly in the second camp: in his 2000 book Kitchen Confidential, he called garlic presses abominations.
Shoppers’ complaints are more practical. Many presses leave a good part of the clove stuck in the chamber, so you’re scraping it out with a knife anyway. The little holes clog with pulp, a quick rinse rarely clears them, and dried garlic in there is hard to get out. Cheaper presses also bend at the hinge.
Some cooks find pressed garlic tastes harsher than chopped, since crushing it releases more of its sharp flavor. That’s fine in a bold sauce but can overpower a delicate dish.
What to use instead: your chef’s knife. Lay the flat of the blade on the clove, press down with your palm, and the skin slips off. Then chop it, and sprinkle on a pinch of salt if you want to mash it into a paste.
7. Electric garlic peeler
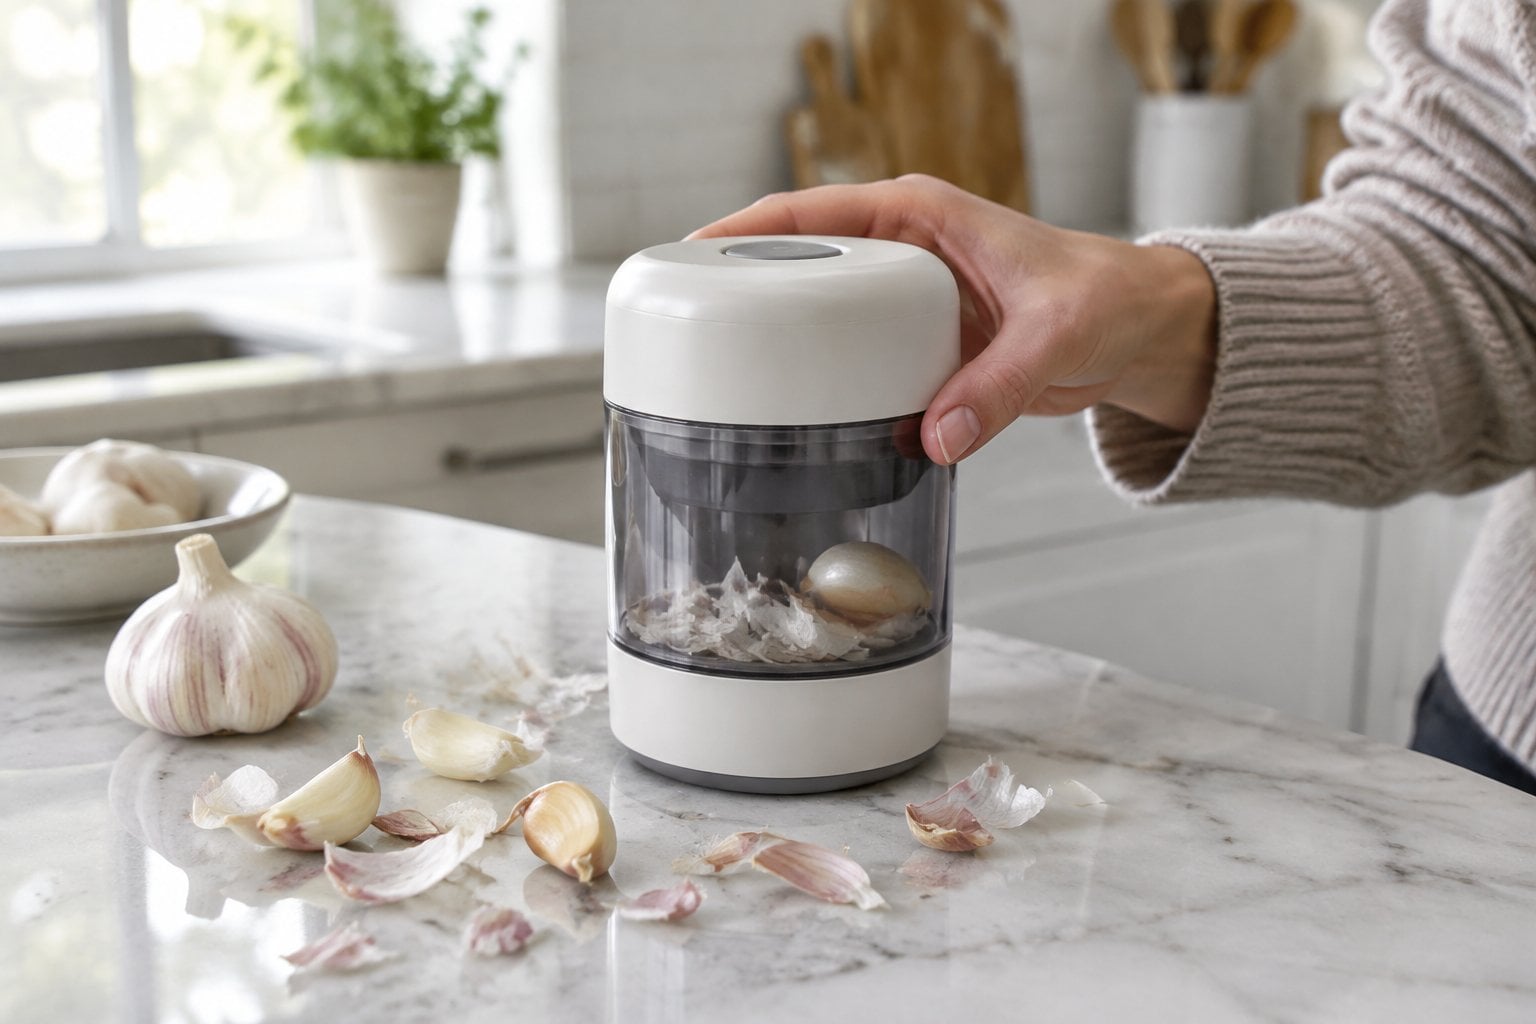
An electric garlic peeler is a small plug-in or battery-powered gadget that spins or tumbles garlic cloves until the papery skins come loose. It promises a whole head of garlic peeled in seconds.
Shoppers often say it works better in the ads than in the kitchen. Cloves come out with patches of skin still stuck to them, especially fresh or tight-skinned garlic. Some get nicked or bruised along the way. Many reviewers also point out that it makes the most sense for a whole head, while most recipes call for two or three cloves.
Then it has to be washed. The bowl and lid hold onto the garlic smell and sticky bits of skin, and the motor base can’t go in water. Add a cord or charger to find a home for, and it’s a lot of equipment for a job that takes seconds by hand.
What to use instead: the flat of a chef’s knife and a firm press of the palm, which splits the skin right off. For a whole head, put the cloves in a jar with a lid and shake hard for 20 seconds or so.
8. Onion goggles
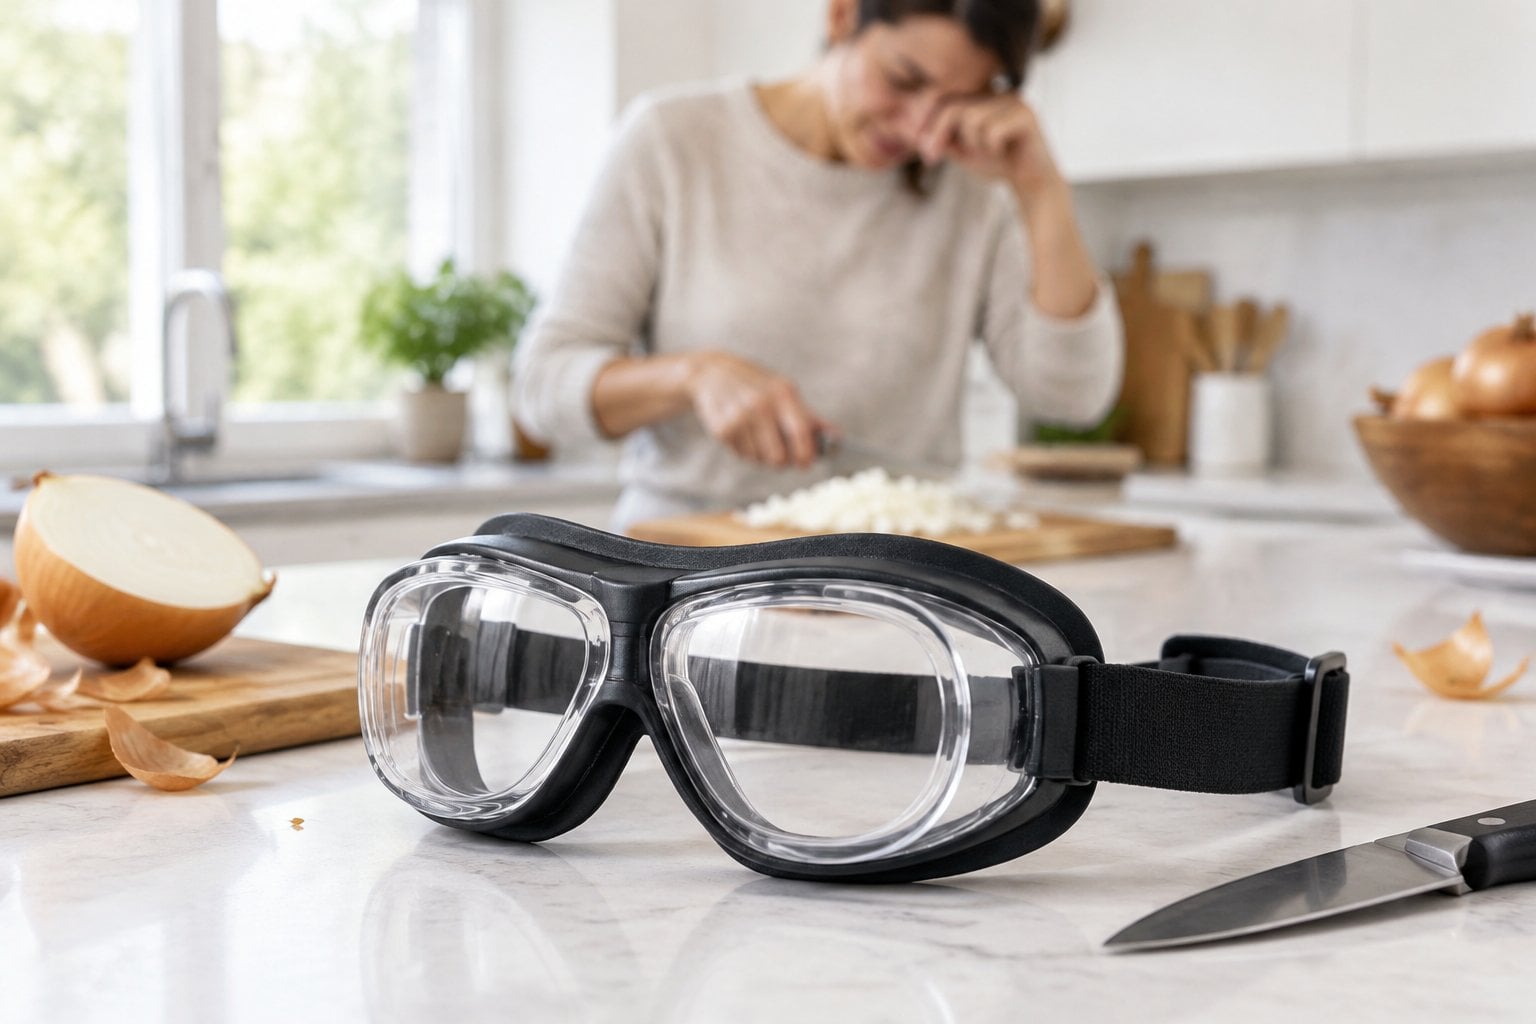
Onion goggles look like swim goggles with a foam seal, and they promise an end to tears at the cutting board. The idea makes sense, since the sting comes from a gas onions give off when you cut them.
In real kitchens, shoppers often say the goggles fog up within minutes. Some press uncomfortably on the face or let fumes in through gaps, and most won’t fit over eyeglasses, which is a problem for anyone who needs readers to see the knife. A fogged lens and a sharp blade aren’t a good mix.
Many owners also admit they felt a little silly and gave up after a few onions. The goggles end up in the drawer with the swim caps.
What to use instead: a few simple habits. Chill the onion in the refrigerator for half an hour before cutting. Use a very sharp knife, since a clean cut crushes fewer cells and releases less of the gas. Cut the root end last, and run the stove hood fan or work near an open window.
9. Corn stripper
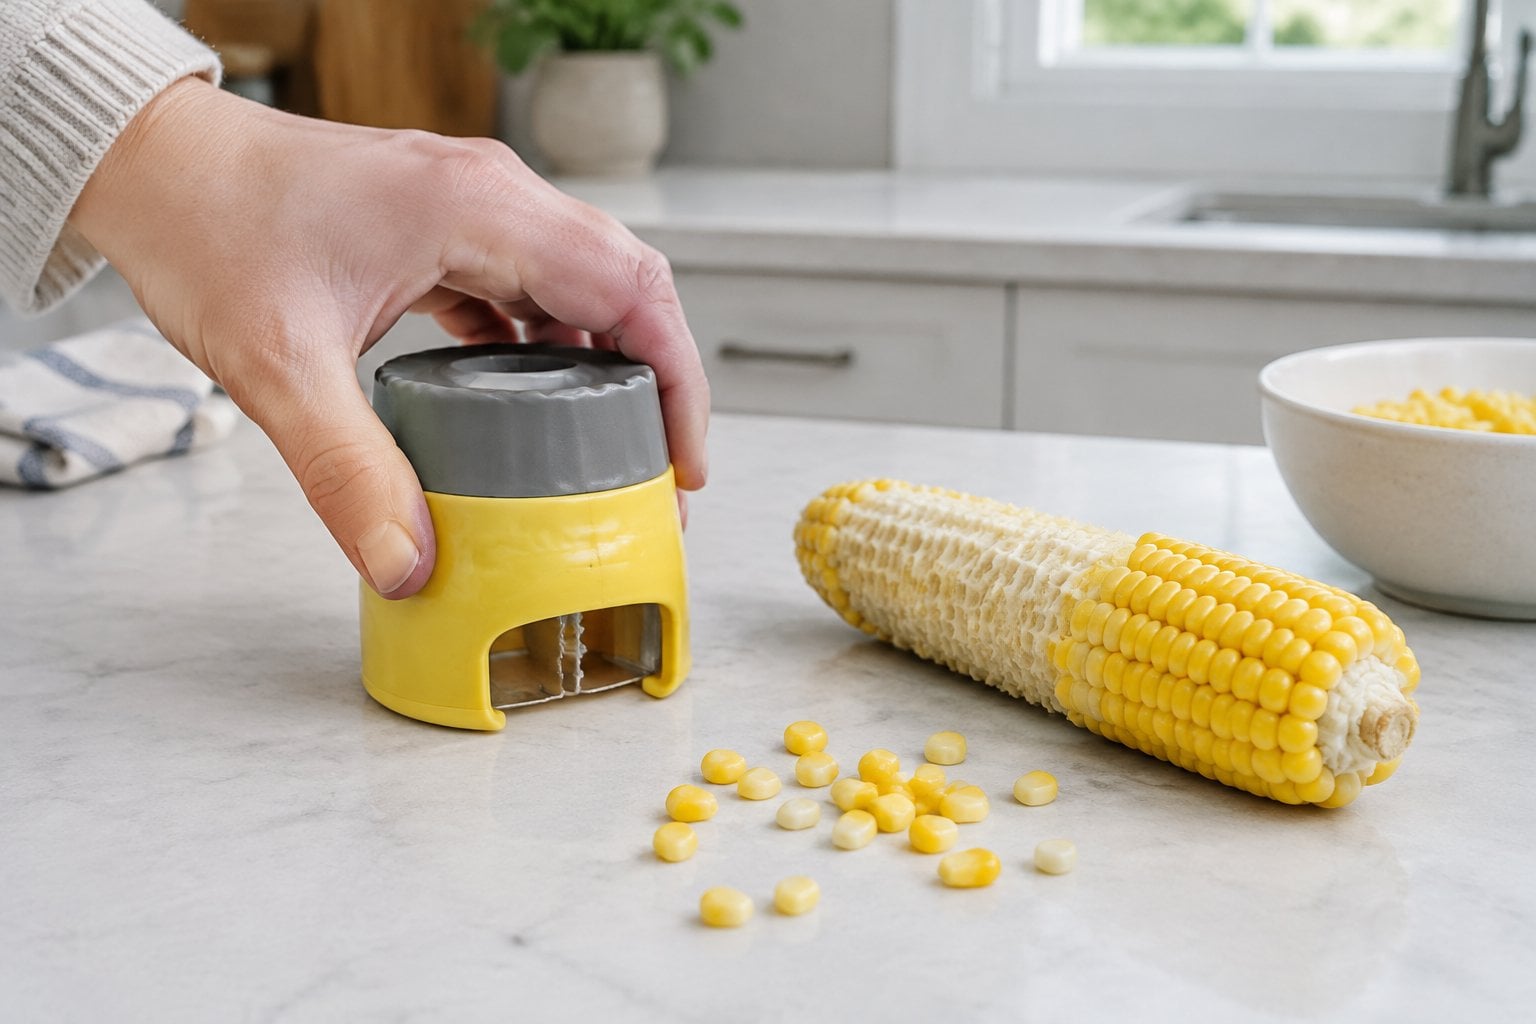
A corn stripper is meant to take the kernels off a cob in a few quick strokes. Some are a plastic ring with blades that you push down the ear. Others are a handheld tool with a curved blade, or a gadget with a bowl that catches the kernels.
Shoppers often report that the ring styles don’t fit every ear, since cobs come thick, thin and tapered. The blade misses rows on one side and cuts too deep on the other, leaving tough bits of cob in with the kernels. Other owners say the kernels still fly all over the counter, which is the very mess the gadget was supposed to prevent.
The blades and tight corners are fiddly to clean, and the tool spends eleven months of the year in a drawer.
What to use instead: a sharp chef’s knife and a Bundt or tube pan. Stand the cob on the center post of the pan and slice straight down. The kernels drop into the pan instead of across the kitchen.
10. Butter cutter
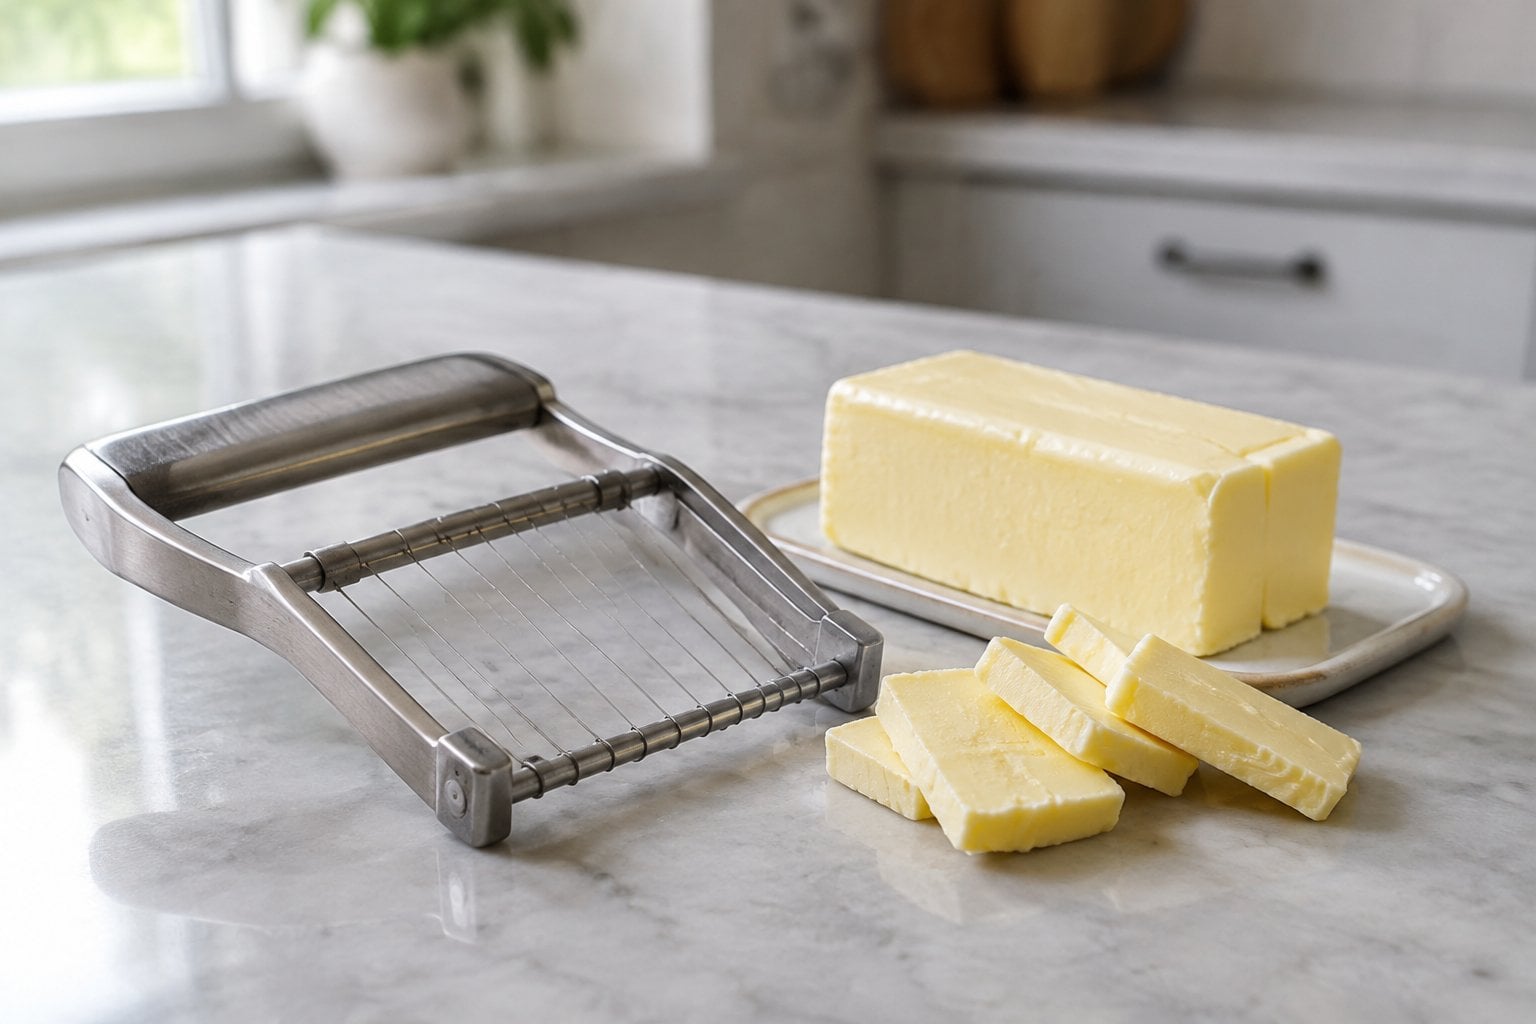
A butter cutter is a frame with a row of wires or blades that slices a stick of butter into pats in one press. It looks useful if you like to set a nice table or bake often.
Shoppers often find it doesn’t cope well with butter at the wrong temperature. Butter straight from the refrigerator can be too hard to push through, and the wires can bend. Soft butter squashes and sticks between the wires instead of making neat pats. Cleaning greasy wires takes hot water and patience.
It also claims a drawer spot for a job you can do with one cut per pat.
What to use instead: a sharp knife and the wrapper. Most butter wrappers are printed with tablespoon marks, so you can cut exact amounts for baking right through the paper. For pats at the table, dip a knife in hot water, wipe it dry and slice. The warm blade glides through cold butter cleanly.
11. Herb scissors
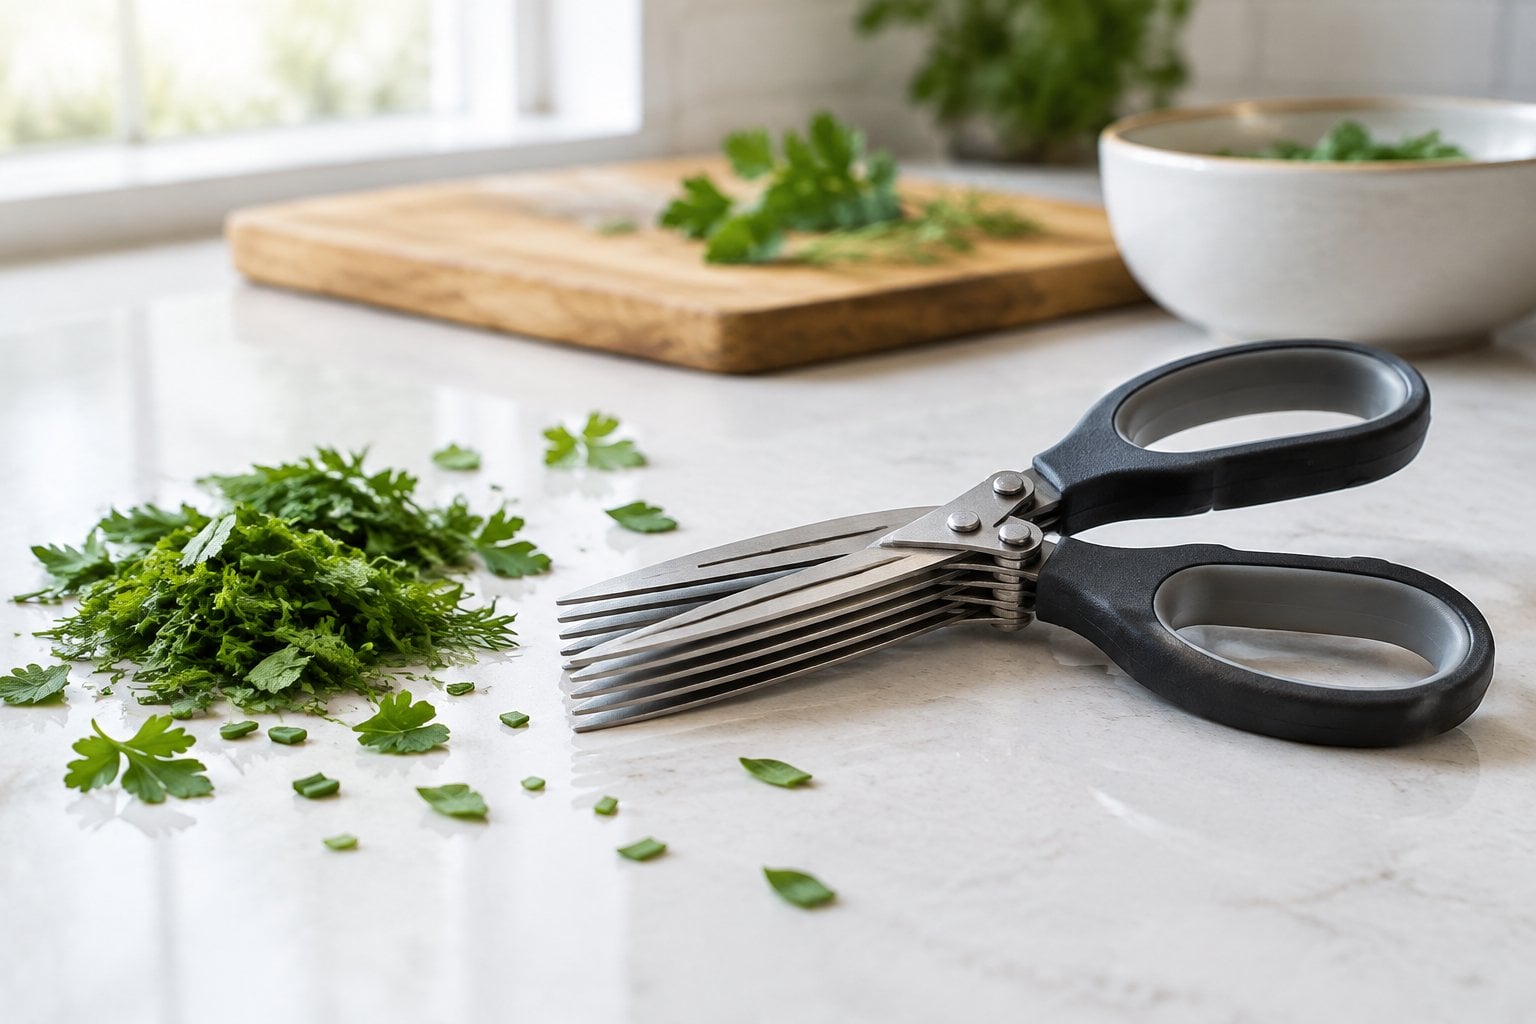
Herb scissors have five or so blades stacked side by side. One snip makes five cuts, so a bunch of parsley or chives should turn into a neat pile in seconds.
Shoppers often say they bruise and tear the herbs rather than cutting them cleanly, and tougher stems tend to jam between the blades. The biggest complaint is cleaning: chopped leaves wedge into the narrow gaps, and many sets come with a little comb because rinsing doesn’t get them out. Some reviewers say the blades dull or show rust spots if they aren’t dried right away.
If you snip fresh herbs every day, a good pair may suit you. For most home cooks, they end up tucked behind the whisks.
What to use instead: a sharp chef’s knife and a cutting board, which chop a handful of herbs in moments. For chives over a baked potato or a bowl of soup, plain kitchen shears do the job and handle a dozen other tasks too.
12. Bread machine
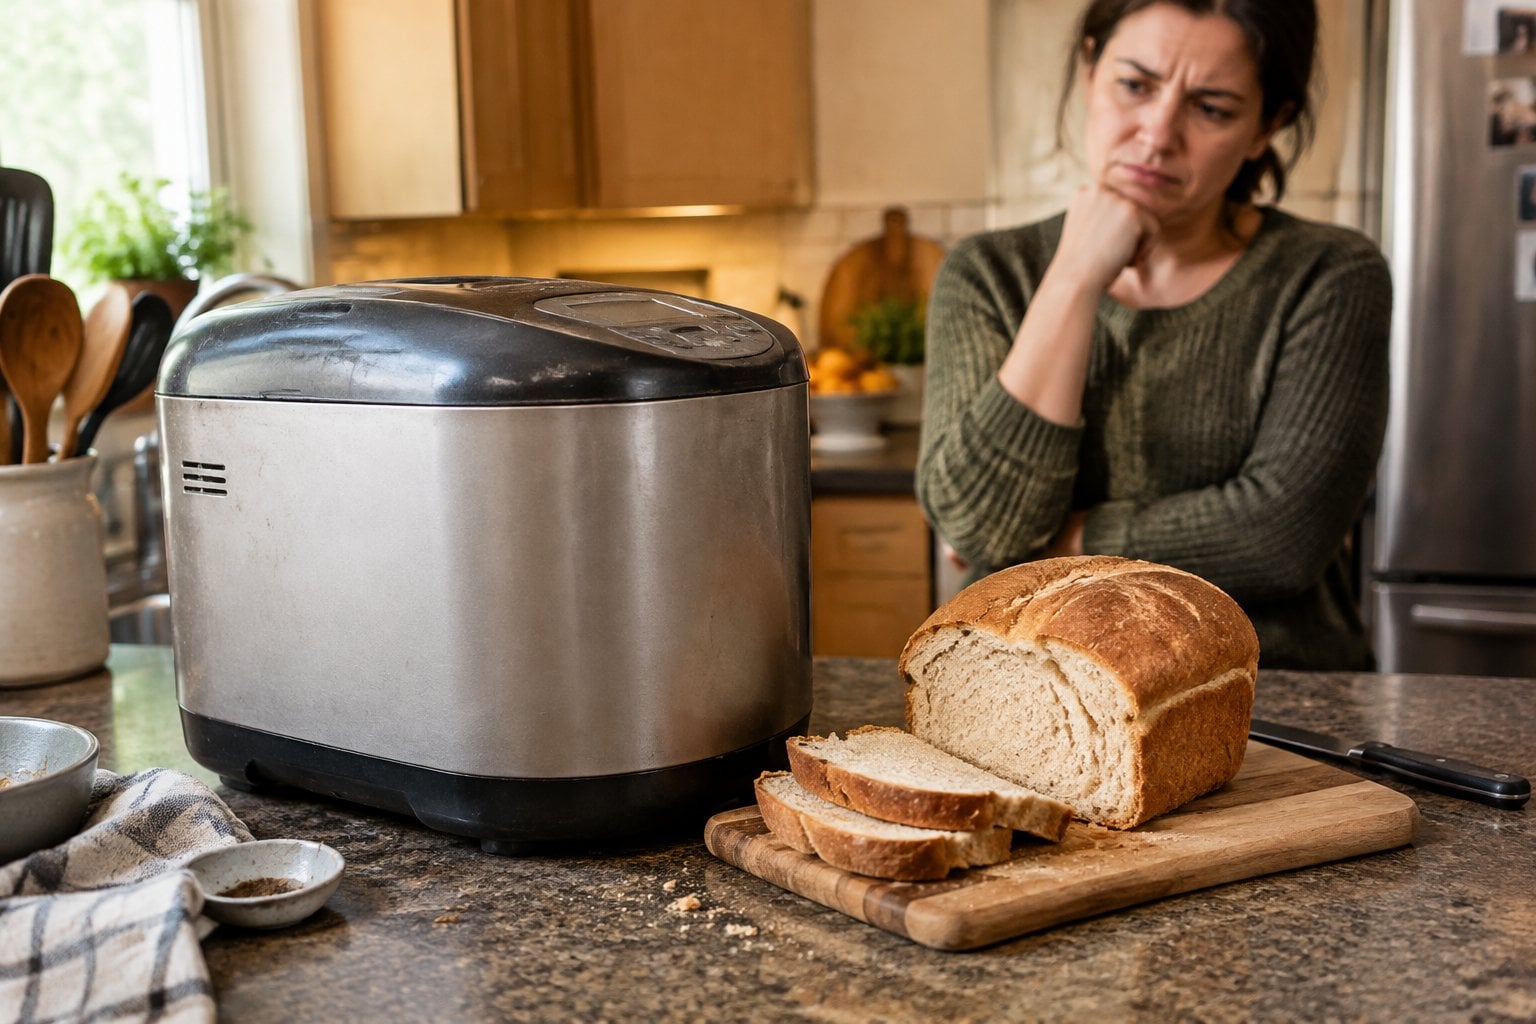
The home bread machine came from Japan, where Matsushita, the company now called Panasonic, brought one out in 1986. By the 1990s it was a popular gift in American homes. Add flour, water, yeast and salt, press a button, and wake up to the smell of fresh bread. Many households did exactly that for a few weeks.
Then the complaints set in. The loaf comes out tall and boxy, with a hole in the bottom where the kneading paddle sat, and sometimes the paddle stays stuck in the bread. The crust can be pale, and the texture doesn’t quite match a loaf baked in the oven. The machine itself is big and heavy, so it either lives on the counter or barely gets used.
That’s why bread machines are such a common sight at yard sales and thrift stores.
What to use instead: a mixing bowl and a loaf pan, or your stand mixer if you have one. A no-knead dough baked in a covered Dutch oven makes a crusty loaf with very little work.
13. Single-purpose egg cooker
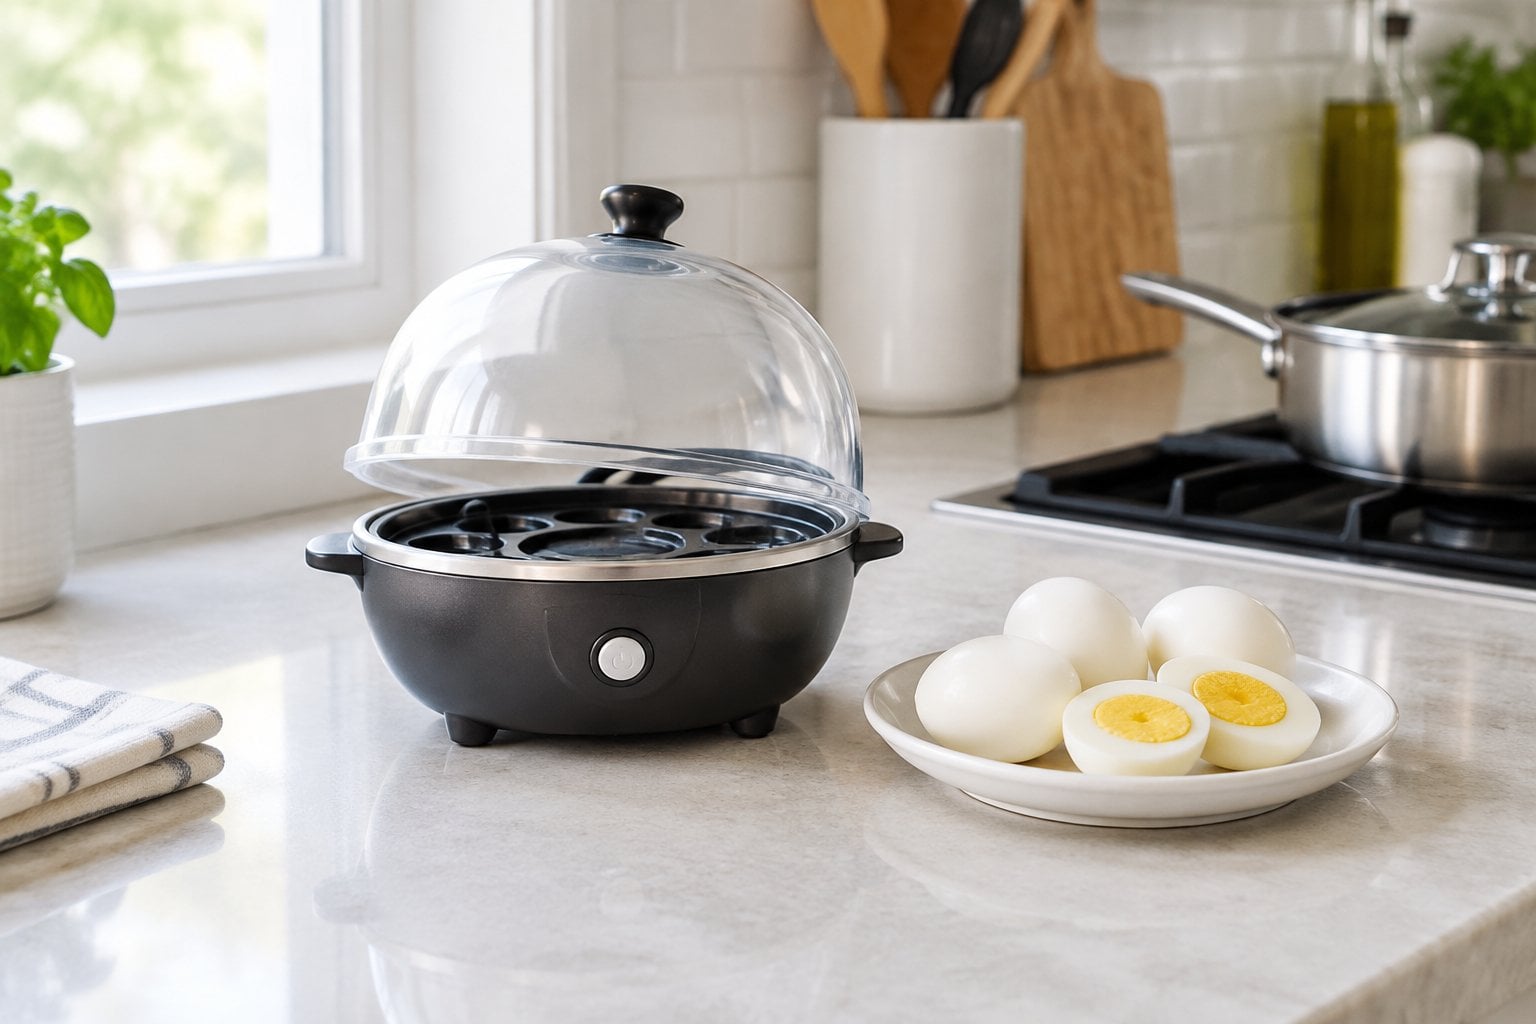
An electric egg cooker is a small heating plate with a dome lid and a tray that holds six or seven eggs. You fill a little measuring cup with water to the line for soft, medium or hard, pierce each egg with the pin on the cup, and wait for the buzzer. Some come with a tray for poaching.
Shoppers often report that the water lines don’t match their idea of soft or hard, so the first several batches are trial and error. Some say the eggs come out overcooked, with a green ring around the yolk, or that the piercing pin cracks the shells. Mineral deposits build up on the heating plate and need regular scrubbing with vinegar. And it does one job a saucepan already does.
People who eat eggs every morning sometimes love theirs. Many others say it got used a few times and was put away.
What to use instead: a saucepan. Cover the eggs with cold water, bring it to a boil, take the pan off the heat, cover it and let the eggs sit 10 to 12 minutes for hard-cooked. Move them to a bowl of ice water to stop the cooking.
14. Egg slicer
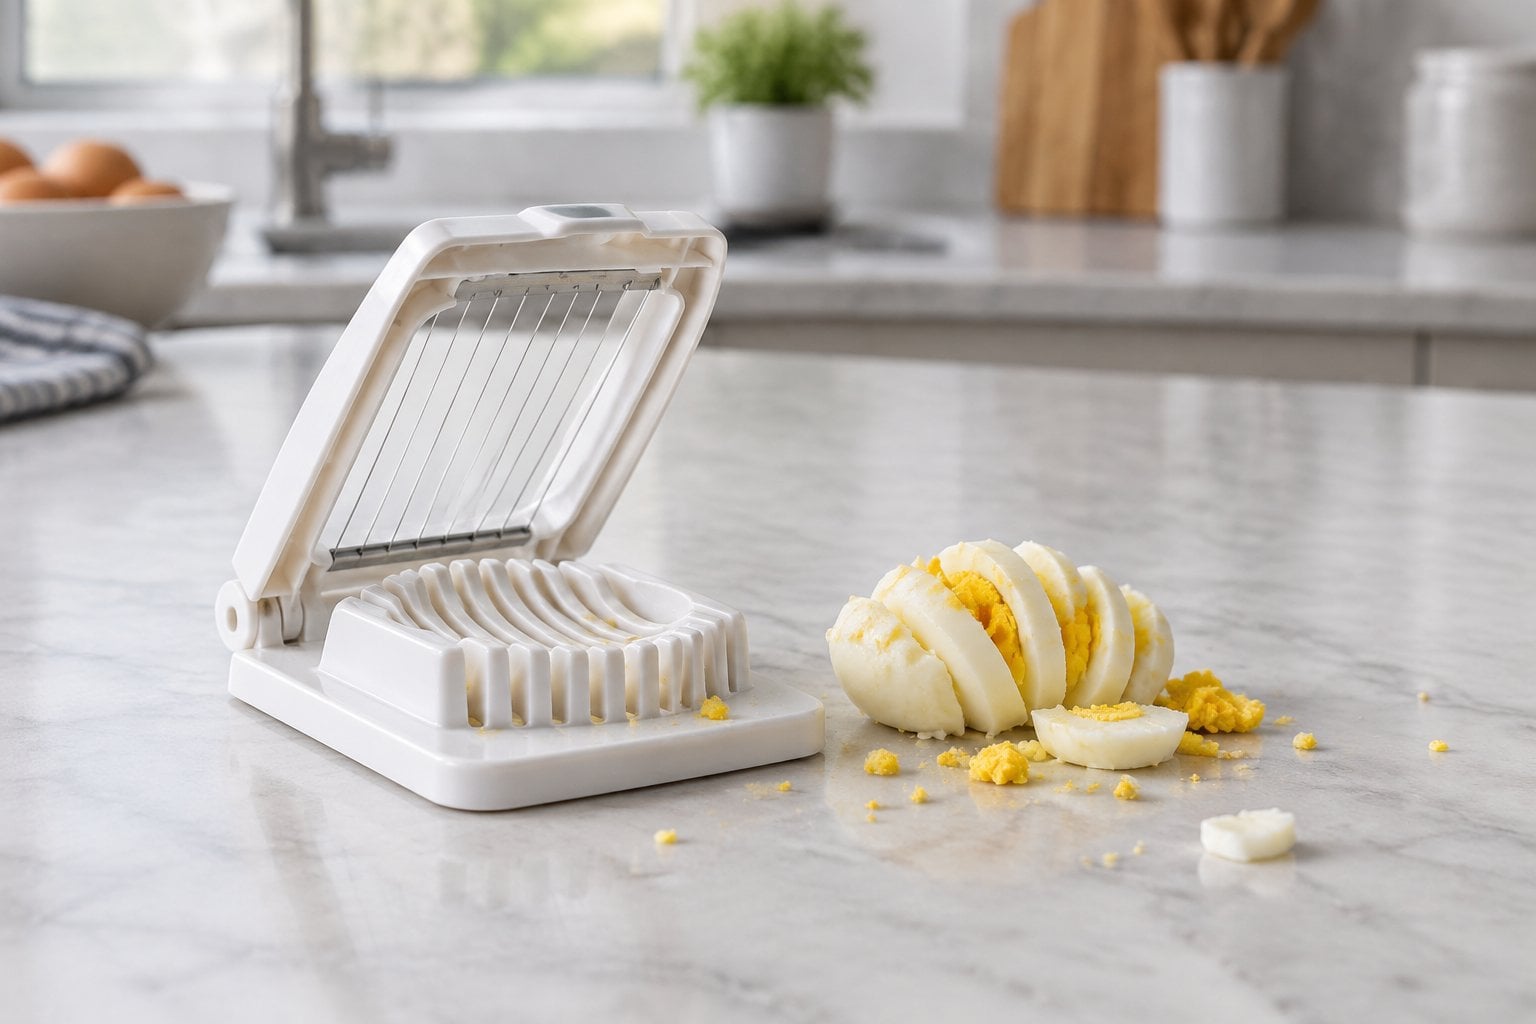
The egg slicer has been around for generations: a little cradle for a hard-boiled egg and a hinged frame of thin wires that comes down and cuts it into even slices. Plenty of grandmothers had one, and some people still use theirs for egg salad and chef’s salads.
Shoppers buying newer ones report a few problems. Thin wires bend or snap, especially on cheap plastic models, and once one wire goes slack the slices come out ragged. Eggs that are still warm, or a little underdone, crumble or smear instead of slicing. Bits of yolk dry onto the wires and take a brush to get off.
It’s also a tool you might use a few times a year, and it takes up space the rest of the time.
What to use instead: a thin, sharp knife. Chill the eggs completely first, wipe the blade between cuts, and dip it in warm water if the yolk starts to stick. For egg salad, a pastry blender or a fork chops eggs faster than any slicer.
15. Mini donut maker
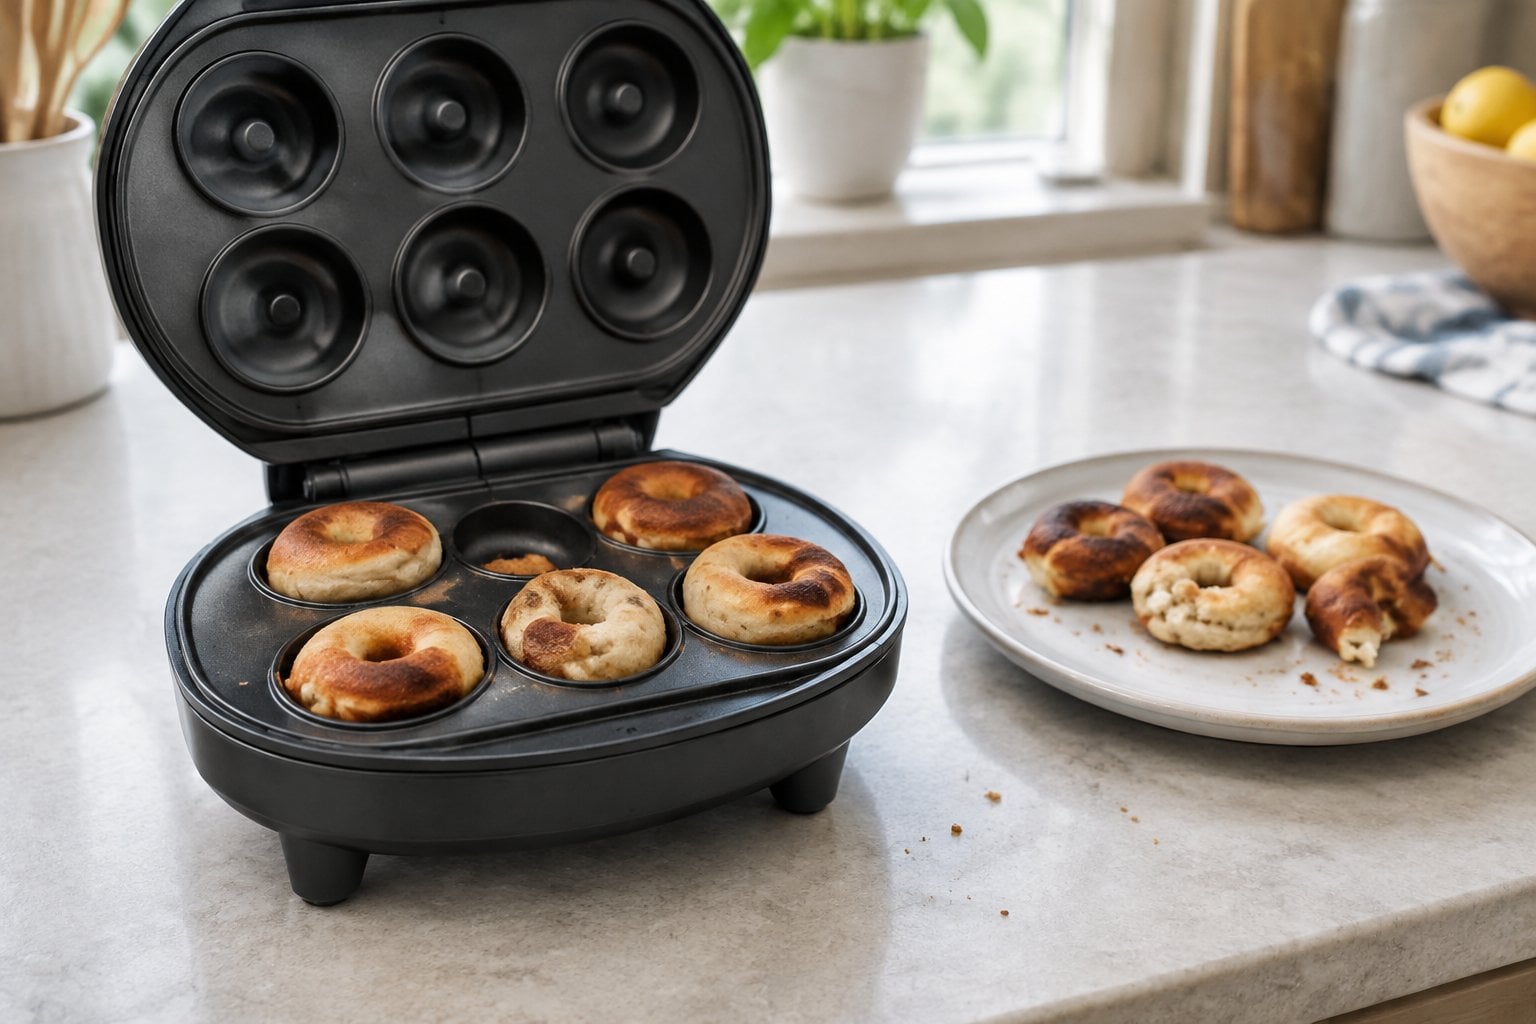
A mini donut maker looks like a small waffle iron with round wells, and it bakes a handful of little donuts in a few minutes. It’s a cute gift, and it seems like a fun weekend project with the grandchildren.
The trouble starts with the batter. Spooning it into the small wells without overfilling is fiddly, and too much batter puffs up and closes the hole or spills over the sides. Shoppers often report donuts that stick, tear when lifted out, or brown on one side and stay pale on the other. Batter that runs into the hinge and edges is hard to clean off.
Reviewers also point out that these are baked, cake-style donuts. If you’re picturing a fried donut from the bakery, the texture is closer to a small muffin.
What to use instead: a regular donut pan in your own oven, filled from a zip-top bag with the corner snipped off. Or bake the same batter in a mini muffin tin and roll the warm bites in cinnamon sugar.
16. Cake pop maker
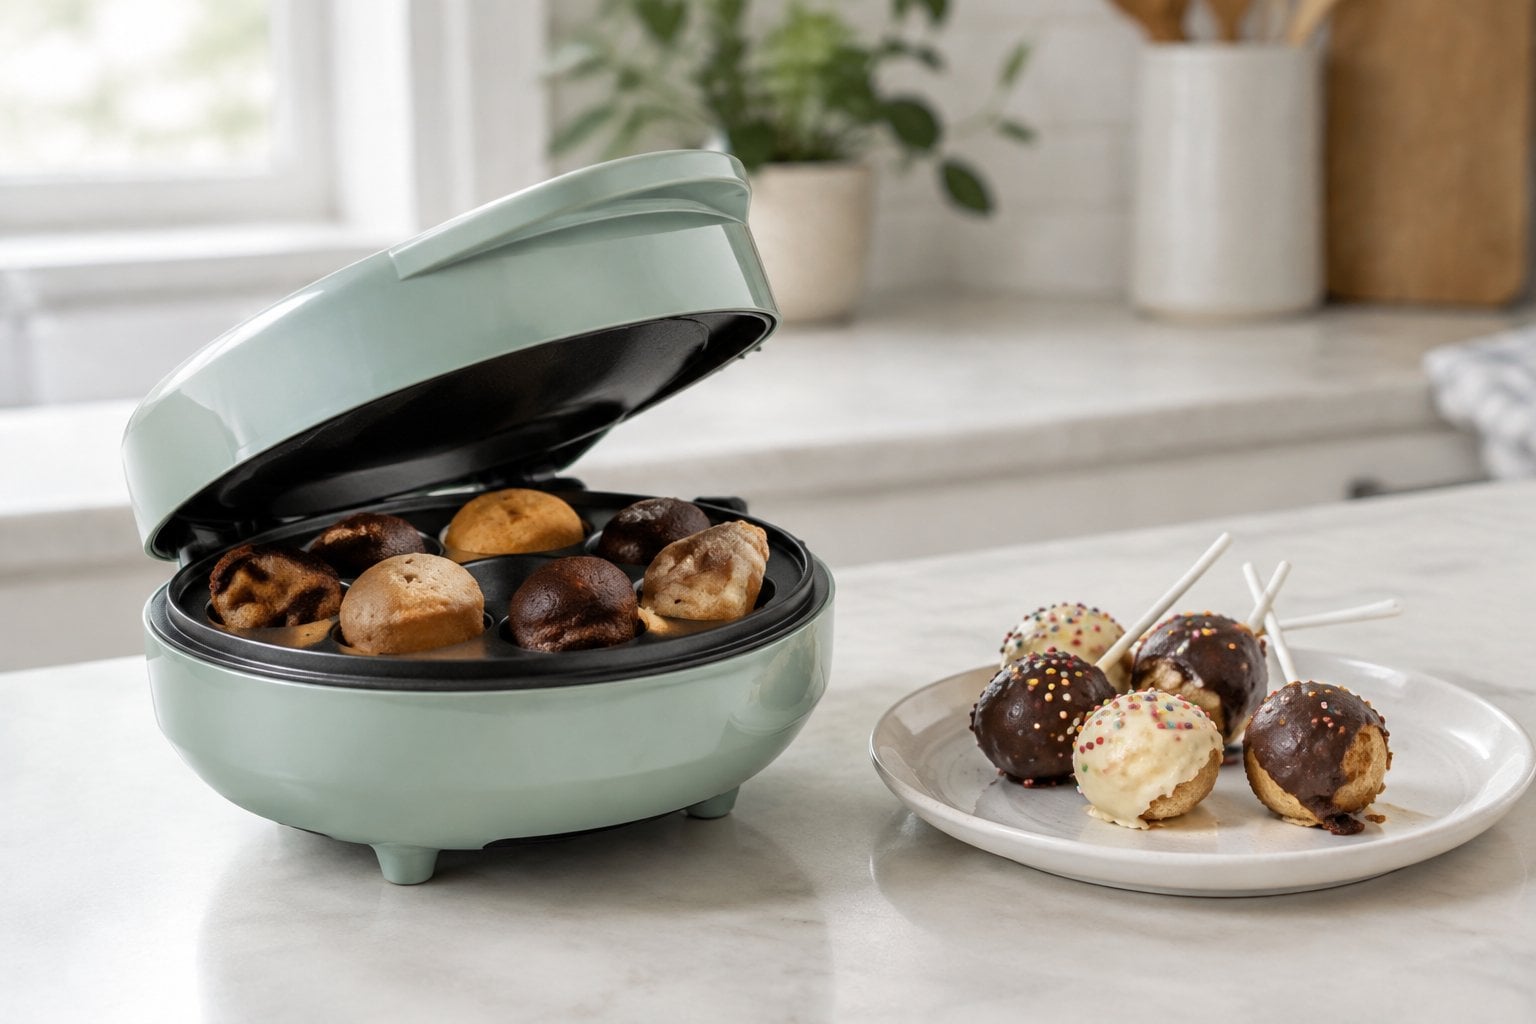
A cake pop maker bakes small balls of cake in round wells, a bit like a mini donut maker with deeper holes. The promise is cake pops without the old method of mixing crumbled cake with frosting and rolling it by hand.
Shoppers often report uneven results. The amount of batter has to be just right: too much spills out the seams and leaves a flat ring around each ball, and too little leaves a lopsided half. Some say the cake balls stick or come out dry. The grooves and seams collect baked-on crumbs.
And the machine only does the first step. You still have to put in the sticks, dip each ball in melted coating, decorate it and let it set, which is where most of the time goes.
What to use instead: the traditional method. Bake any cake in a regular pan, crumble it, mix in a little frosting and roll the mixture into balls with a small cookie scoop. Chill them before dipping and they hold their shape well.
17. Quesadilla maker
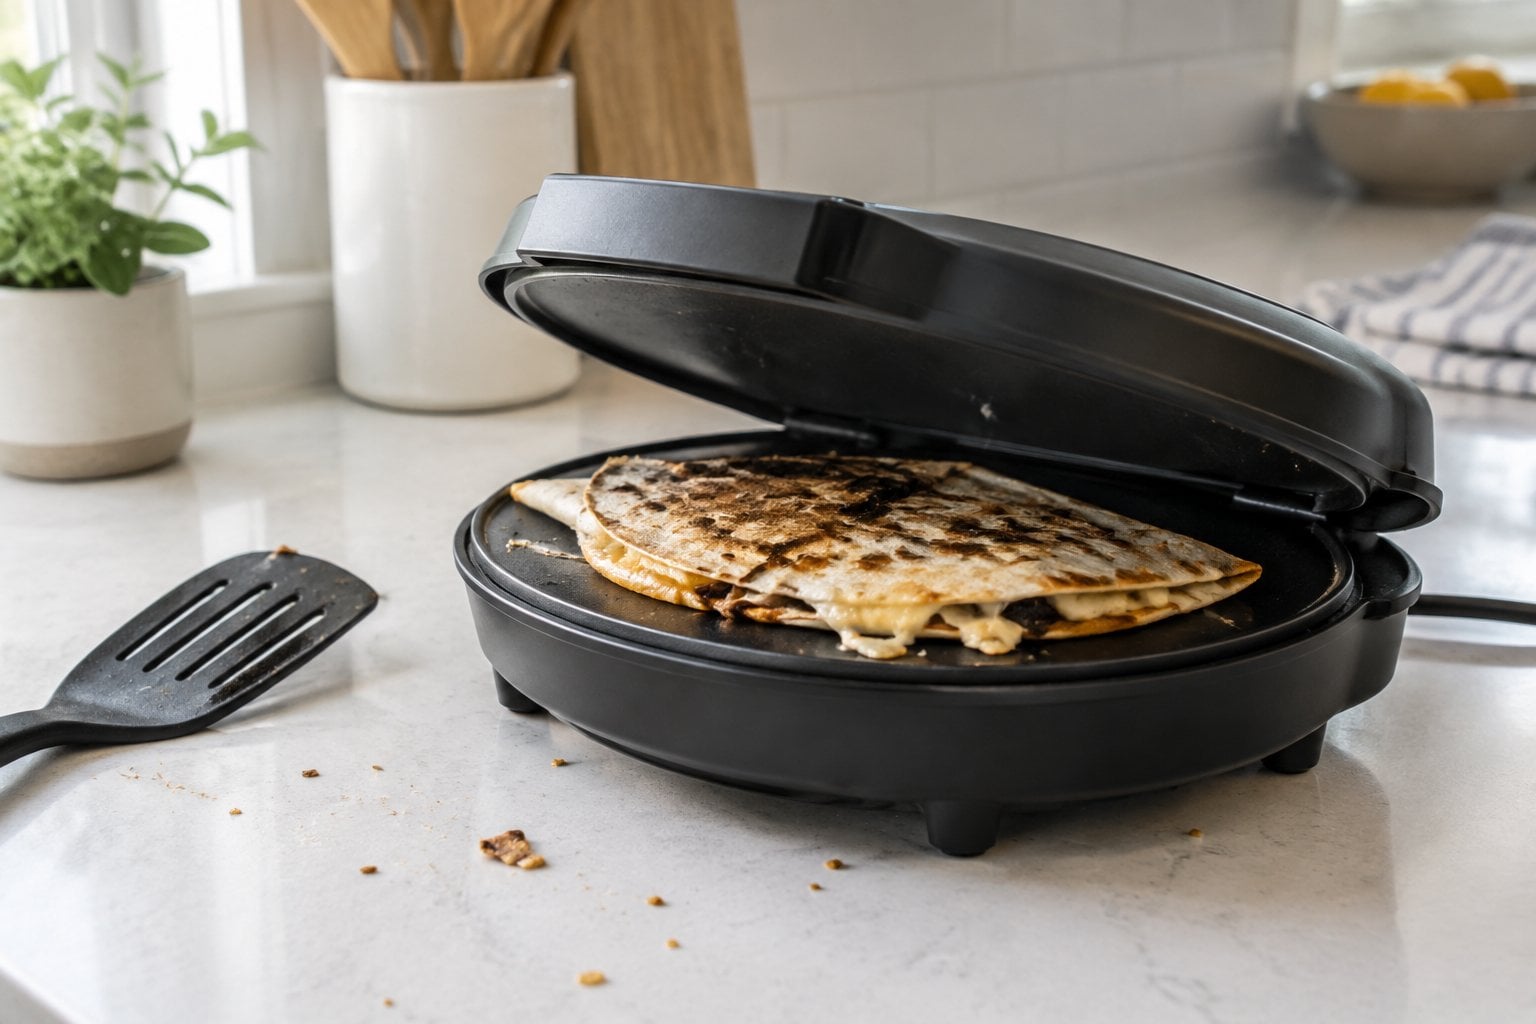
A quesadilla maker is a hinged grill with a wedge pattern that seals a filled tortilla and marks it into six triangles. It looks like a fun way to feed hungry grandchildren on a busy afternoon.
Shoppers often say it fits only one size of tortilla, and if yours is larger or smaller, the edges don’t seal. The filling has to stay thin or the lid won’t close, and cheese oozes out the sides and burns onto the plates. Some report uneven heating, with one wedge crisp and another limp.
It also makes one quesadilla at a time, so feeding a table of six takes a while. Many owners admit theirs got used a handful of times before it went up to a high shelf.
What to use instead: a heavy skillet over medium heat. Lay a tortilla in the pan, cover half with cheese and filling, fold it over and cook until golden, then flip it with a wide spatula. Cut it into wedges on the cutting board.
18. Hot dog cooker
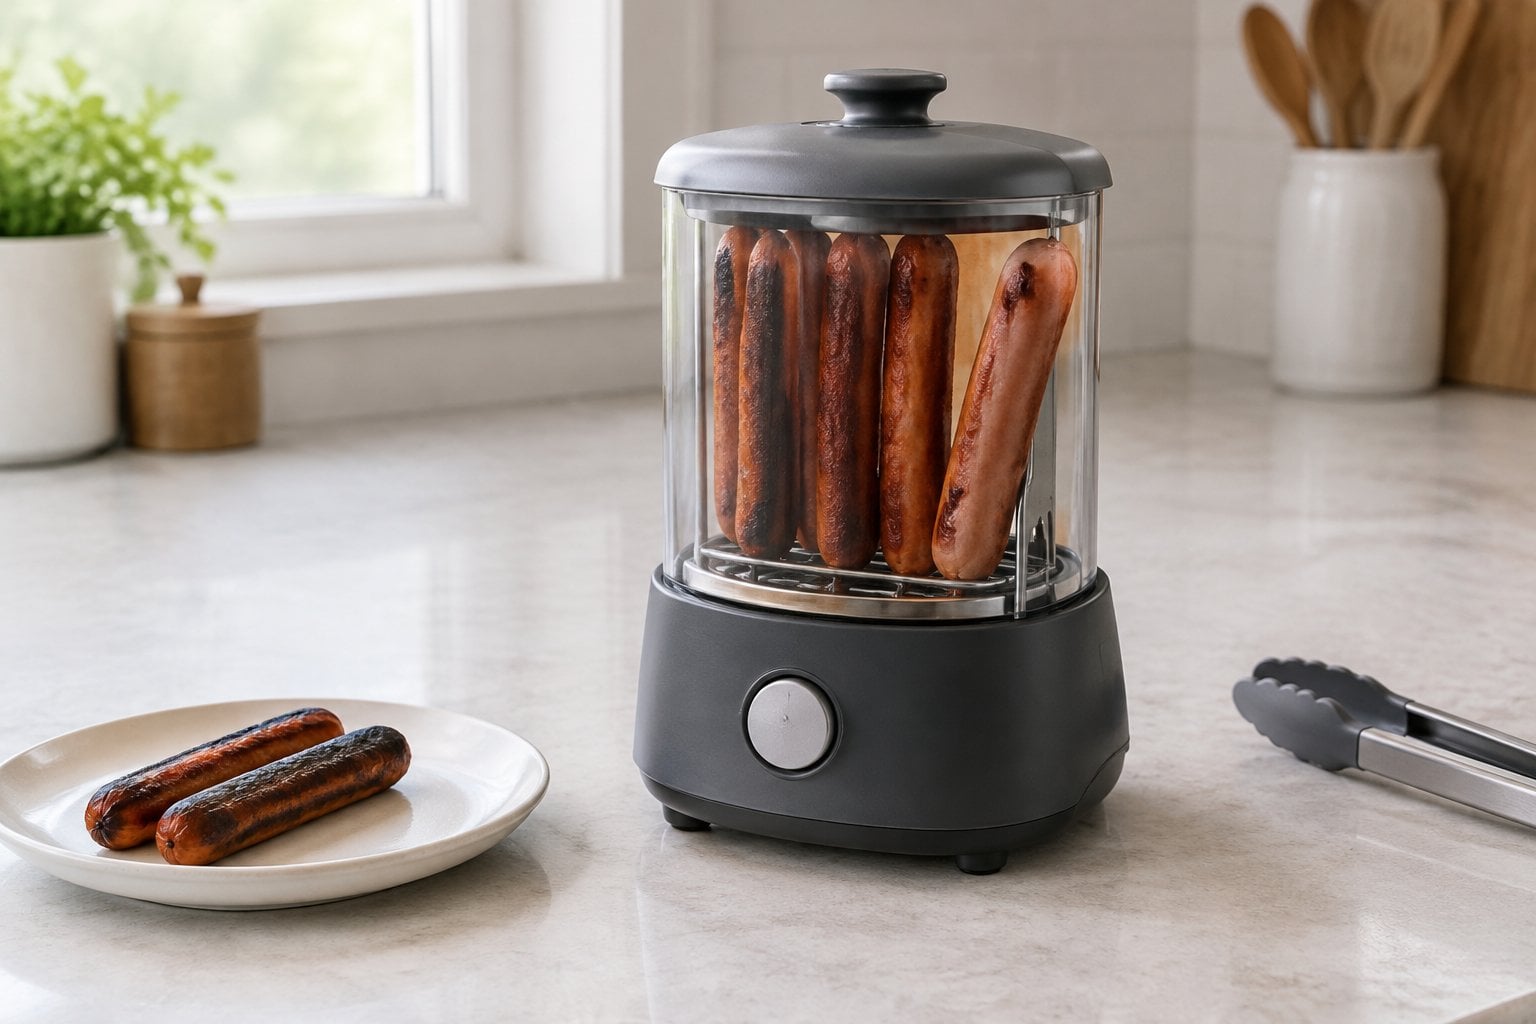
Electric hot dog cookers come in a few forms. There are toasters with tall slots that brown the franks and warm the buns side by side, small roller grills like the ones at a gas station, and older gadgets like the Presto Hot Dogger, which cooked franks by running electricity through them on metal spikes.
Shoppers often say the novelty wears off fast. Toaster-style models handle only two franks and two buns at a time, and the buns can scorch before the hot dogs are hot through. Roller grills take up counter space for one simple food. Grease and bits of casing drip into the slots and crevices, and those are awkward to clean.
Many owners report using one for a summer and then storing it with the picnic things.
What to use instead: a pot of simmering water or a skillet. Simmer the franks for about five minutes, or brown them in a hot cast iron pan for a little snap. Warm the buns in the oven or the toaster.
19. Indoor s’mores maker
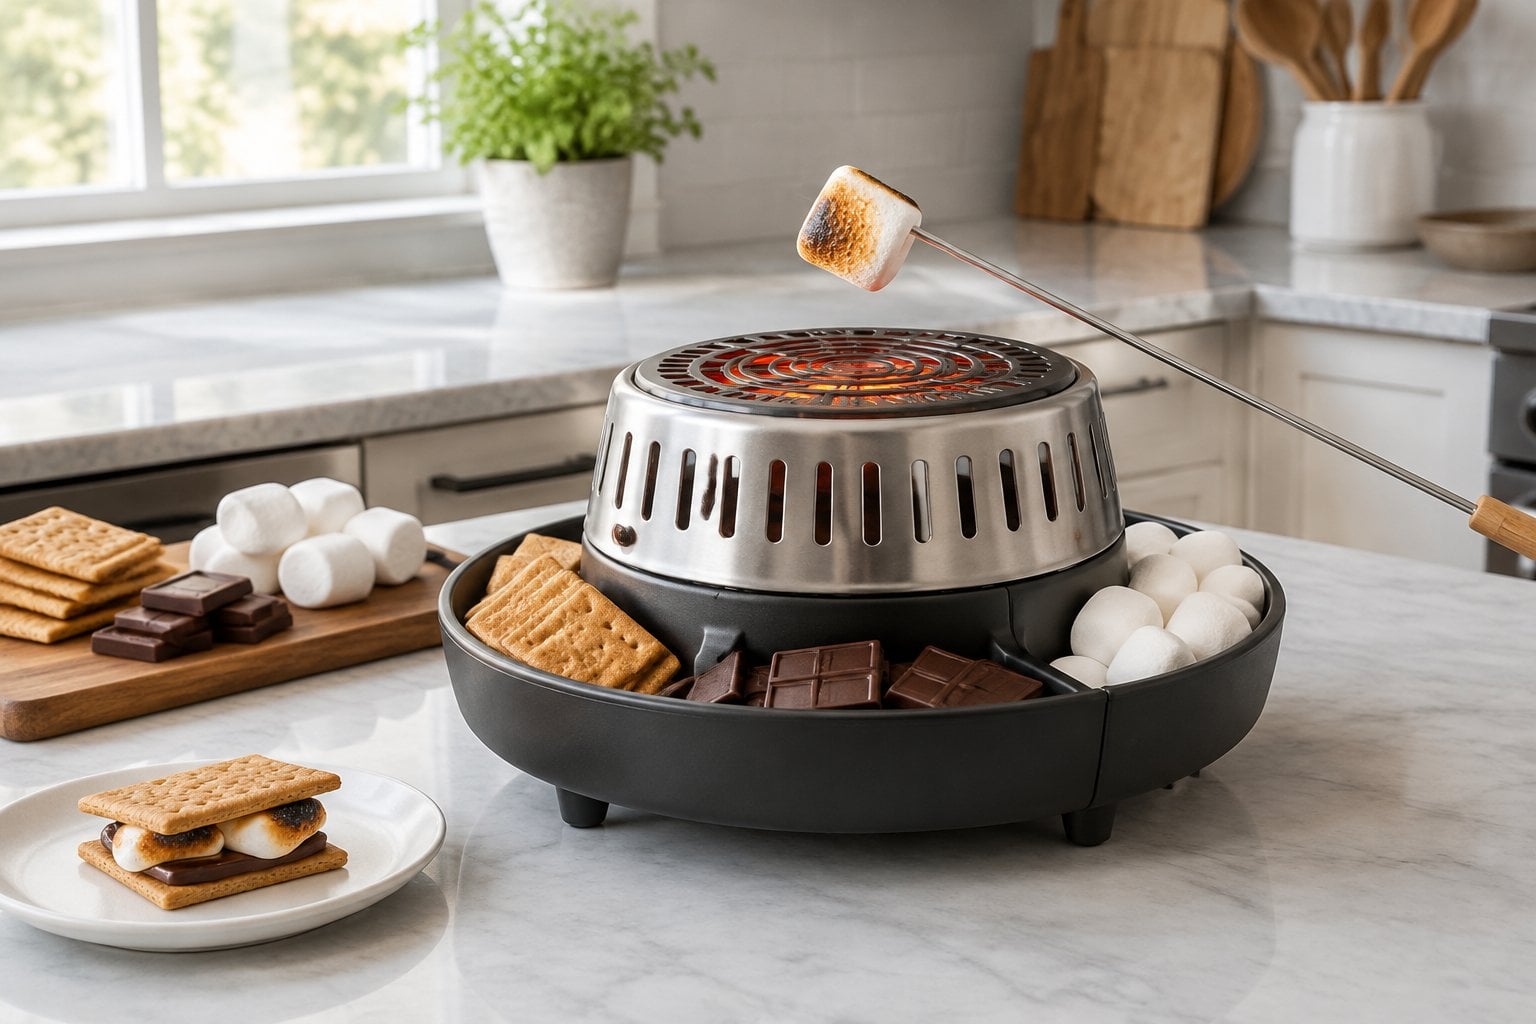
An electric s’mores maker promises campfire treats right on the kitchen table. Most have a small heating element in the middle, under a wire guard, and trays around it for graham crackers, chocolate and marshmallows. You toast the marshmallows on little forks over the heat.
Shoppers often report that the heating element is slow and weak compared to a fire, so marshmallows warm through but barely brown. Holding forks over it takes patience, and children lose interest quickly. Some say the chocolate doesn’t melt unless it sits close to the heat. Marshmallow drips onto the guard and turns into a sticky, burned mess to clean.
It makes a nice gift and a fun first evening. After that, many end up on a closet shelf.
What to use instead: your oven’s broiler. Lay graham crackers on a sheet pan, top half of them with chocolate and marshmallows, and broil for a minute or so, watching closely. Add the top crackers and press.
20. Countertop cotton candy machine
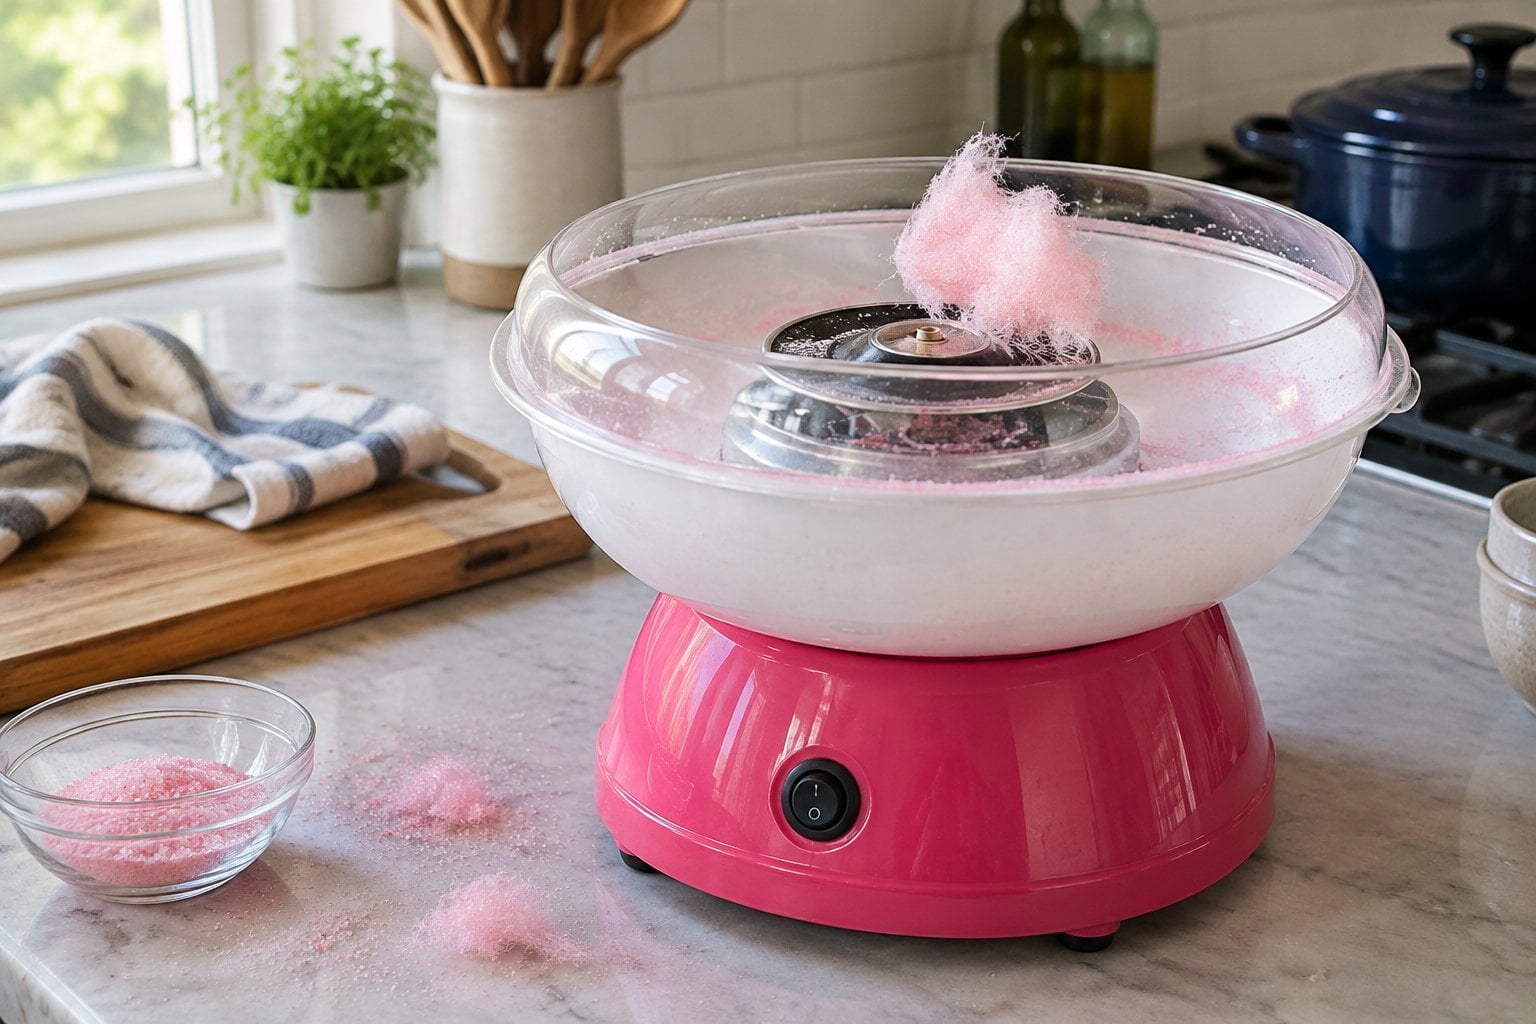
A home cotton candy machine looks like a small version of the carnival kind: a spinning head in the center of a wide bowl that melts sugar and throws it out as fine threads. Grandchildren tend to love the idea.
Shoppers often report that the reality is smaller and stickier. Home machines make small servings, often one cone at a time, with a wait between batches. Spun sugar drifts out of the bowl onto the counter and floor. Some models need special flossing sugar while others take hard candy, and results vary with the weather, since humidity makes cotton candy wilt.
Cleanup means soaking hardened sugar off the bowl and spinning head. The machine is bulky for something used on birthdays, and many owners say theirs moved to the garage after the first few tries.
What to use instead: a trip to the county fair, or a tub of ready-made cotton candy from the store for the next party.
21. Vacuum marinating box
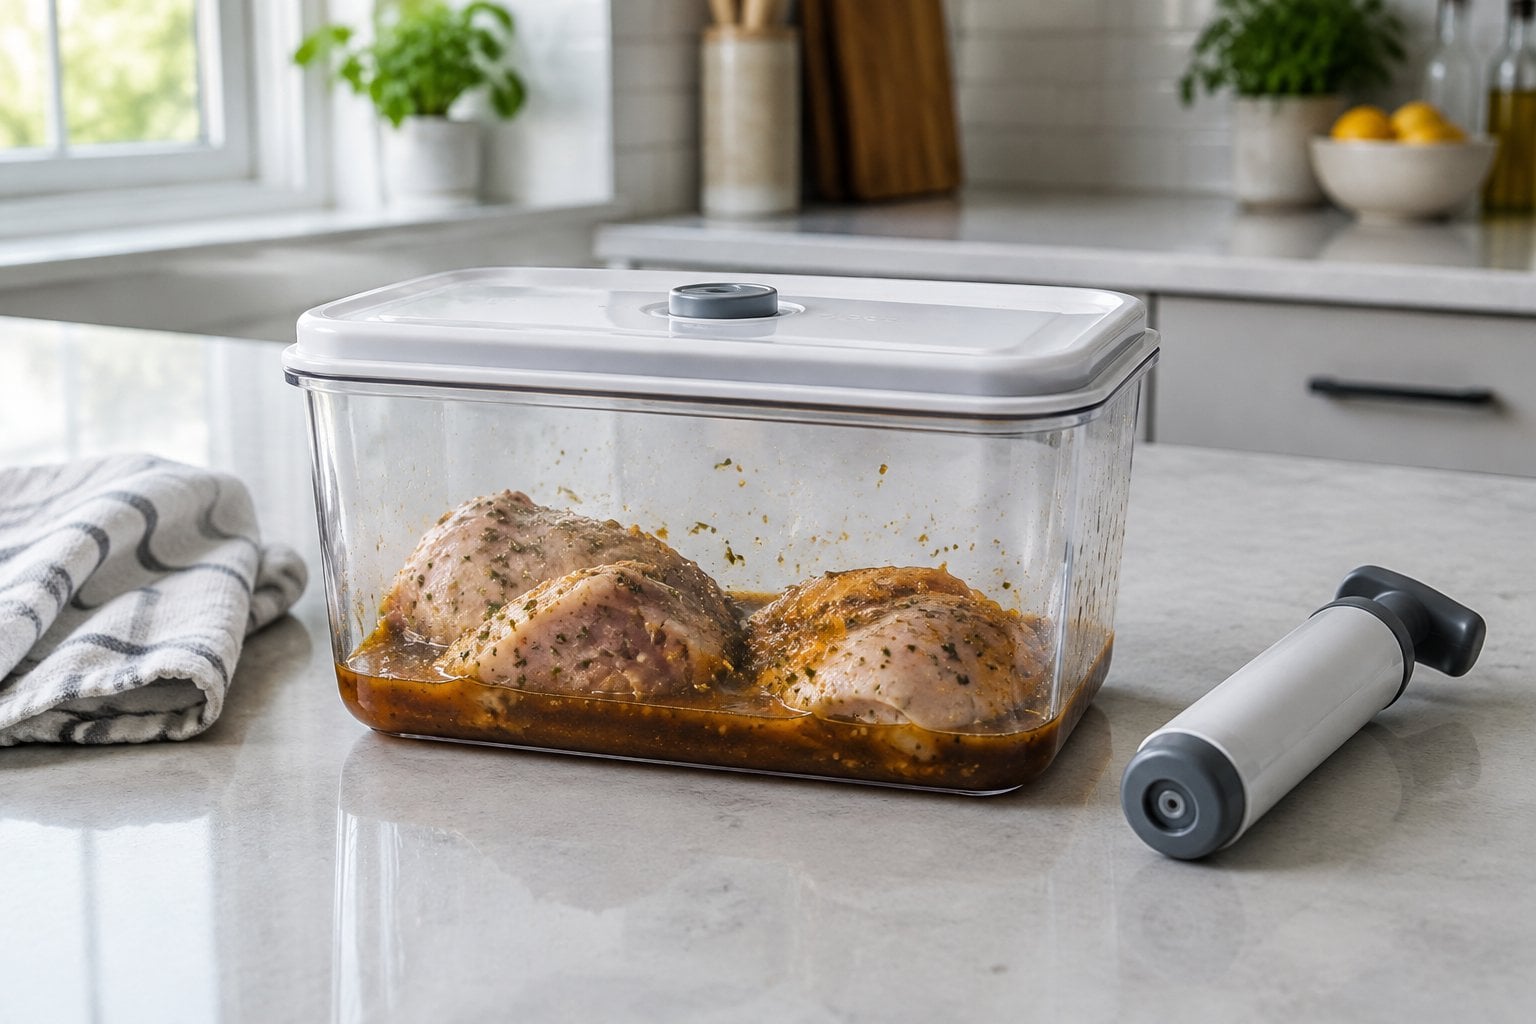
A vacuum marinator is a plastic container with a hand or electric pump that draws the air out once the meat and marinade are inside. The promise is that the vacuum pulls flavor deep into the meat in minutes instead of hours.
Shoppers often report that they can’t taste much difference from an ordinary marinade. Kitchen testers have long found that most marinades only soak a short way into meat, whatever container they’re in. Some owners also find that acidic marinades left too long turn the surface of the meat mushy.
The container and its seals need careful washing, since raw meat juices can hide in the rubber gaskets. Some users report that the seal stops holding after a while, which defeats the whole purpose.
What to use instead: a zip-top bag or a covered glass dish, kept in the refrigerator. USDA food-safety guidance is to marinate in the refrigerator rather than on the counter, and not to reuse a marinade from raw meat unless you boil it first. Thin cuts and kebab pieces pick up flavor fastest.
22. Potato chip maker
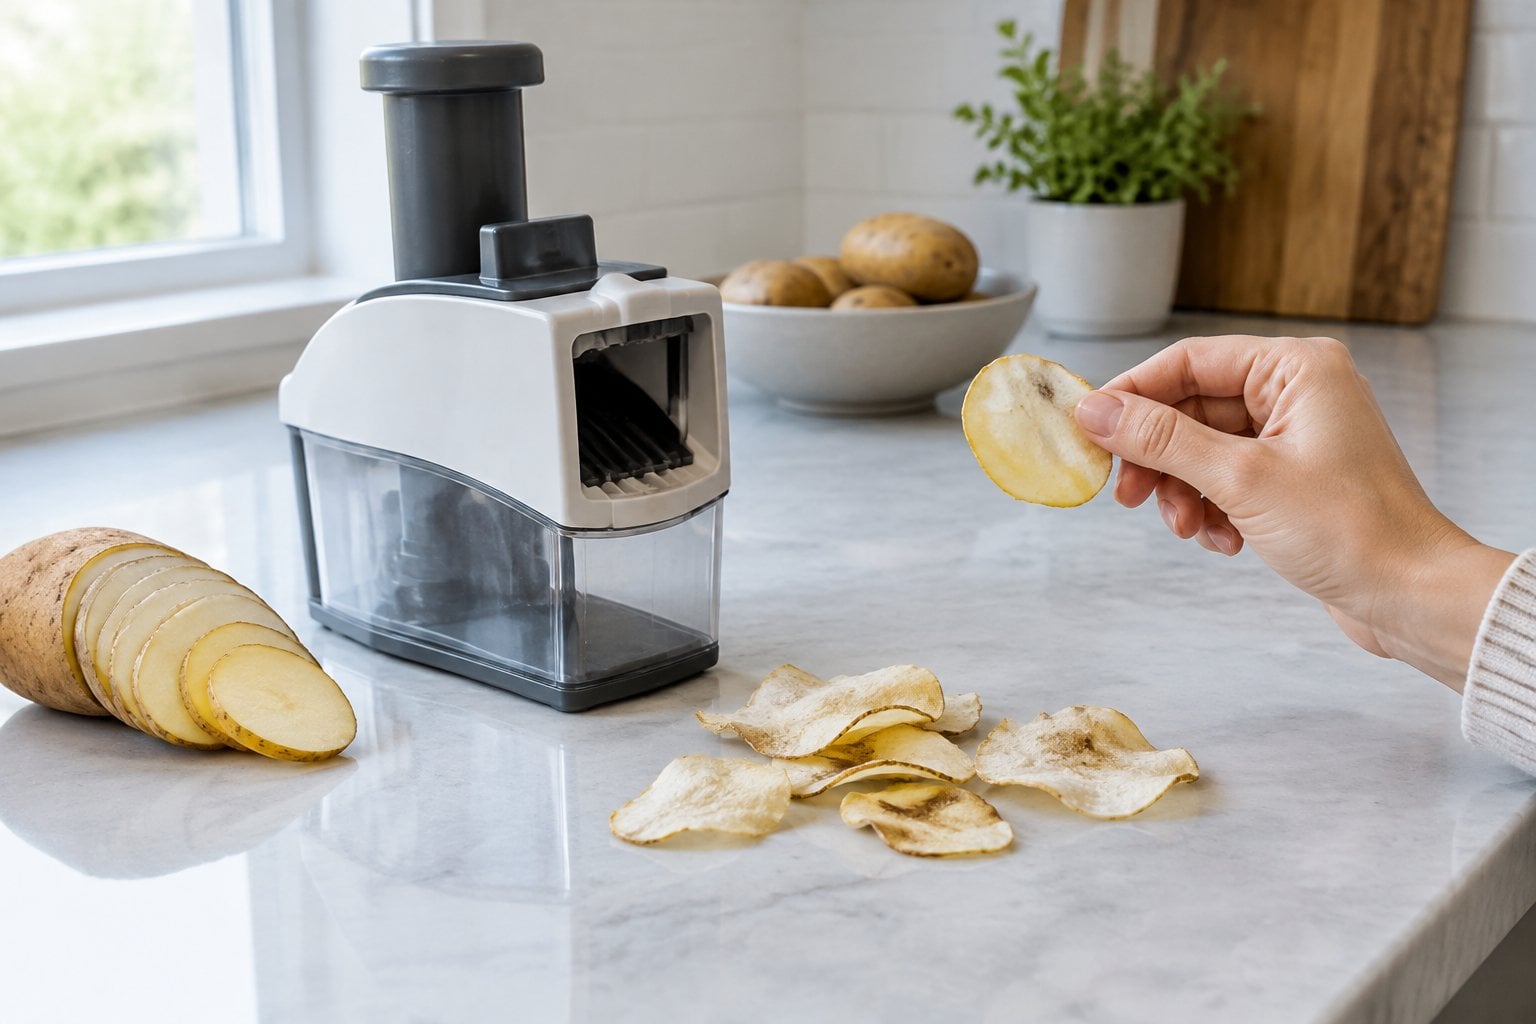
A microwave potato chip maker is a plastic tray with slots that hold thin potato slices upright. A few minutes in the microwave is supposed to give you crisp chips with little or no oil.
Shoppers often say the slices have to be very thin and very even to work, which usually means using a mandoline, so the gadget really needs a second gadget. Thick slices stay leathery while thin ones scorch, often on the same tray. Each tray holds a small handful, so making enough for a family means batch after batch, and the first chips go soft while you wait.
Potato starch also bakes onto the slots and needs a good scrub. Many owners say they tried it a few times and went back to the bag from the store.
What to use instead: a sheet pan in the oven. Slice potatoes thin, toss them with a little oil and salt, and spread them out in one layer. Bake them hot, turning once and watching closely near the end.
23. Spiralizer
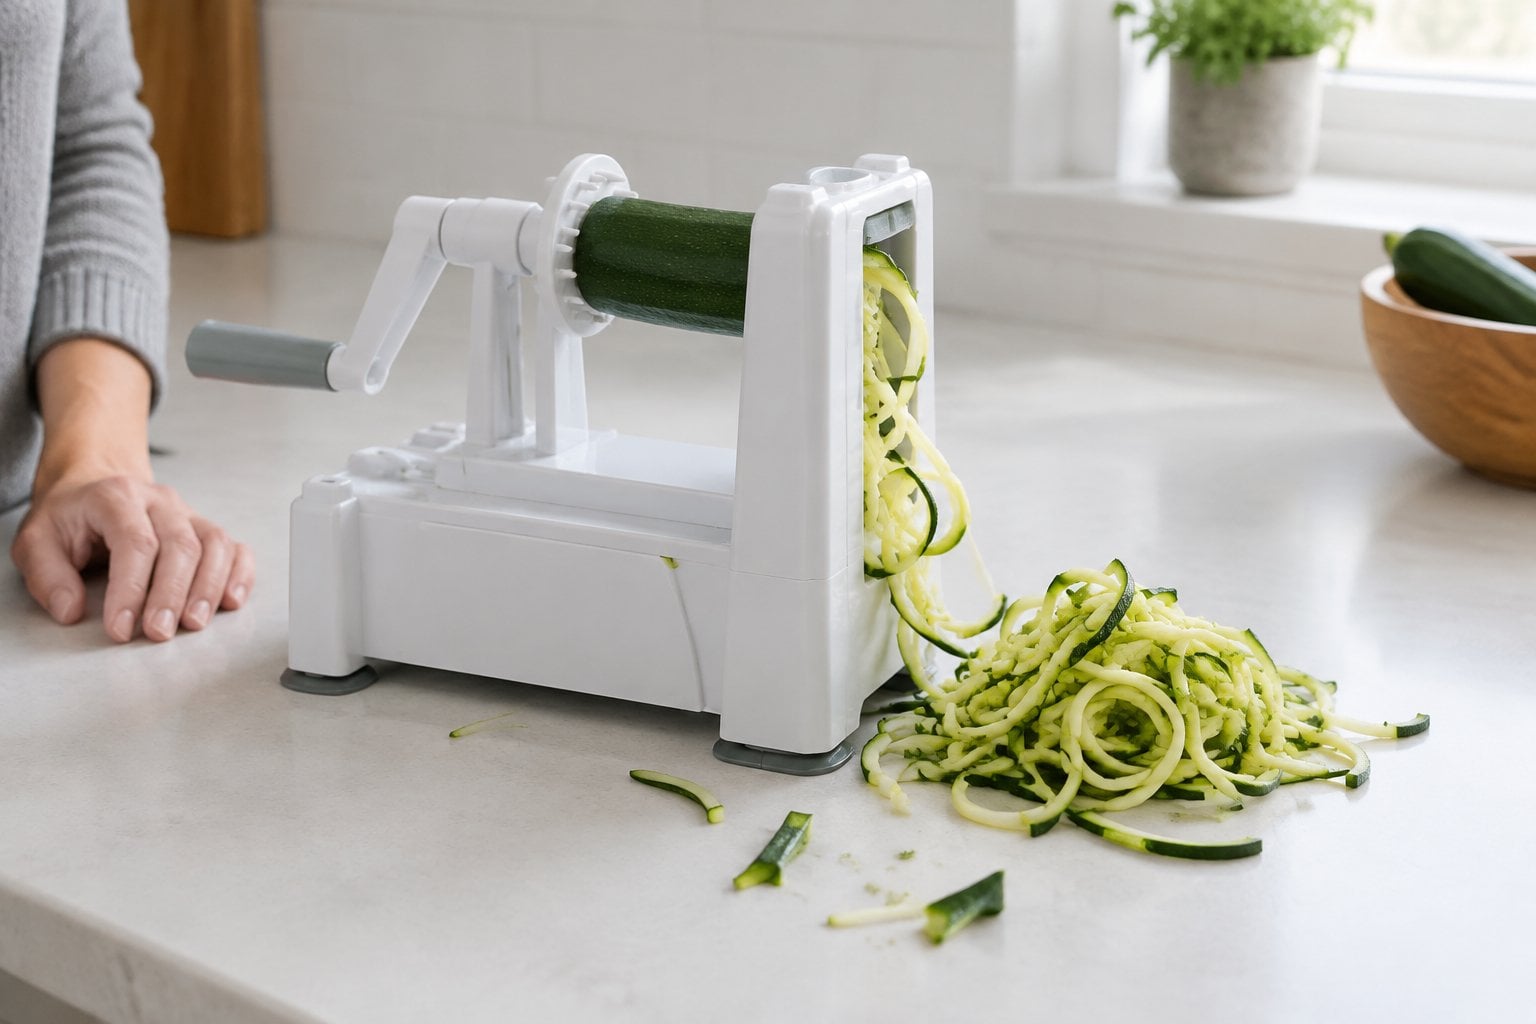
The spiralizer had its big moment in the mid-2010s, when zucchini noodles became a popular low-carb swap for pasta. Countertop models clamp a vegetable onto a spike and turn it against a blade with a hand crank. Handheld ones work like a big pencil sharpener.
Shoppers often say the countertop models have too many parts, with interchangeable blades that are sharp and awkward to wash and store. The suction feet slip on some counters. Each vegetable leaves a core and a stub the blade can’t reach, and softer vegetables turn mushy. Zucchini noodles also give off water as they cook, so many people found their sauce turned thin.
Once the trend faded, a lot of spiralizers went to the back of the cupboard.
What to use instead: a julienne peeler, which looks like a regular vegetable peeler with teeth and makes thin strips from zucchini or carrots. It costs little, rinses clean and fits in a drawer. A box grater also works for slaws.
24. Pancake batter dispenser
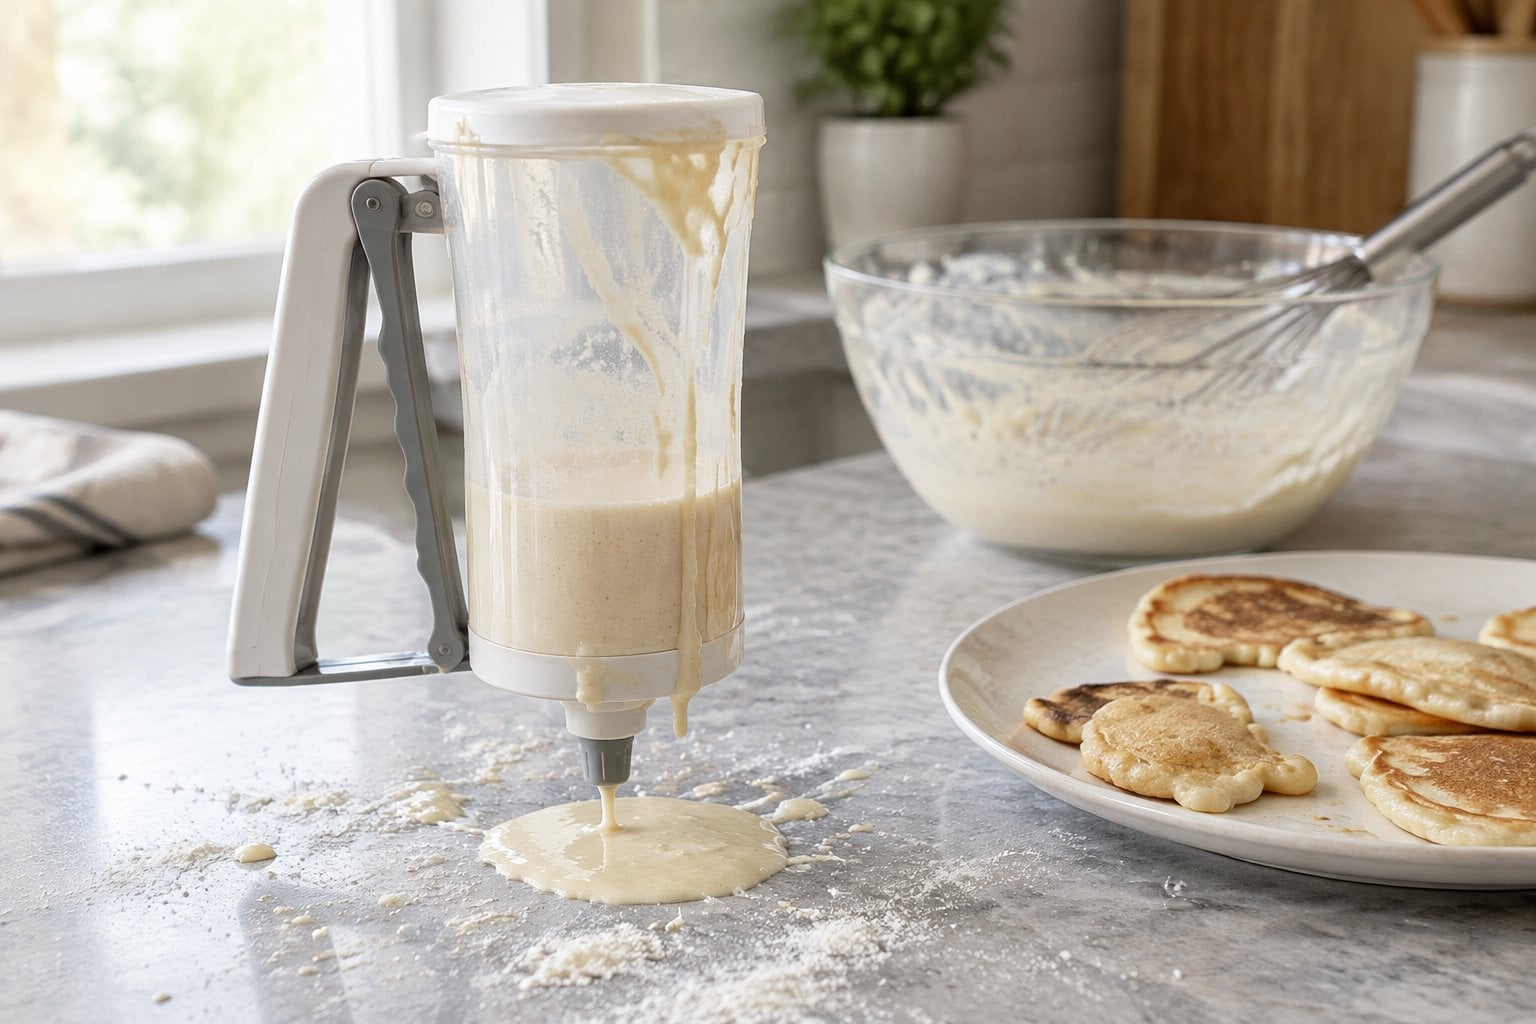
A pancake batter dispenser is a plastic container with a handle and a trigger or plunger at the bottom. You fill it with batter, hold it over the griddle and squeeze out neat circles.
Shoppers often say the valve is the weak spot. Many models drip between pancakes, leaving a trail across the stove. Thick batter, or batter with blueberries or oats in it, clogs the opening, while thin batter runs out too fast. The valve and seal are hard to clean, and dried batter in the trigger makes it stick the next time.
Some cheaper models are described as flimsy, with handles that crack.
You’ve likely made pancakes for decades by pouring from a bowl, and the dispenser doesn’t change much about the result.
What to use instead: a quarter-cup measuring cup or a small ladle for even pancakes. For neat shapes, a clean squeeze bottle or a large measuring cup with a spout gives you plenty of control, and both wash up easily.
25. One-touch jar opener
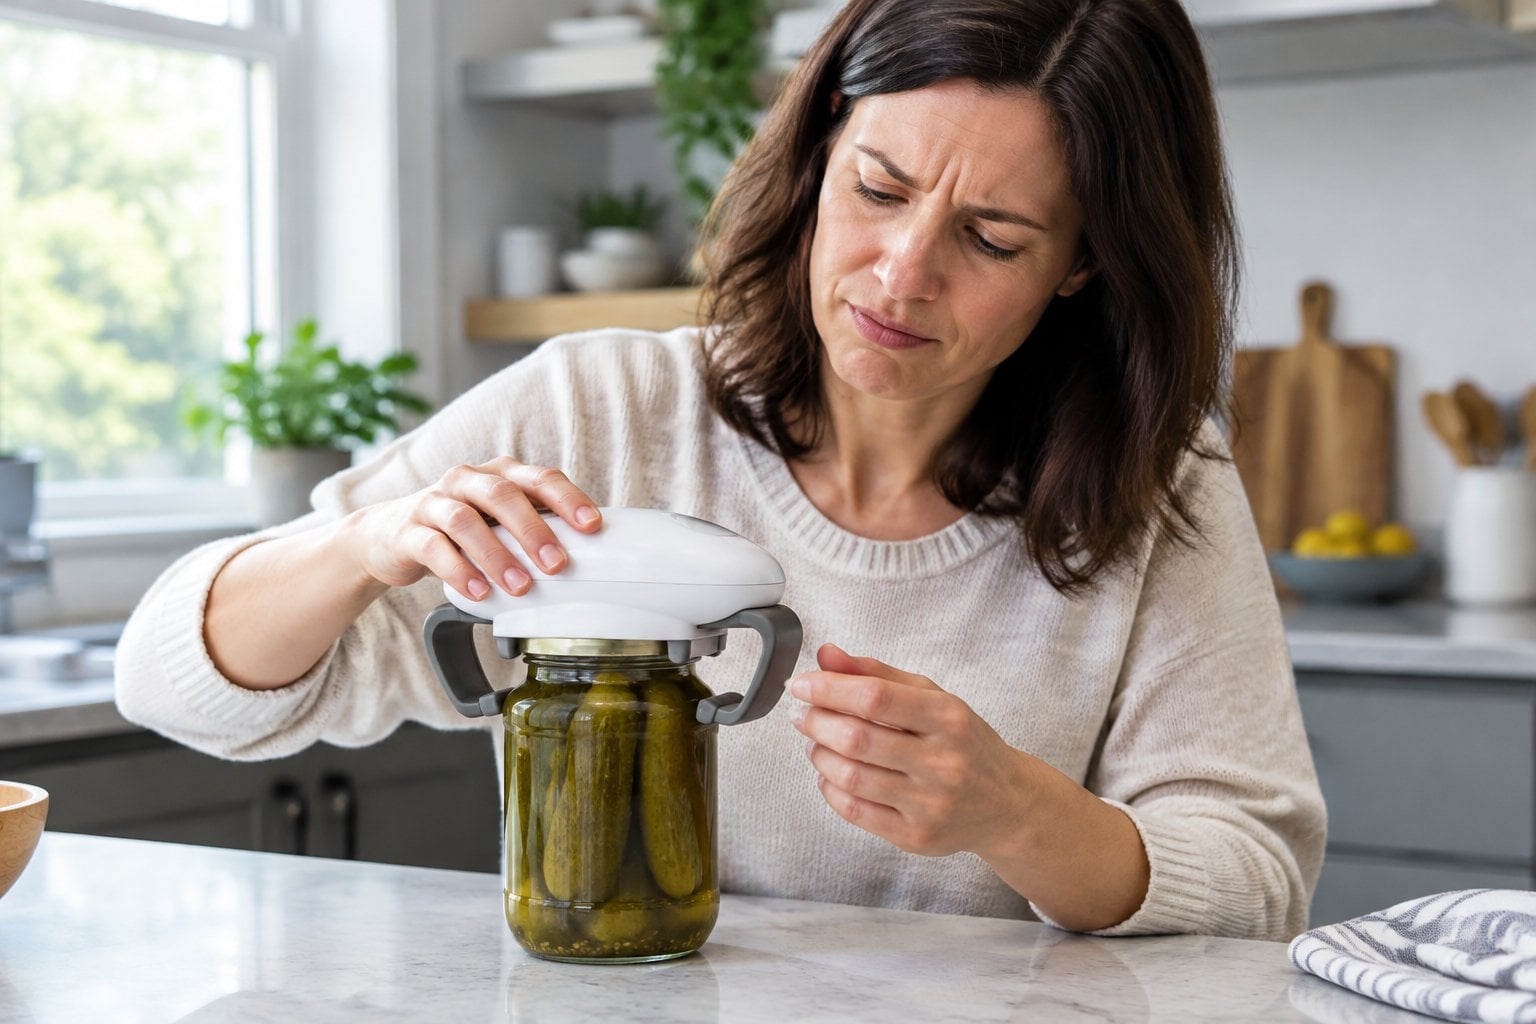
A battery-powered jar opener sits on top of a jar, grips the lid with little arms, and twists it off at the press of a button. For anyone with arthritis or weak hands, it sounds like a real help.
Shoppers’ reviews are mixed. Many say it handles ordinary jars but struggles with the stubborn ones, like a new jar of pickles with a strong vacuum seal or a lid glued down with dried jam. Others report that it slips on very wide or very narrow lids. Batteries run down, and the motor is slow enough that some people say they could have used a dish towel in the time it took.
People who rely on it every day often like theirs. Others say it ended up in a drawer.
What to use instead: a rubber grip pad, or a mounted under-cabinet jar opener with a V-shaped grip, which needs no batteries. To break a stubborn vacuum seal, slip a spoon handle under the edge of the lid and pry gently until you hear the pop.
26. Automatic pan stirrer
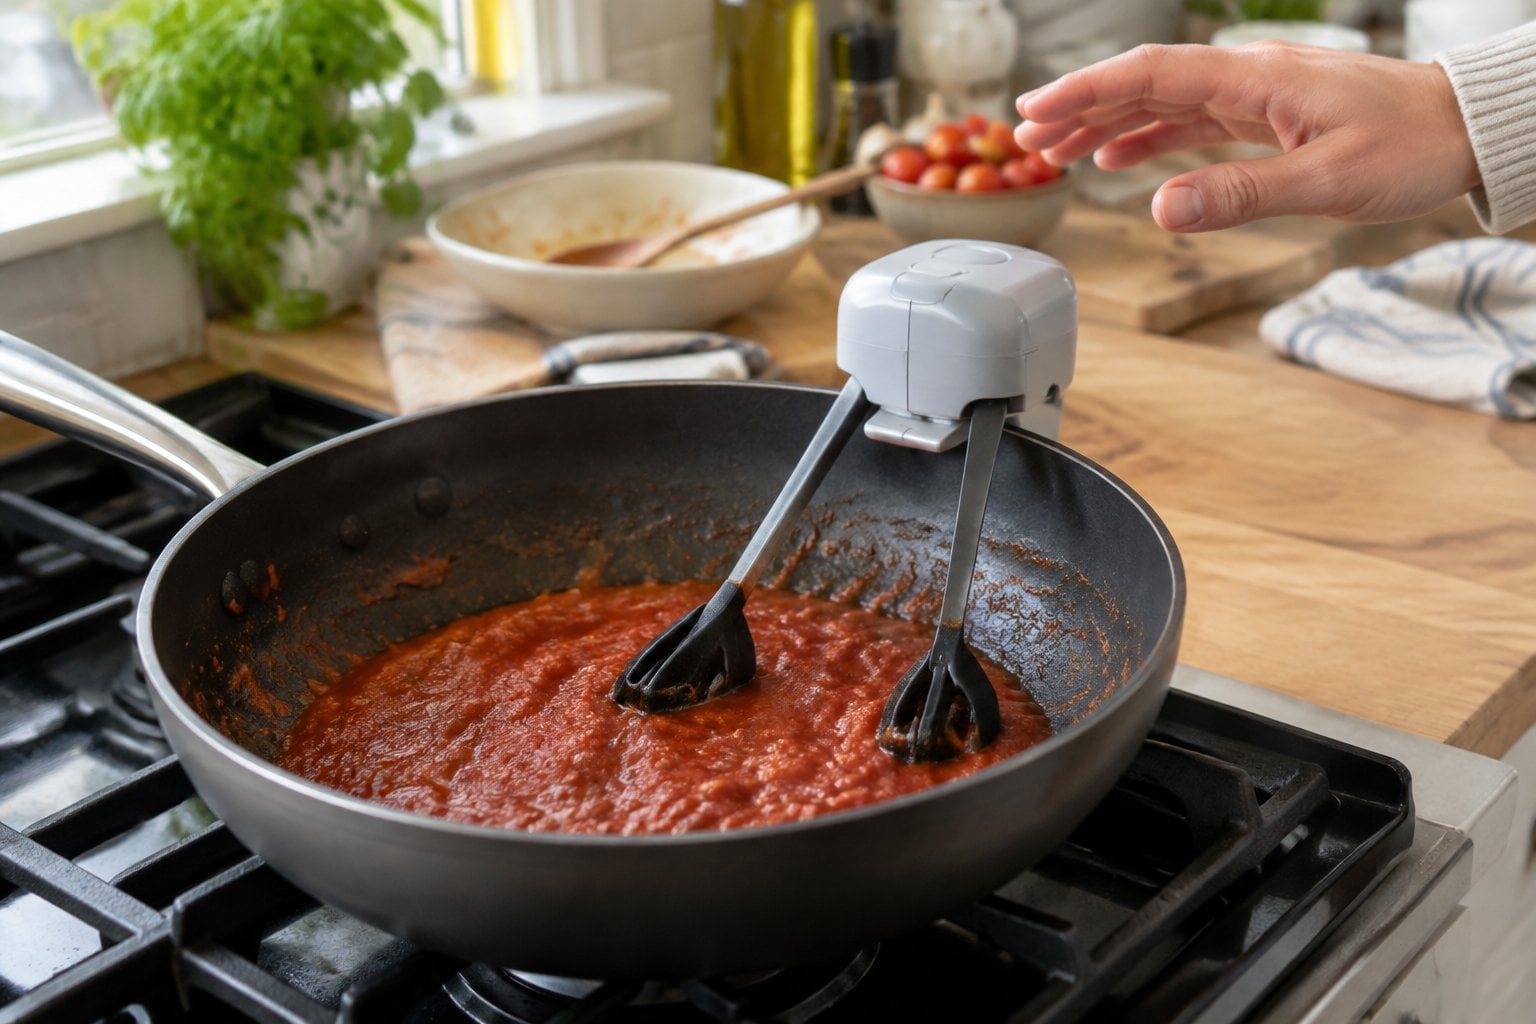
An automatic pan stirrer is a small battery-powered gadget that stands in a pot on little legs and turns a set of paddles through sauces, soups or custards. The idea is that you can step away from the stove while it does the stirring.
Shoppers often say it works only in a narrow set of conditions. It does fine in thin liquids at a gentle simmer, but thick sauces, gravies and risotto slow it down or stop it. The paddles don’t reach the corners where food sticks and scorches, so you still need to stir by hand. Some owners report that it tips over or wanders around the pan.
The motor unit can’t go in water, and cleaning sauce off the paddles is fiddly. For a pot you’d need to keep an eye on anyway, it’s one more thing to wash.
What to use instead: a flat-edged wooden spoon or silicone spatula, which scrapes the bottom and corners. Turn the heat down and set a kitchen timer as a reminder to give the pot a stir.
27. Pasta maker attachment
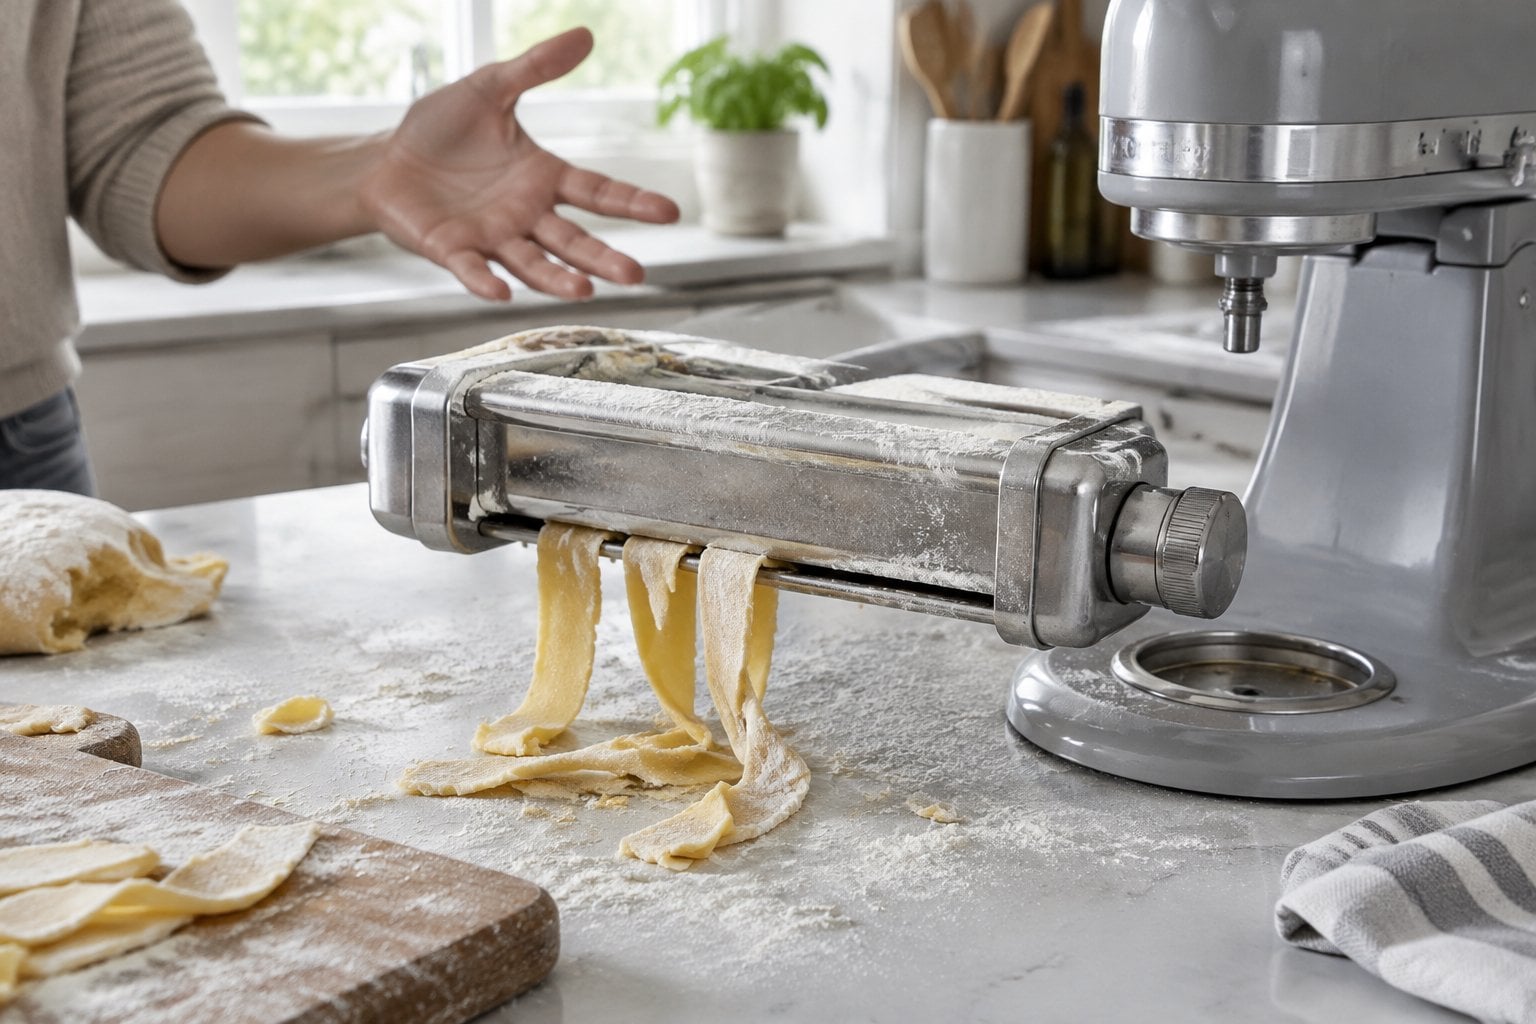
Pasta attachments for stand mixers, like the roller and cutter set sold by KitchenAid, look like a fun way to turn flour and eggs into fresh noodles. Many people bought a set to go with the mixer they already loved.
The pasta still takes work. You make and rest the dough, then feed it through the roller again and again, changing the setting each time, while catching the sheet with one hand. Many shoppers say it’s a two-person job, at least at first.
Cleaning is the bigger complaint. KitchenAid’s own care instructions say the roller shouldn’t go in the dishwasher or be put in water: you let the leftover dough dry, then brush or pick it out. The attachments are sold separately and cost a good deal, which makes a set sitting unused sting a little more.
Plenty of cooks who make pasta often love theirs. Many others used it twice.
What to use instead: a rolling pin and a sharp knife for wide homemade noodles, or a good box of dried pasta, which suits most sauces just as well.
28. Centrifugal juicer
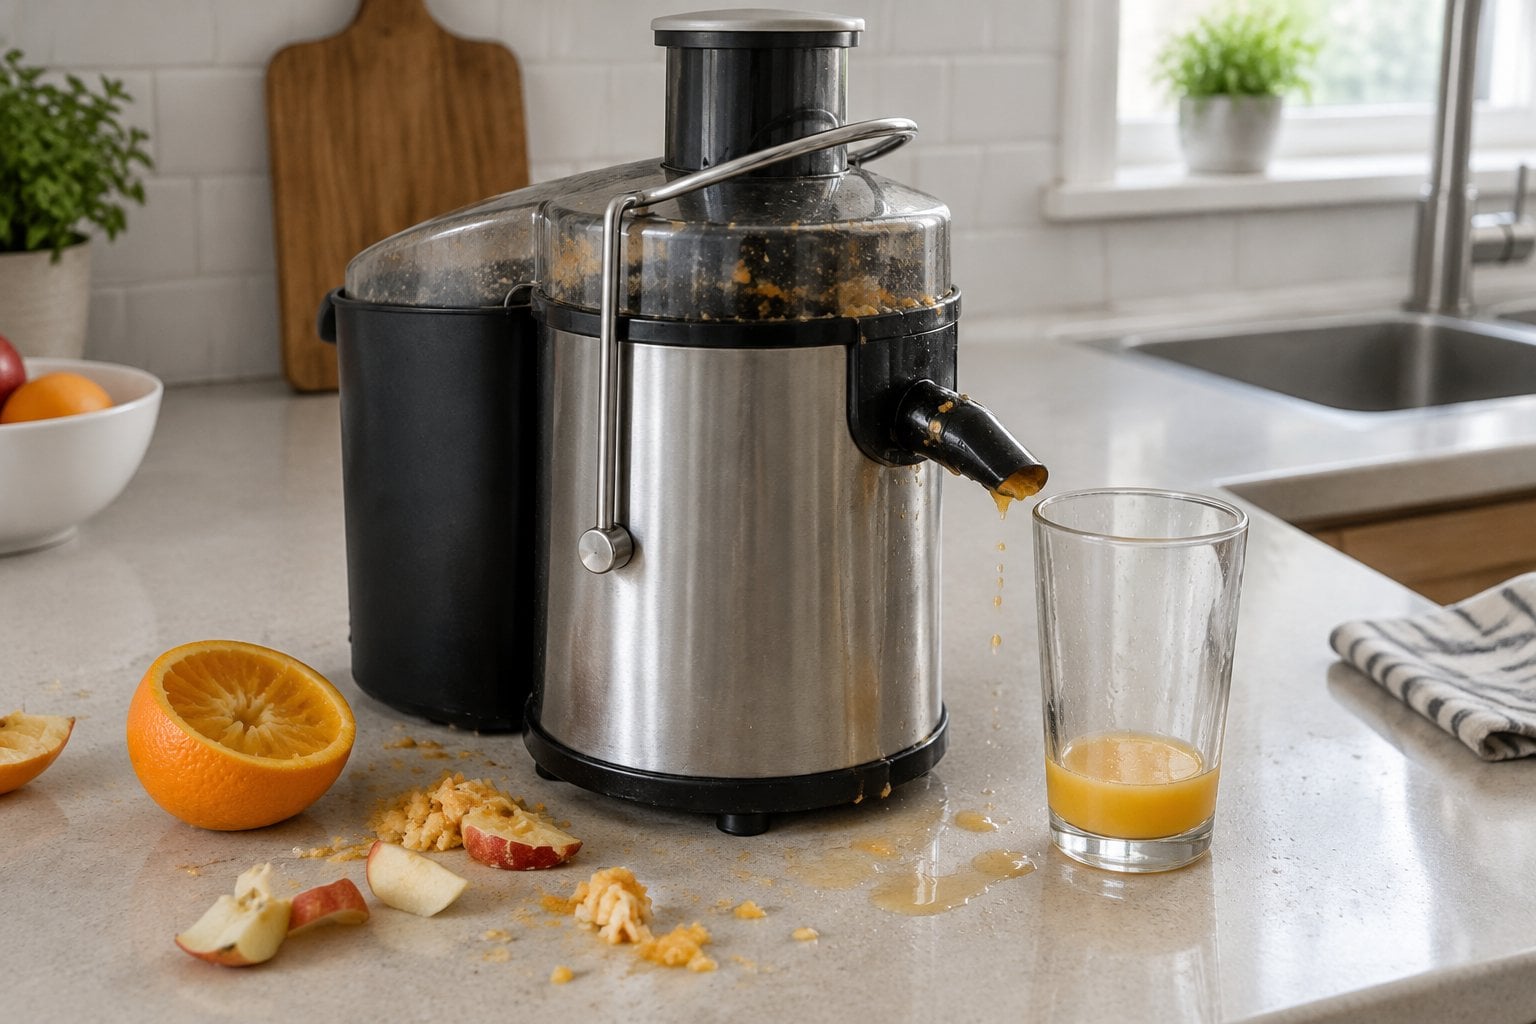
A centrifugal juicer has a fast-spinning blade at the bottom of a mesh basket that shreds fruit and vegetables and flings the juice out through the mesh. Juicing has had several big moments, from the juicer infomercials of the early 1990s to the green juice craze of the 2010s, and a lot of these machines were sold.
The most common complaint is cleanup. The mesh basket has to be scrubbed with a stiff brush right away, before pulp dries in the fine holes, and there’s also the lid, the pulp bin and the spout. Many owners say cleaning takes longer than making the juice. The machines are loud and bulky, and they go through a lot of produce for one glass. Leafy greens give very little.
Fresh juice also needs some care: the FDA warns that juice which hasn’t been pasteurized can carry harmful bacteria, so wash the produce well and drink it soon after you make it.
What to use instead: a simple glass reamer or hand press for oranges and lemons, or eat the fruit whole and keep all the fiber.
29. Electric ice cream maker
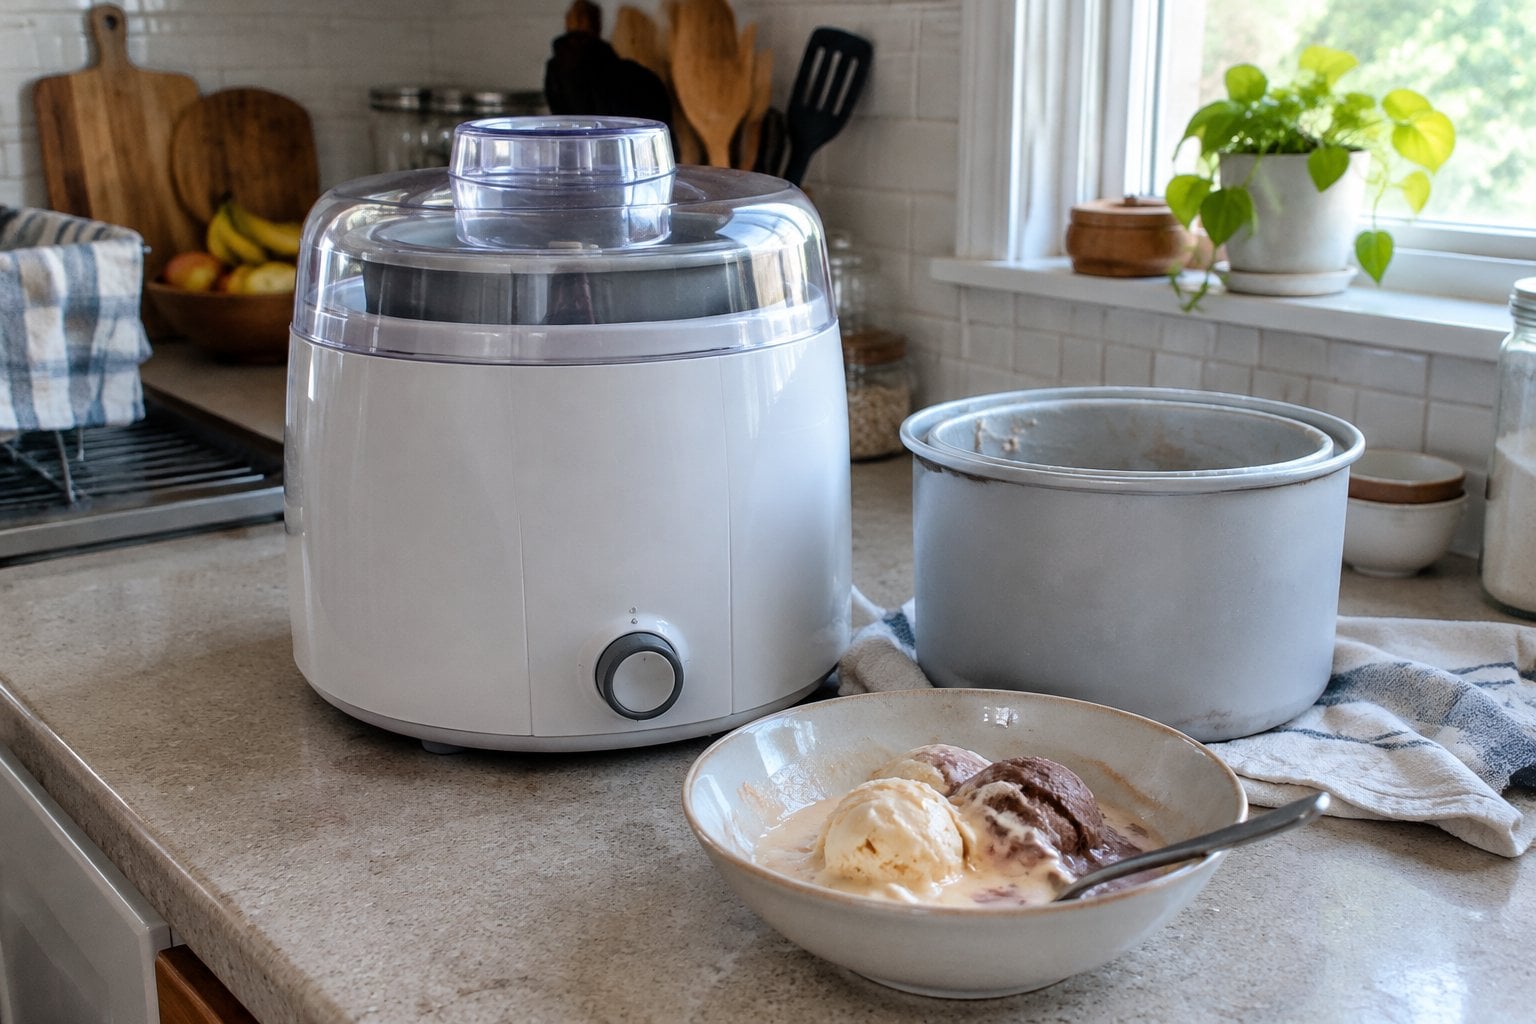
The most common home ice cream makers have a double-walled bowl filled with coolant that you freeze ahead of time, and a motor base that turns a paddle while the mixture freezes. They’re far easier than the old hand-cranked buckets with rock salt and ice. Still, plenty end up in the cupboard.
The big catch is planning. The bowl usually needs to sit in the freezer overnight or longer before it’s cold enough, so you can’t decide to make ice cream after supper. It also takes up a lot of freezer room. Shoppers often report that the ice cream comes out soft, like soft-serve, and needs a few more hours in the freezer to firm up.
Then the bowl, lid and paddle need washing and drying before the bowl goes back in the freezer.
What to use instead: no-churn ice cream. Whip a pint of heavy cream to stiff peaks, fold in a can of sweetened condensed milk and your flavoring, and freeze it in a loaf pan until firm.
30. Bagel slicer
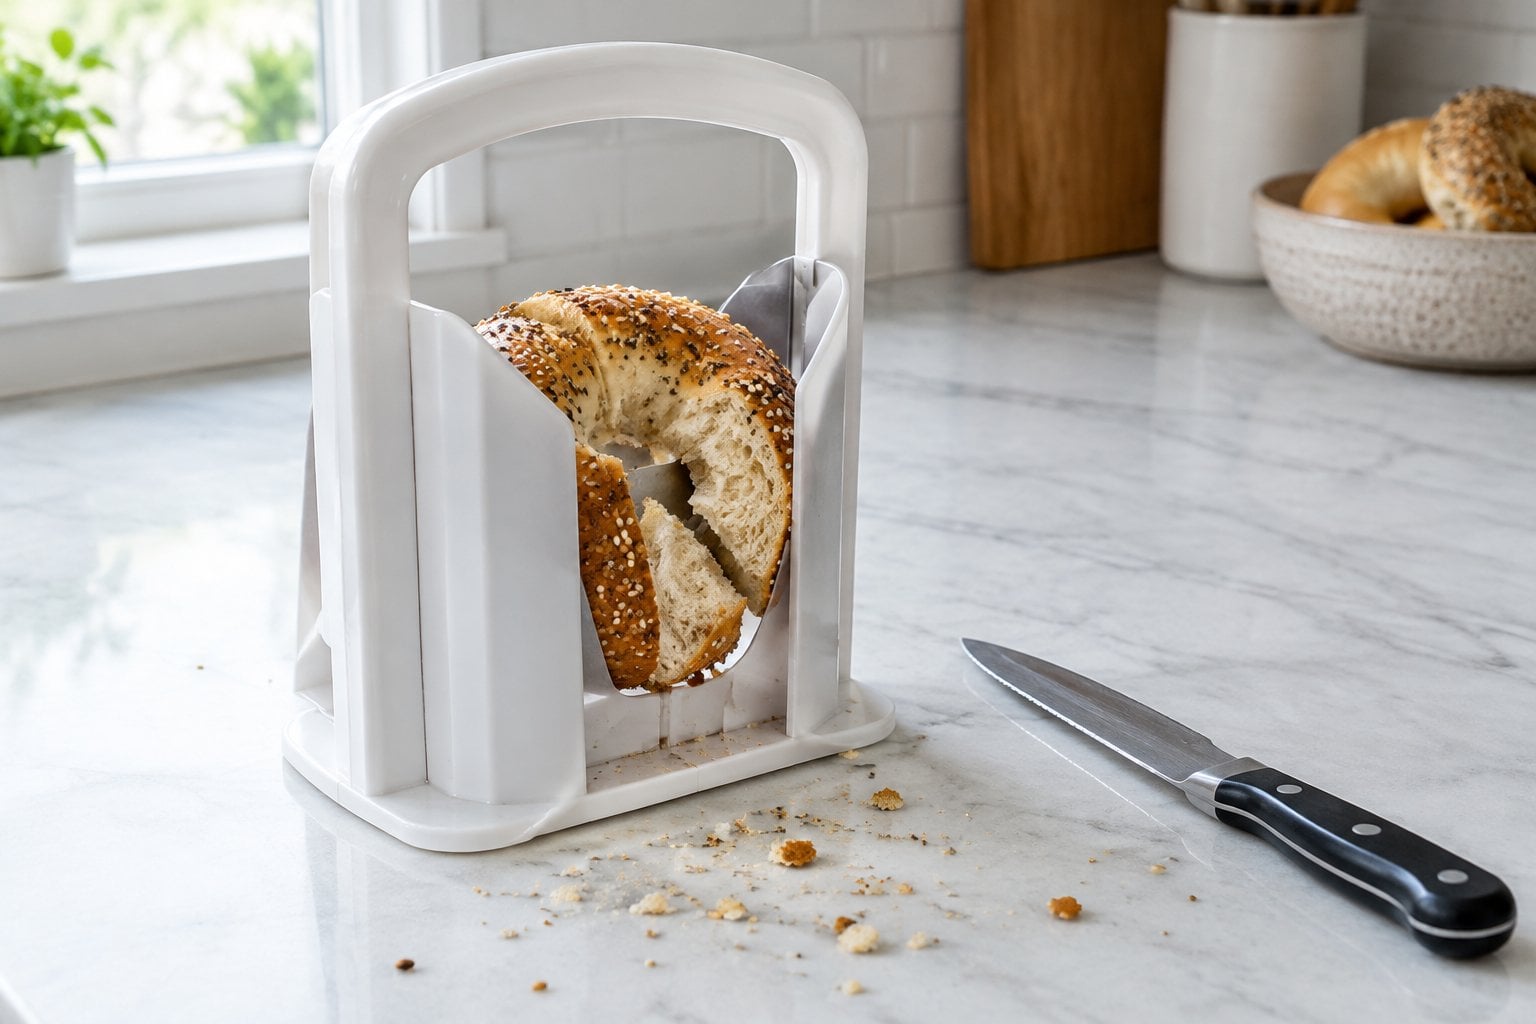
A bagel slicer, sometimes called a bagel guillotine, holds the bagel upright in a frame while you push a blade down through the middle. The selling point is safety, since cutting a round, chewy bagel with a knife is a well-known way to slip and nick a hand.
Shoppers who gave theirs low marks mention a few things. Large or extra-thick bakery bagels don’t fit the opening, or they get squashed. Some report uneven halves, especially once the blade dulls. Others say the frame is bulky for a drawer and awkward to clean crumbs out of.
If bagels are a weekend treat in your house, it may spend most of the week collecting crumbs in the cupboard.
What to use instead: a serrated bread knife and a steady technique. Lay the bagel flat on a cutting board, keep your palm flat on top, and saw across, away from your hand. Or ask the bakery to slice them, which most will do for you.
You might also enjoy The 30 Most Overrated Holiday Foods Everyone Pretends to Like and The 30 Worst Thanksgiving Side Dishes According to Home Cooks.
Why So Many Gadgets End Up in the Drawer
Look back over this list and the same few complaints keep coming up. The gadget does one small job. It takes longer to wash than the job took to do. It’s fussy about size or ripeness. And it needs a home in a kitchen that’s already full.
A good knife, a sturdy pan and a few bowls have outlasted every one of these trends. That isn’t because they’re old-fashioned. It’s because they do dozens of jobs and wash up in a minute.
A Few Questions Before You Buy the Next One
Before a new gadget goes in the cart, ask whether something in your kitchen already does the job. Think about how often you’d really use it, and be honest about where it would live. Count the parts you’d have to wash. If it’s meant as a gift, those questions matter even more, since the person opening it has to find room for it too.
Reading reviews helps, especially the middle ones. Shoppers who give two or three stars tend to explain exactly what went wrong, while many glowing reviews are written in the first week, before the novelty wears off.
What to Do With the Ones You Already Have
Most of us have a few of these tucked away. If a gadget hasn’t come out of the drawer in a year, it’s probably safe to let it go. Many thrift stores and church rummage sales welcome small kitchen appliances in working order, and someone else may be delighted to find that cotton candy machine for a grandchild’s party.
Then enjoy the extra drawer space. It may be the most useful thing in the kitchen.