
33 DIY Kitchen Upgrades That Cost Less Than a Night Out: Transform Your Space on a Budget
Would you like to save this?
Your kitchen doesn’t need a full renovation to feel fresh and updated. Small, strategic changes can completely transform the look and functionality of your space without the hefty price tag that typically comes with major remodeling projects.
Most kitchen upgrades that deliver noticeable impact cost less than $50 and can be completed in an afternoon. From simple hardware swaps to peel-and-stick surfaces, these budget-friendly improvements let you refresh your kitchen gradually.
You’ll discover how to update cabinets, improve storage, enhance lighting, and modernize finishes using accessible materials and straightforward techniques that don’t require professional skills or expensive tools.
1. Paint cabinets with Benjamin Moore Advance Satin finish
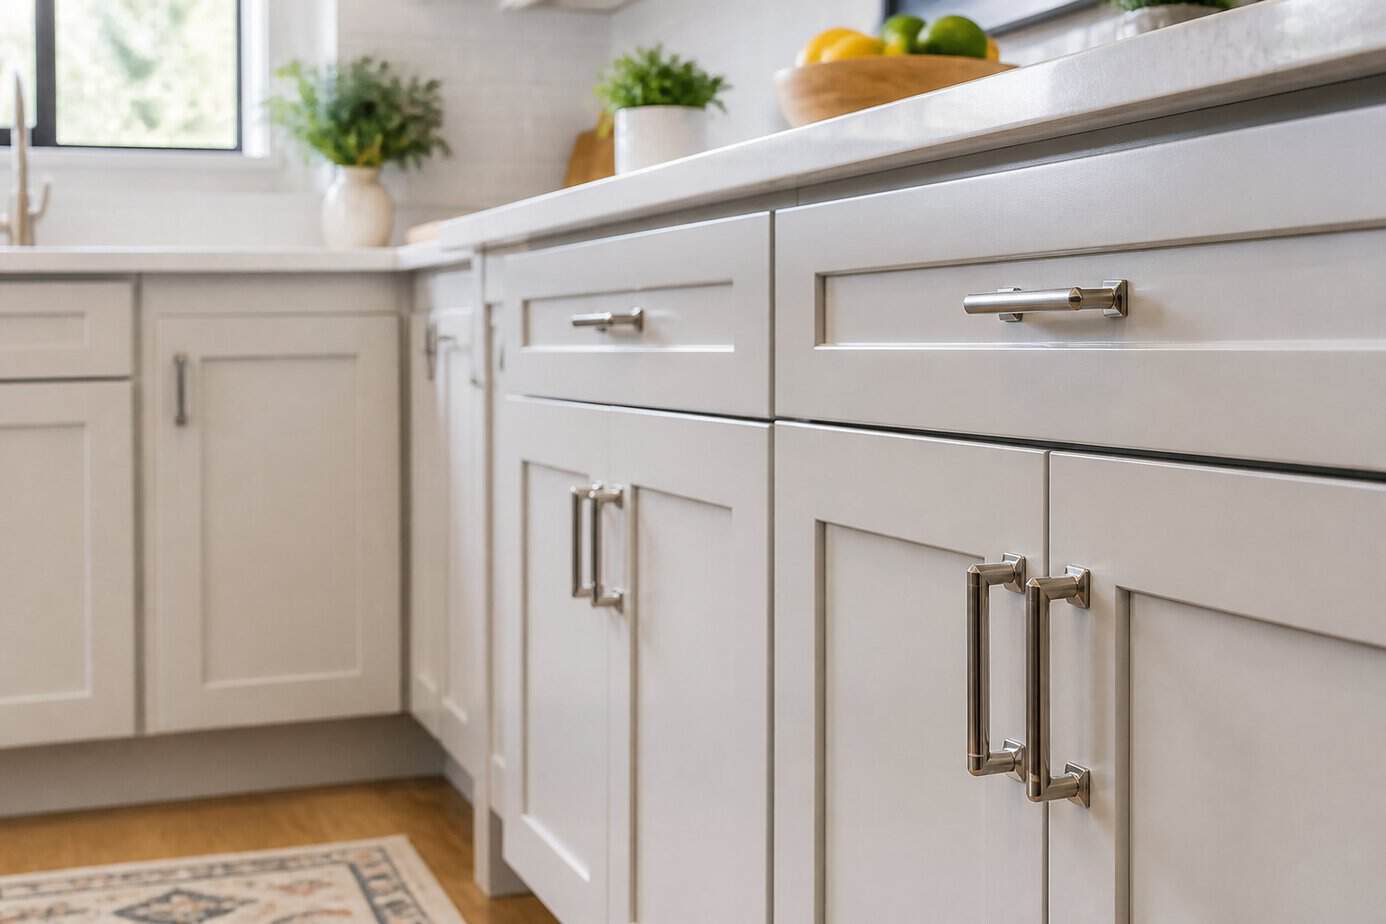
Benjamin Moore Advance offers a waterborne alkyd formula that combines water-based cleanup with oil-based paint performance. This makes it an excellent choice for cabinet refinishing projects.
The satin finish provides durability while maintaining an easy-to-clean surface. You’ll need to properly prepare your cabinets by cleaning and lightly sanding them before application.
Advance paint features self-leveling properties that help minimize brush marks. This allows you to achieve a smooth, professional appearance without hiring a contractor.
The paint dries to a hard, durable finish that withstands daily wear. You can complete most cabinet painting projects over a weekend, though multiple thin coats work better than one thick application.
For less than the cost of a night out, you can purchase enough paint to refresh a few cabinet doors and create a noticeable update in your kitchen.
2. Install peel-and-stick subway tile backsplash (Smart Tiles)
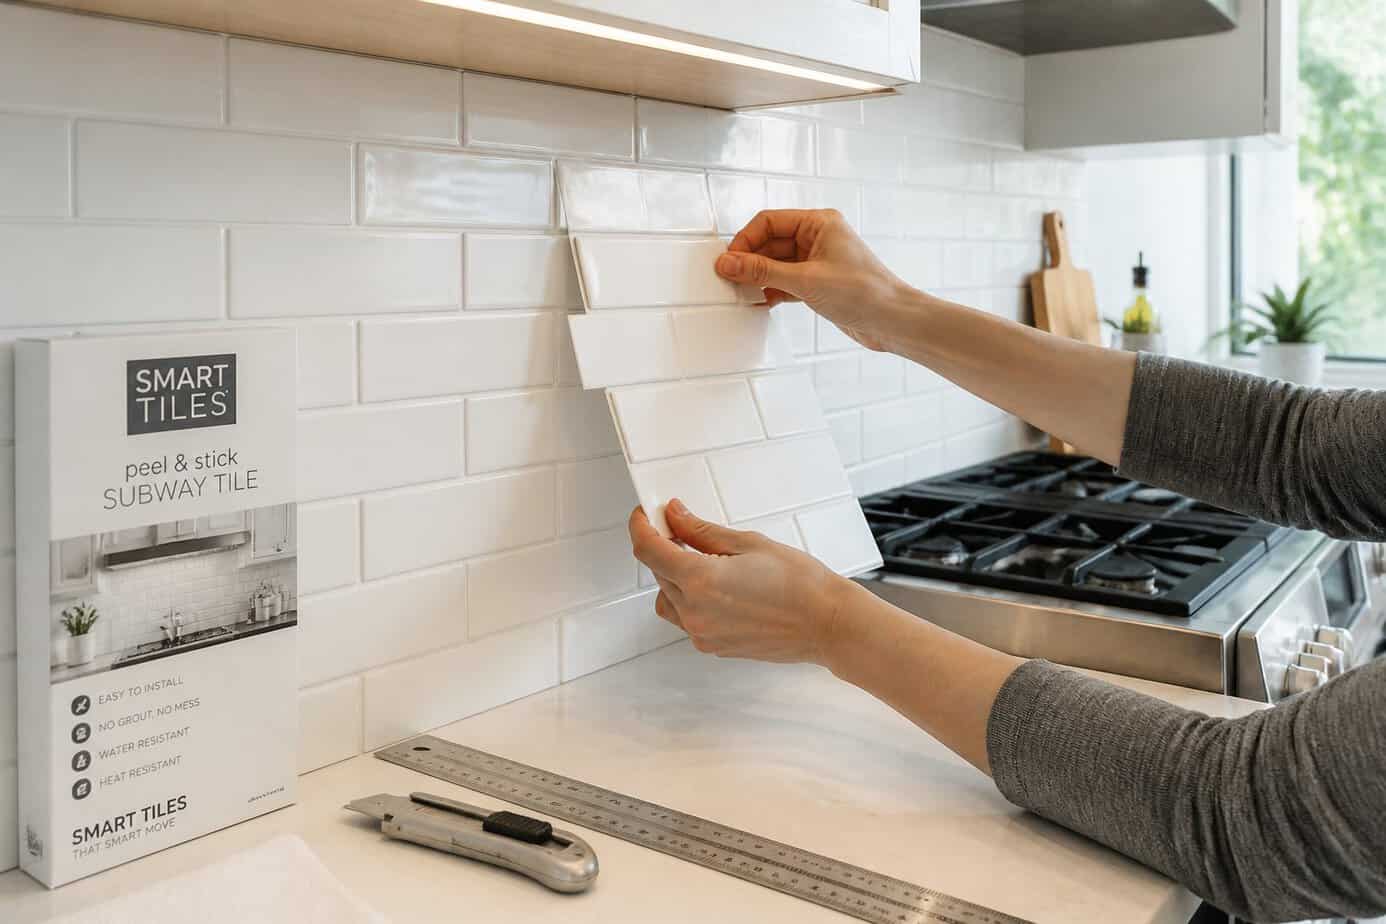
Smart Tiles offer a grout-free way to update your kitchen backsplash without professional help. These adhesive-backed tiles stick directly to clean, smooth surfaces, eliminating the need for mortar or messy installation processes.
You’ll need minimal tools: a measuring tape, utility knife, level, and cutting mat. The tiles are repositionable during installation, which helps you correct placement mistakes before the adhesive sets permanently.
Start by cleaning your wall thoroughly to ensure proper adhesion. Measure your backsplash area and plan your layout before peeling off any backing. Cut tiles to fit around outlets and edges using a sharp utility knife and straightedge.
The installation works well for renters since the tiles can be removed with minimal surface damage on most walls. Smart Tiles resist heat and humidity, making them practical for areas behind stoves and sinks.
3. Swap cabinet hardware for brushed brass knobs and pulls
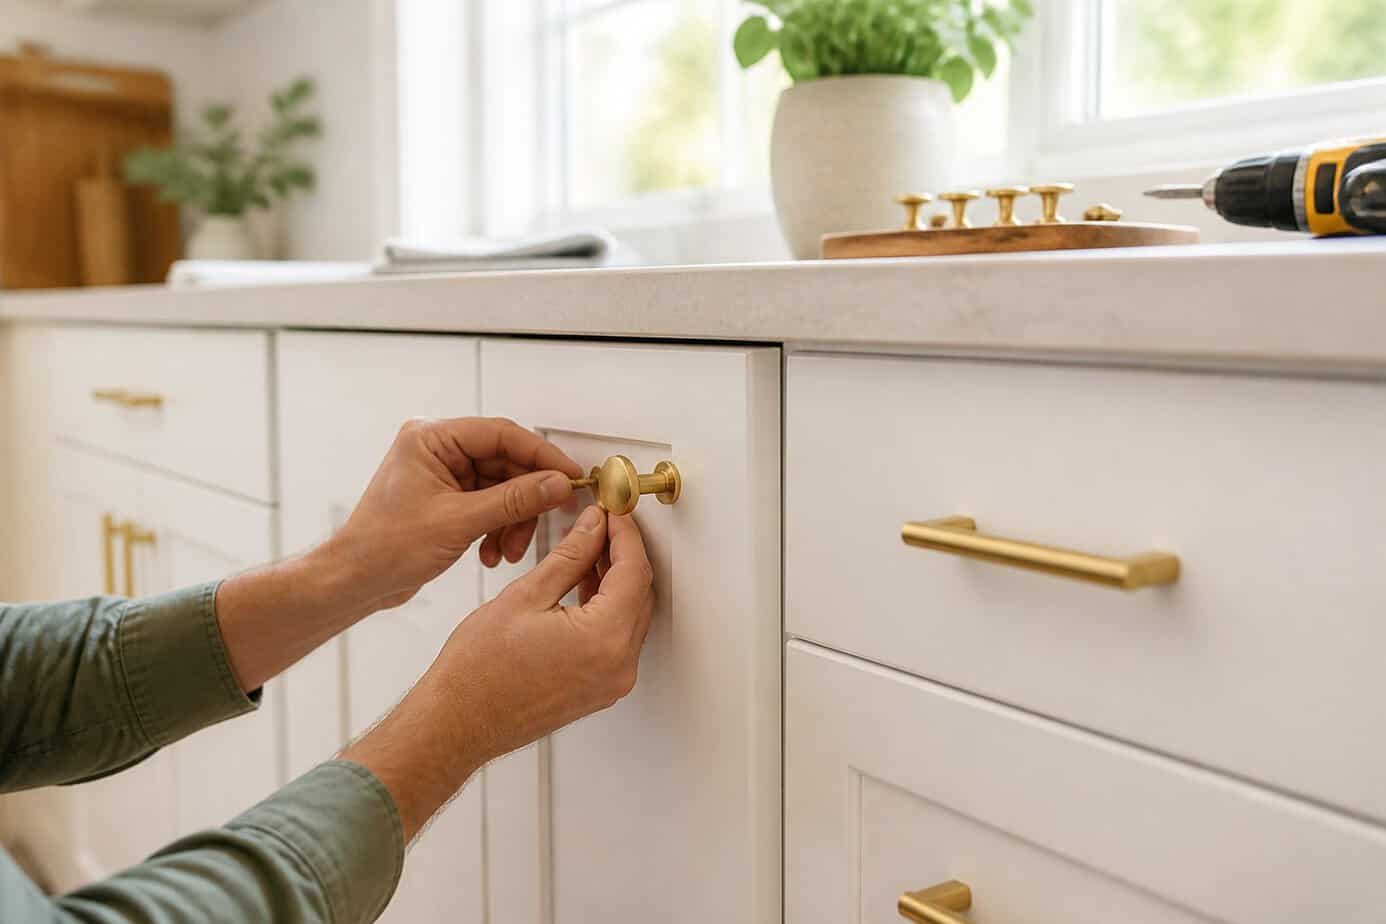
Replacing your cabinet hardware takes minimal time and requires only a screwdriver. Brushed brass knobs and pulls add warmth and character to any kitchen style, from modern to traditional.
Most hardware replacement is straightforward since you’ll use existing holes. Measure your current hardware’s center-to-center distance before shopping to ensure proper fit. If your cabinets have single holes, knobs work best. For double holes, pulls are the right choice.
You can find affordable brushed brass hardware at local hardware stores or online retailers. A typical kitchen requires 20-30 pieces depending on your cabinet count.
The installation process takes about an hour for an average kitchen. Simply unscrew the old hardware, align the new pieces with existing holes, and tighten from the inside of the cabinet door or drawer.
4. Add adhesive vinyl plank flooring (LifeProof)
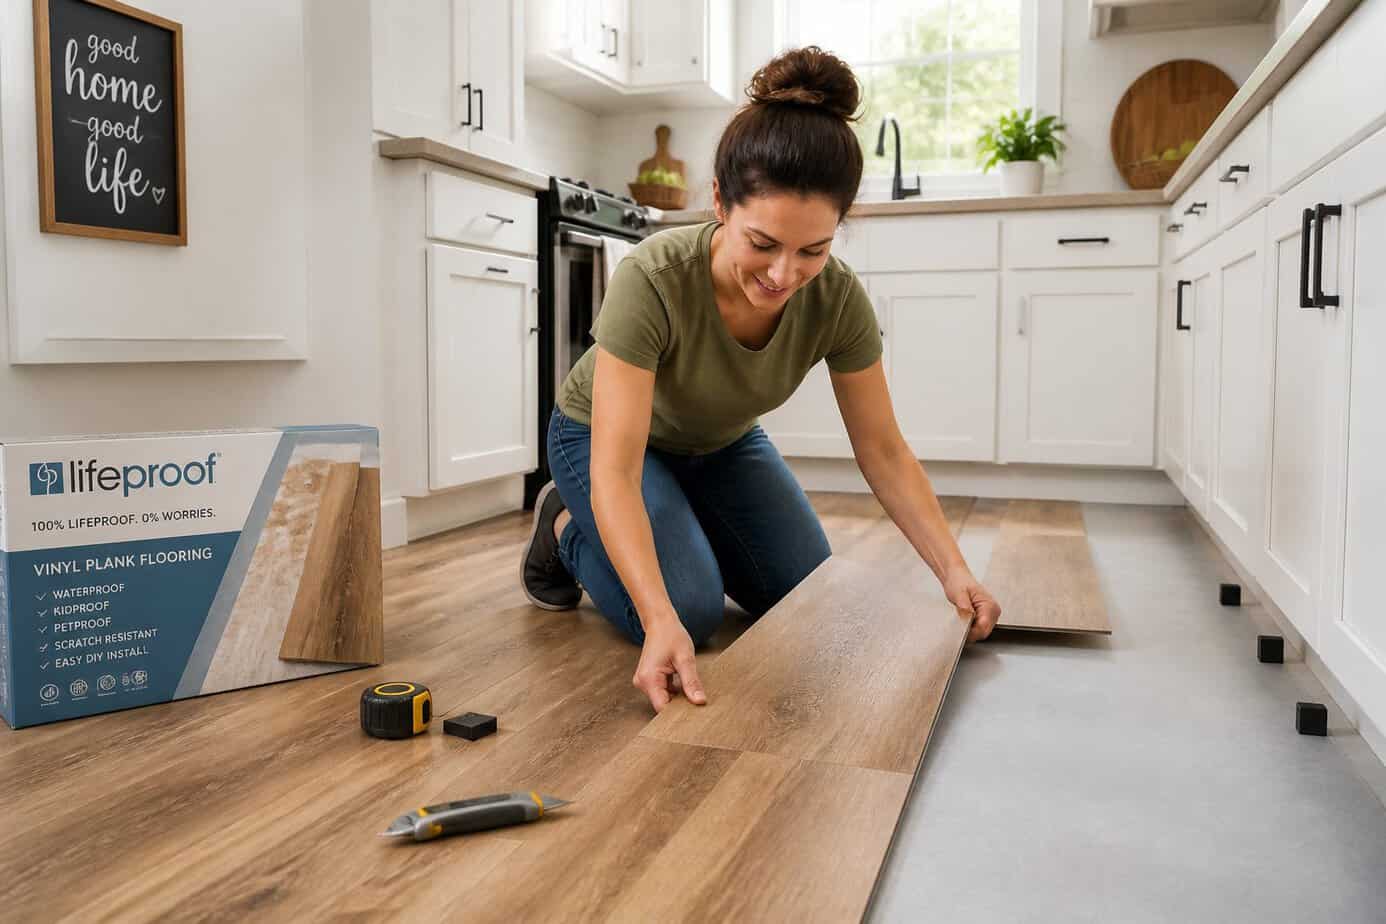
LifeProof vinyl flooring transforms your kitchen floor without the high cost of traditional materials. You can install it directly over existing wood floors, concrete subfloors, or old vinyl.
The click-lock system makes installation straightforward. You’ll need basic tools like a utility knife, tapping block, and measuring tape. Most homeowners complete their installation over a single weekend.
The planks require acclimation to your room’s temperature before installation. Let them sit in the space for 24-48 hours to prevent expansion or contraction issues later.
Start by preparing your subfloor and ensuring it’s clean and level. Stagger the seams between planks for a professional appearance and stronger installation. Cut planks to fit around cabinets and doorways using your utility knife.
The rigid-core construction provides durability and water resistance, making it ideal for kitchens where spills happen frequently.
5. Replace faucet with Delta Trinsic single-handle
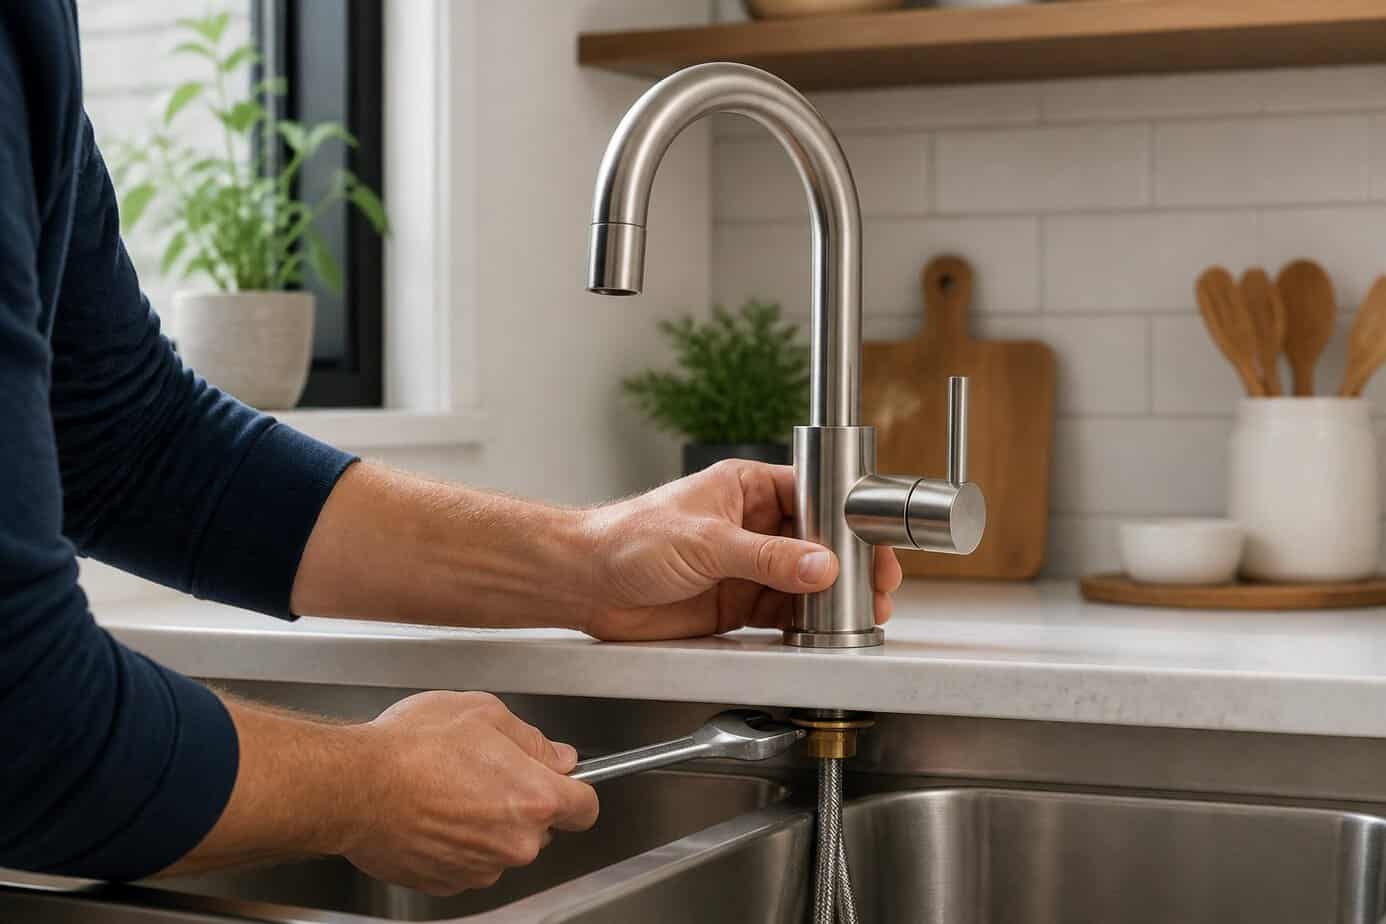
The Delta Trinsic single-handle faucet offers a sleek, modern look that transforms your kitchen sink area without breaking the bank. You can complete this installation yourself in about an hour with basic tools.
You’ll need a Phillips head screwdriver, two wrenches, safety glasses, and a flashlight. Start by turning off the water supply valves under your sink. Remove your old faucet by disconnecting the supply lines and loosening the mounting hardware.
Unpack your new Delta Trinsic and verify all parts are included. The kit contains the faucet body, supply lines, mounting hardware, and necessary gaskets. Follow the included installation guide to attach the mounting hardware and connect the supply lines. Once secured, turn the water back on and check for leaks.
This upgrade gives your kitchen a contemporary edge for less than dinner at a restaurant.
6. Install under-cabinet LED strip lights (Philips Hue Lightstrip)
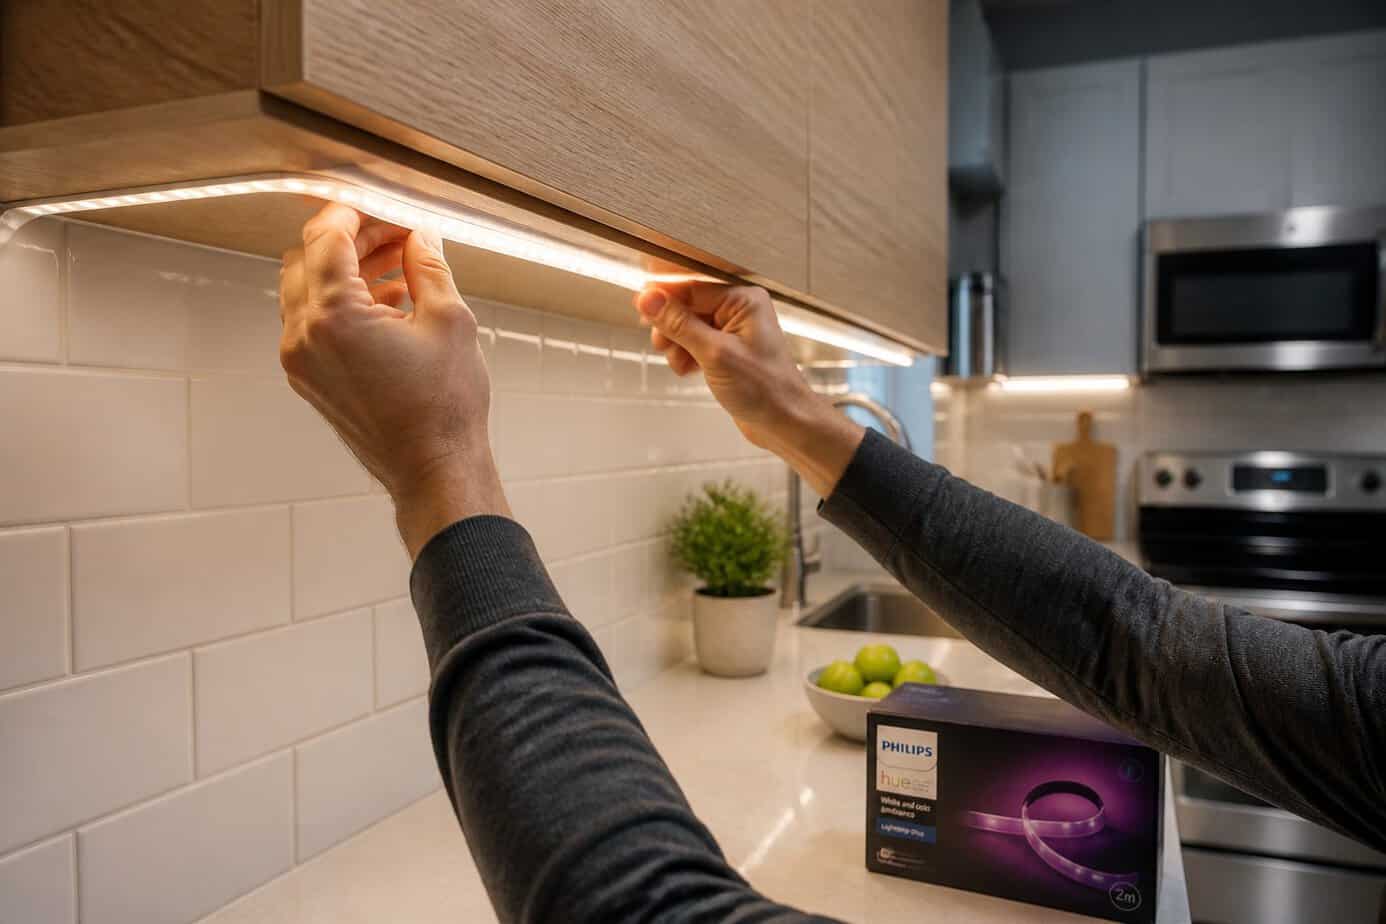
Under-cabinet lighting transforms your kitchen’s functionality and ambiance without major renovation. Philips Hue Lightstrips offer a straightforward installation that you can complete in under an hour.
Start by measuring the space beneath your cabinets to determine how much strip lighting you need. Clean the surface thoroughly before installation to ensure proper adhesion.
The installation process is simple. Attach the included mounting clips or use the adhesive backing to secure the strip to the underside of your cabinets. Plug the strip into an outlet, then download the Philips Hue app to control brightness and color.
You can cut the strips at designated marks to fit your exact measurements. This flexibility allows you to work around obstacles and create a custom fit for your kitchen layout.
The improved task lighting reduces shadows on your countertops while adding a modern aesthetic to your space.
7. Apply Valspar Chalky Finish on open shelving
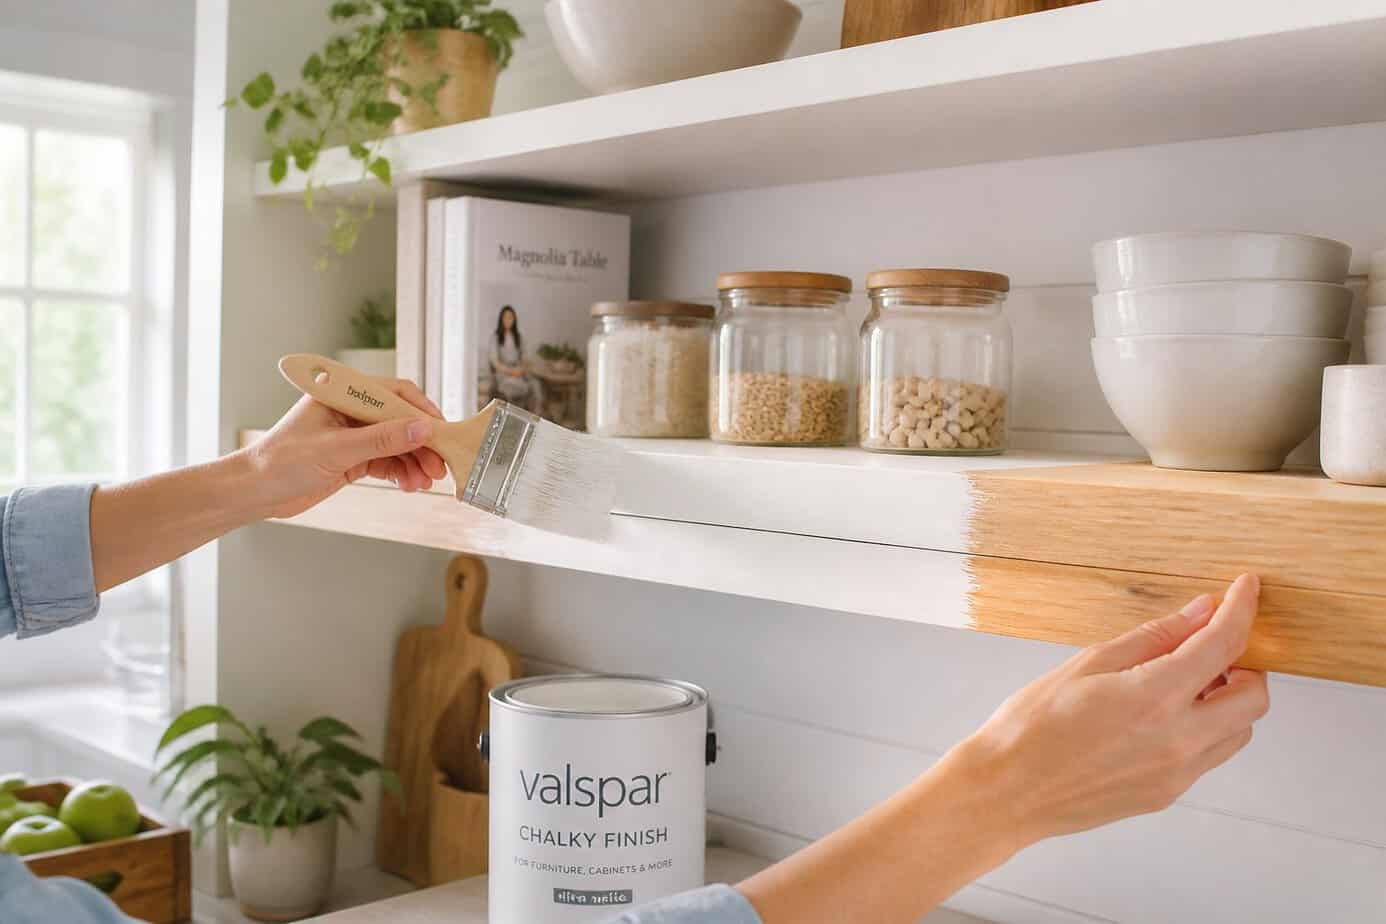
Valspar Chalky Finish paint offers an affordable way to refresh your open kitchen shelving. This low-VOC paint adheres to wood, laminate, and metal surfaces without requiring extensive prep work.
Start by cleaning your shelves thoroughly and lightly sanding to improve adhesion. Wipe away dust with a tack cloth before opening your paint can.
Apply the paint using a bristle brush in long, even strokes, working in the same direction for consistent coverage. The paint typically dries within one to several hours, depending on humidity levels.
For shelves that hold dishes or cookware, consider sealing the finish with wax or polycrylic. This extra step provides durability in high-use areas and protects against moisture and daily wear. The entire project costs less than dining out while giving your kitchen a fresh, updated look.
8. Add contact paper to countertops (Gorilla Grip)
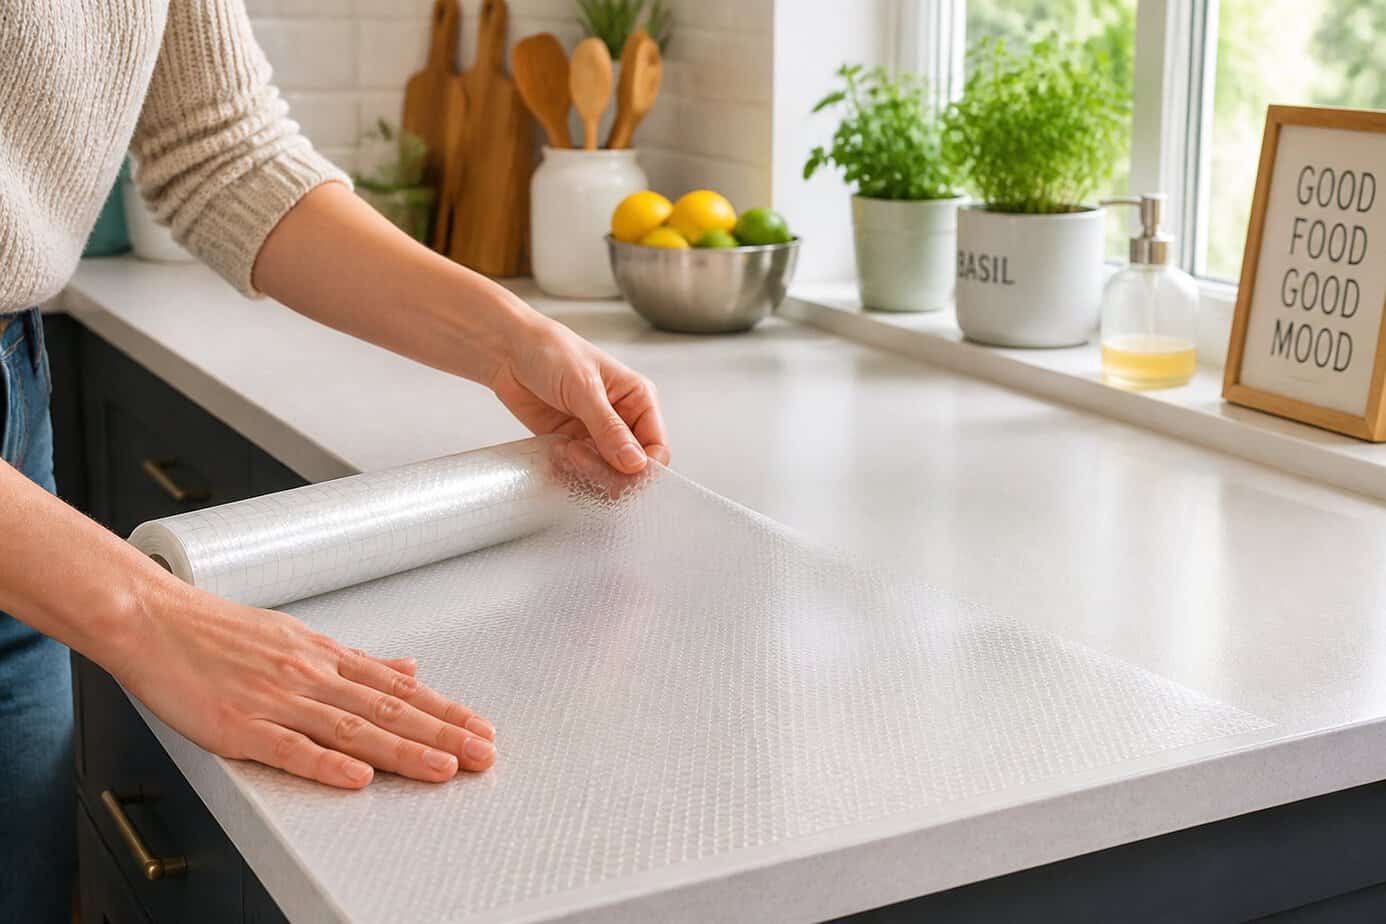
Contact paper offers a simple way to refresh dated countertops without demolition or professional installation. You can transform your kitchen surfaces for around $6 per roll, making it one of the most budget-friendly upgrades available.
Gorilla Grip contact paper provides a durable, peel-and-stick solution that requires only basic measuring and cutting skills. The material adheres directly to existing countertops, hiding stains and worn areas while giving you a chance to experiment with different styles.
The application process involves measuring your counter space, cutting the paper to size, and smoothing it onto clean surfaces. You’ll need to work carefully around sinks, corners, and appliances for a professional finish.
This upgrade works well in kitchens and bathrooms, giving you a temporary or semi-permanent facelift that can last for months or even years with proper care.
9. Build a DIY butcher block island top from IKEA countertop
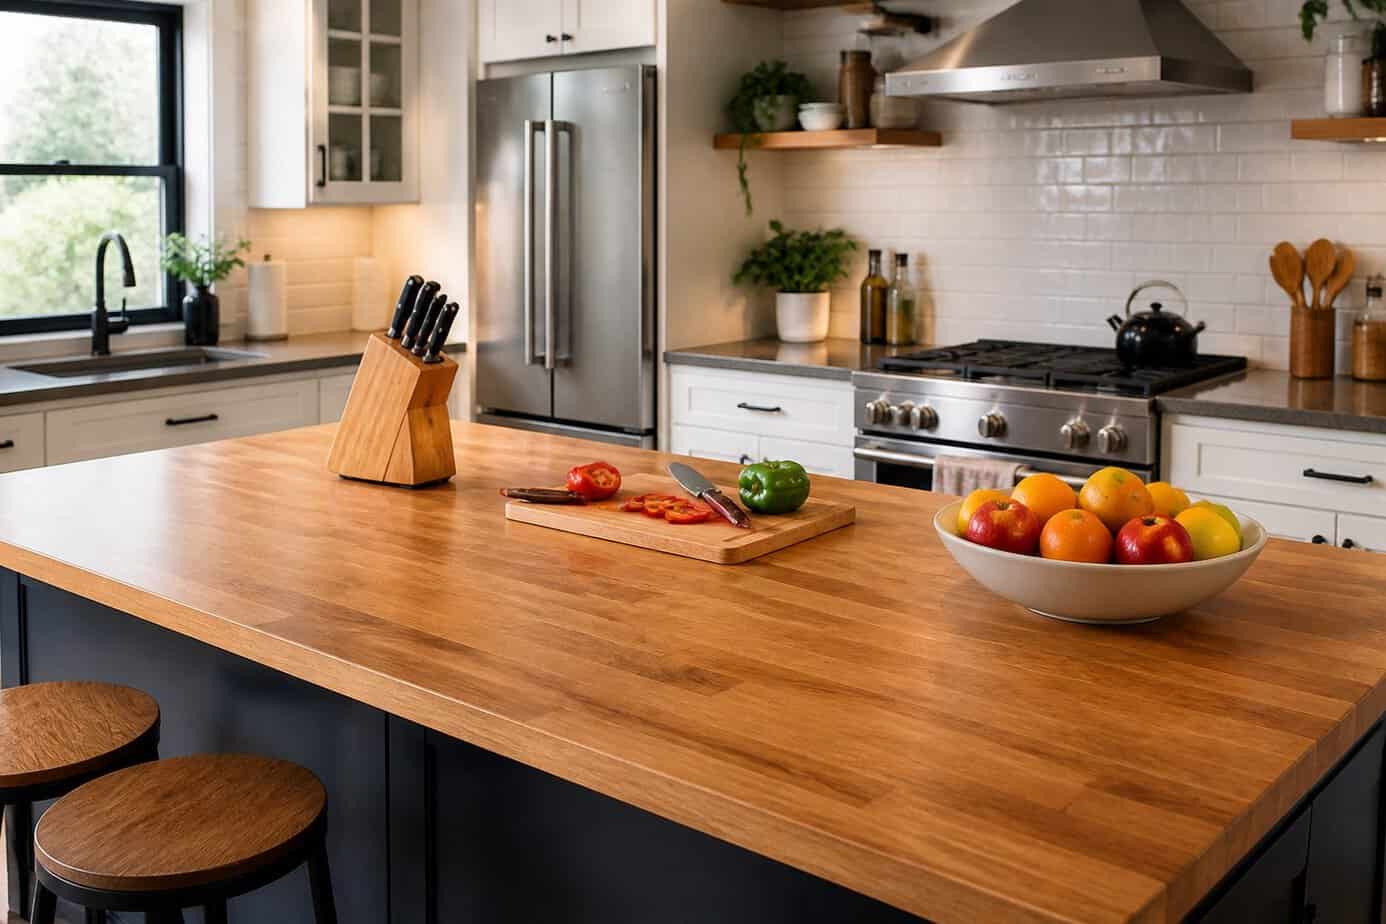
IKEA butcher block countertops offer an affordable way to upgrade your kitchen island. You can purchase a ready-made countertop and customize it to fit your existing island base or pair it with IKEA cabinets for a complete solution.
The installation process involves measuring your island, cutting the countertop to size if needed, and securing it to your base. You’ll need to sand and seal the wood properly to protect it from water damage and stains.
This upgrade transforms your workspace while staying budget-friendly. The natural wood adds warmth to your kitchen and provides a durable surface for food preparation.
You can complete this project in a weekend with basic tools like a saw, drill, and sandpaper. The butcher block surface works well for both cooking tasks and casual dining.
10. Install floating shelves with L-brackets
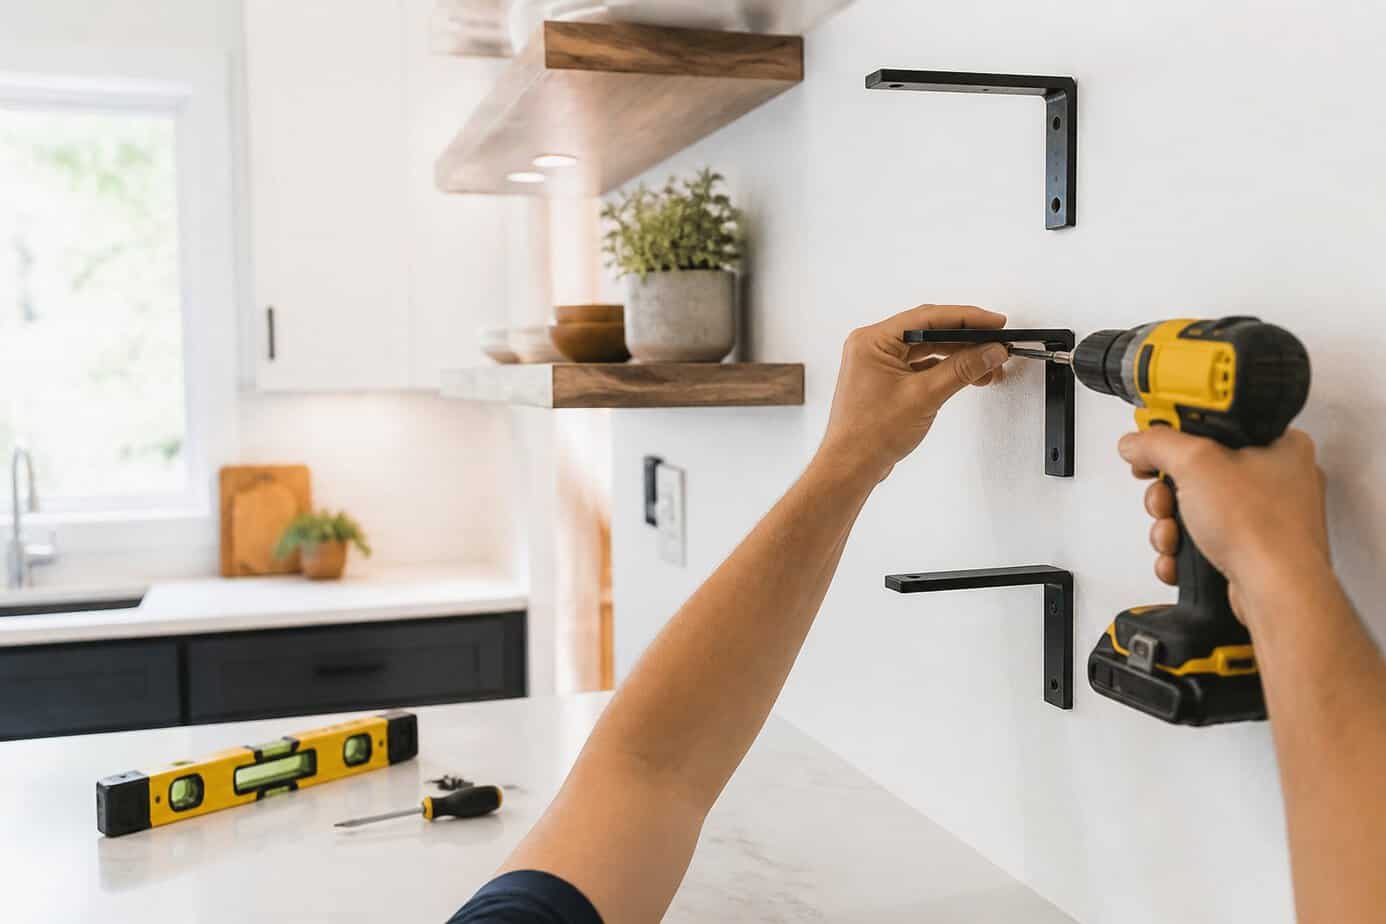
Floating shelves offer extra storage without the bulk of traditional cabinets. L-shaped brackets make installation straightforward and budget-friendly.
Start by locating wall studs with a stud finder for the strongest hold. Mark your desired shelf height and bracket positions with a pencil. Drill pilot holes into the studs, then secure the L-brackets with wood screws.
Place your shelf board on top of the mounted brackets. You can attach the shelf to the brackets from underneath for a cleaner look. Most L-brackets cost just a few dollars at hardware stores.
This upgrade works well in kitchens for displaying dishes, storing spices, or keeping cookbooks accessible. The entire project typically takes under an hour to complete.
11. Hang a pot rack over the island
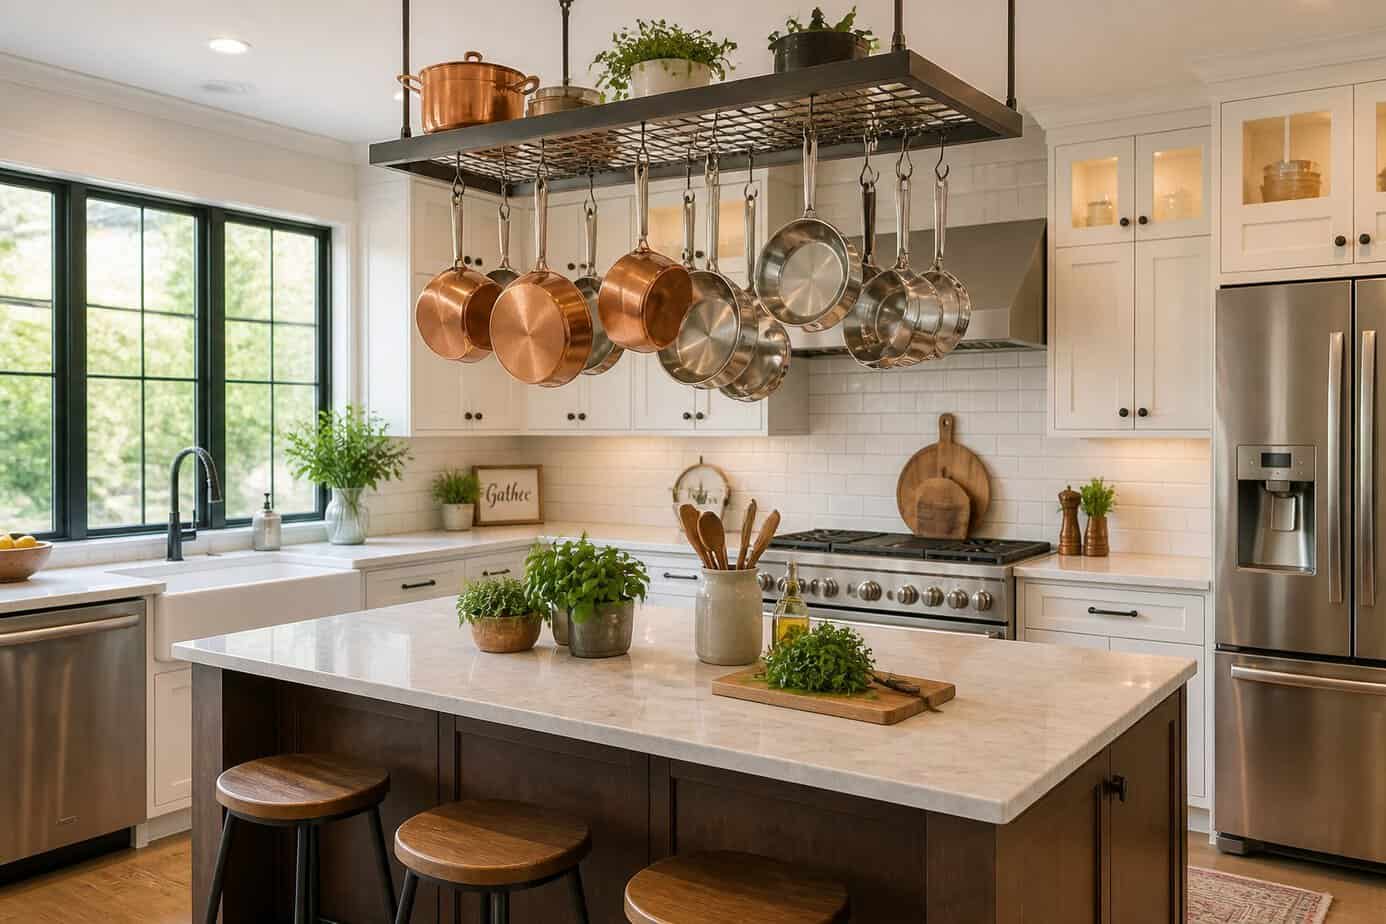
A hanging pot rack transforms your kitchen island into efficient storage space while keeping cookware within easy reach. You can mount a simple metal grid from the ceiling using basic hardware and S-hooks, which typically costs less than purchasing an evening meal out.
This upgrade frees up valuable cabinet space and eliminates the need to dig through stacked pots and pans. Your most-used cookware becomes accessible when positioned over your primary work area.
You can build a basic rack using wood boards and metal rods, or repurpose items like old ladders or metal grids. The installation requires ceiling studs for secure mounting, but the actual materials remain budget-friendly.
S-hooks allow you to rearrange items as your needs change, making this a flexible storage solution for any kitchen layout.
12. Create a pegboard utensil wall (IKEA Skadis)
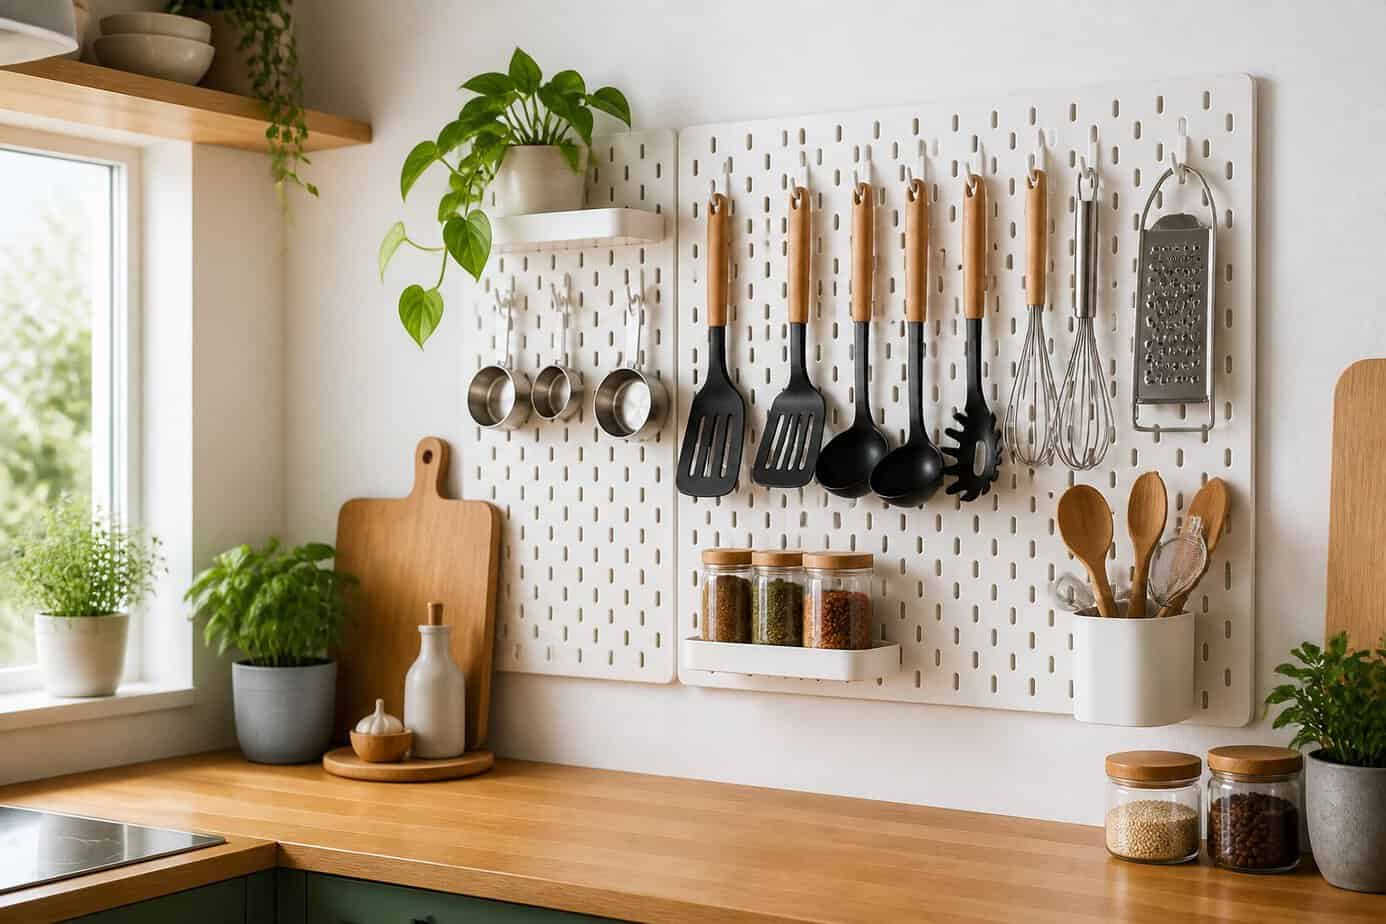
Transform your kitchen wall into functional storage with the IKEA Skadis pegboard system. This modular solution costs around $20-30 and installs in under an hour with basic tools.
Mount the pegboard to your wall, then arrange the compatible accessories to hold your most-used utensils, pots, and cooking tools. The system includes hooks, containers, and shelves that snap into the pegboard’s holes without additional hardware.
You can customize the layout based on your needs. Hang frequently used spatulas and spoons within arm’s reach of your stove. Add small containers for cooking oils or spice jars.
The white pegboard fits most kitchen aesthetics and keeps your countertops clear. You’ll free up drawer space while making your cooking tools more accessible. The modular design means you can adjust the configuration whenever your storage needs change.
13. Replace outlet and switch covers with matte black plates
Would you like to save this?
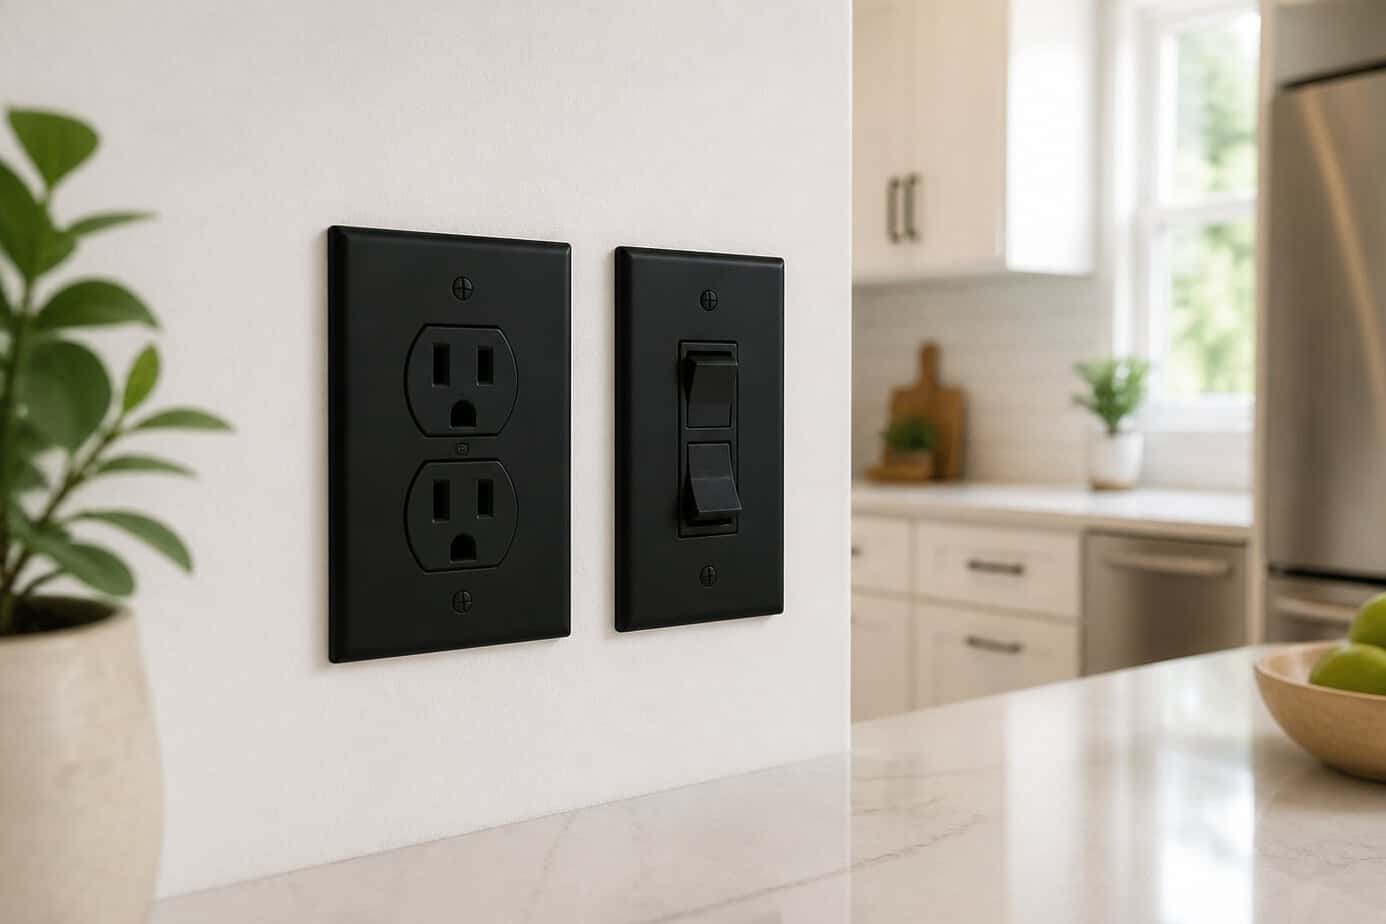
Swapping out your outlet and switch covers takes less than five minutes per plate. Old covers often become yellowed, cracked, or paint-splattered over time, making your kitchen look dated.
Matte black plates offer a modern alternative that complements stainless steel appliances and contemporary hardware. You only need a screwdriver to remove the existing covers and install the new ones.
This upgrade requires no electrical work since you’re only replacing the decorative plates. Turn off the power if you want extra caution, but the process simply involves unscrewing the old plate and screwing on the new one.
Black switch plates are available in various configurations to match your existing outlets and switches. The cost per plate typically runs just a few dollars, making this one of the most budget-friendly kitchen updates available.
14. Install a magnetic knife strip (KraftyChef)
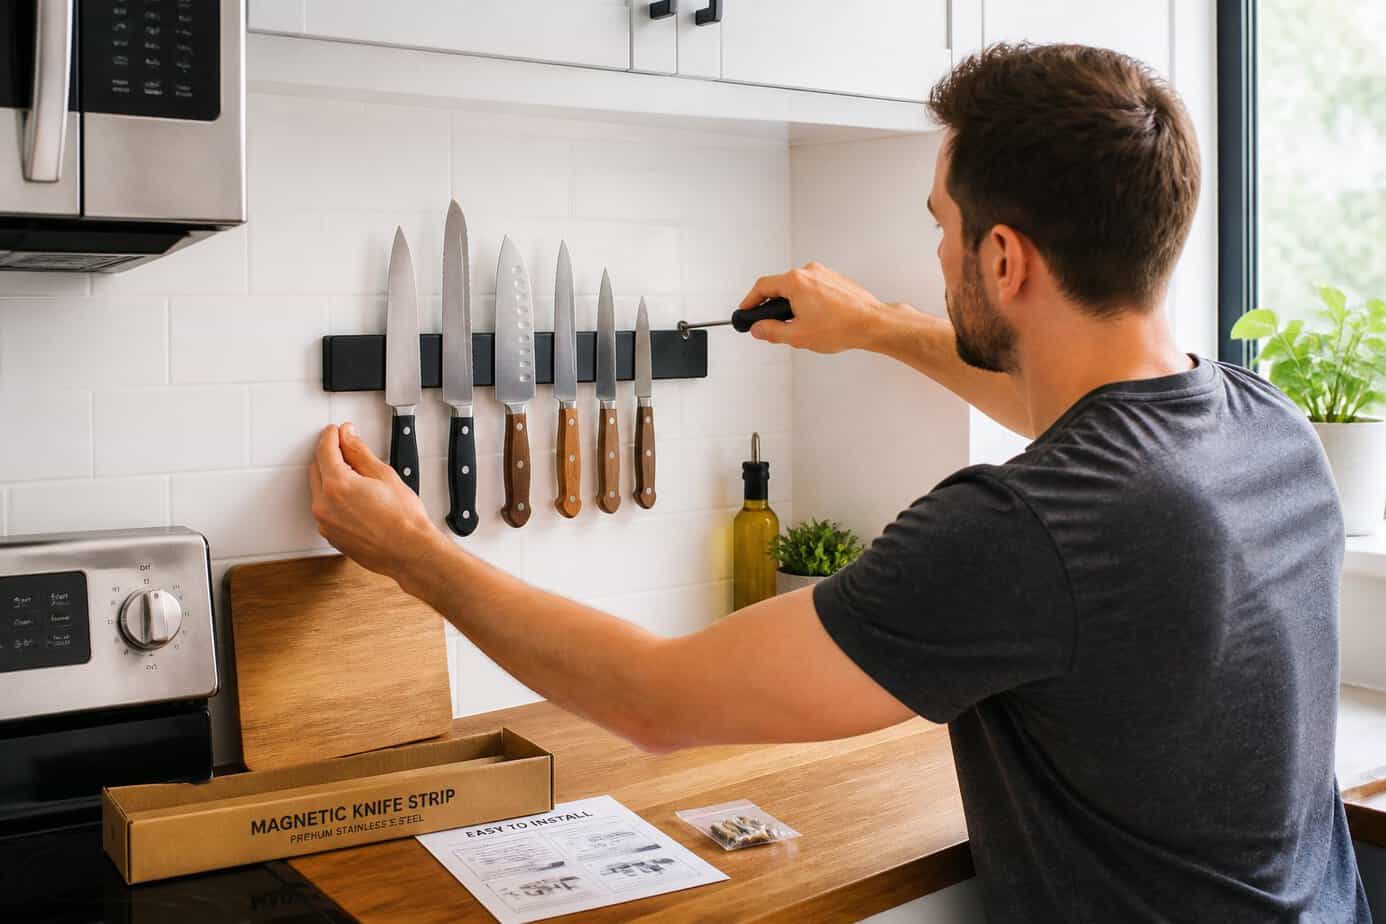
A magnetic knife strip clears your counter space while keeping your knives within easy reach. You can install one in under 30 minutes with basic tools.
Choose a location on your wall or the side of a cabinet near your prep area. Make sure the surface is clean and dry before mounting. You’ll need a drill, screws, and a level to ensure the strip hangs straight.
Mark your screw holes with a pencil, drill pilot holes, then attach the strip securely to the wall. The magnets should be strong enough to hold your knives safely without them sliding down.
This upgrade works on drywall, tile, or wood surfaces. You can also use heavy-duty adhesive strips if you prefer not to drill holes.
15. Re-grout tile and seal with Miracle Sealants
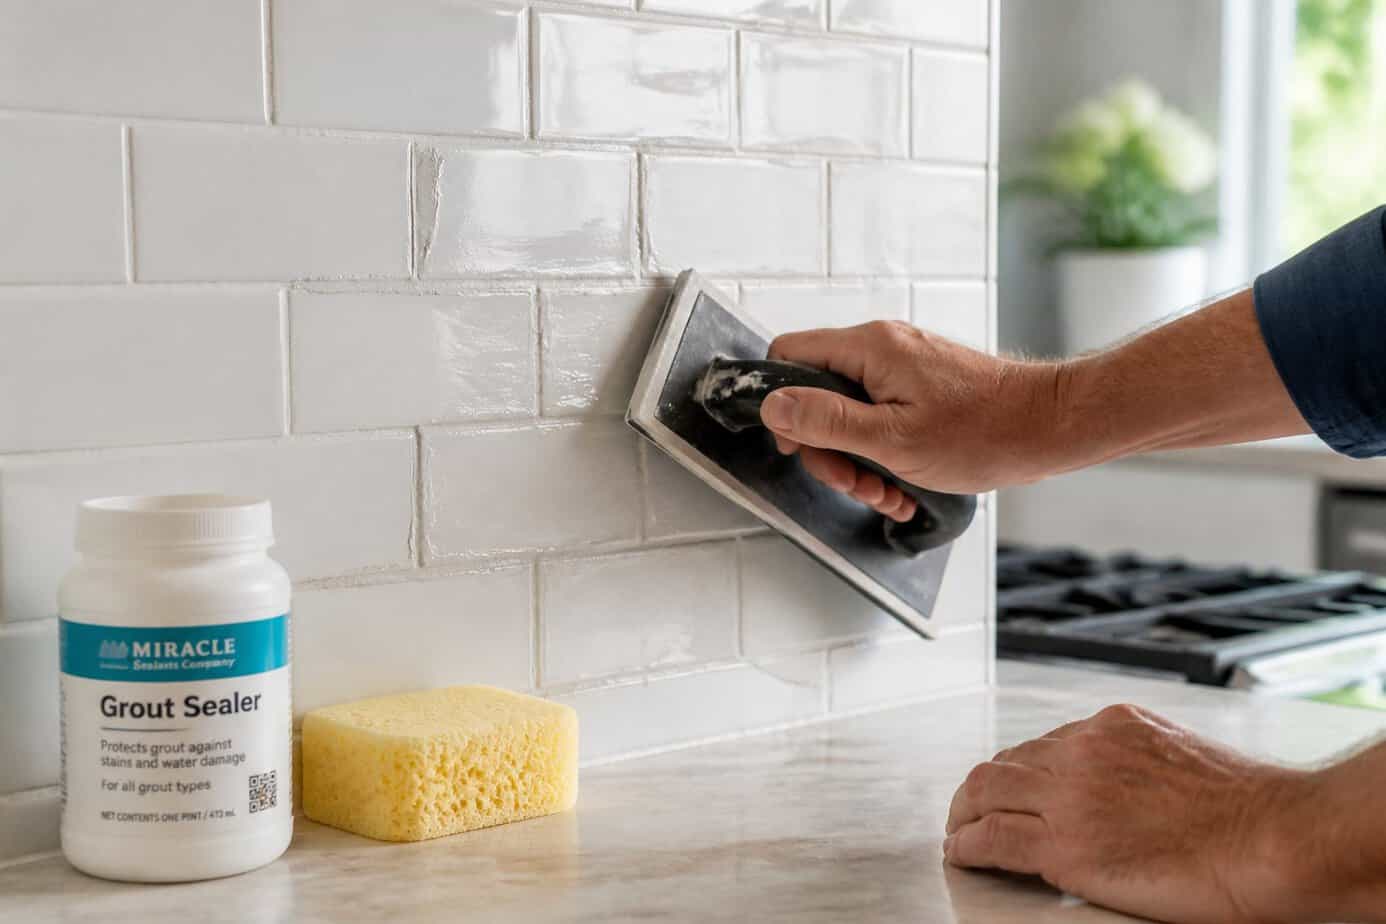
Dingy grout can make your entire kitchen look dated, even when the tiles are in perfect condition. Regrouting is a straightforward DIY project that delivers noticeable results for minimal cost.
Start by removing old, damaged grout with a grout removal tool. Clean the area thoroughly and let it dry completely. Apply new grout using a rubber float, working it into the joints at a 45-degree angle.
Once the grout cures for 24 hours, seal it with a product like Miracle Sealants 511 Impregnator or their dedicated Grout Sealer. These sealers create an invisible barrier that resists moisture and stains while maintaining the natural appearance of your grout.
Apply the sealer with a brush or applicator tip, ensuring even coverage. The sealer will help keep your refreshed grout looking clean longer and prevent future staining.
16. Stencil a feature wall with a geometric pattern
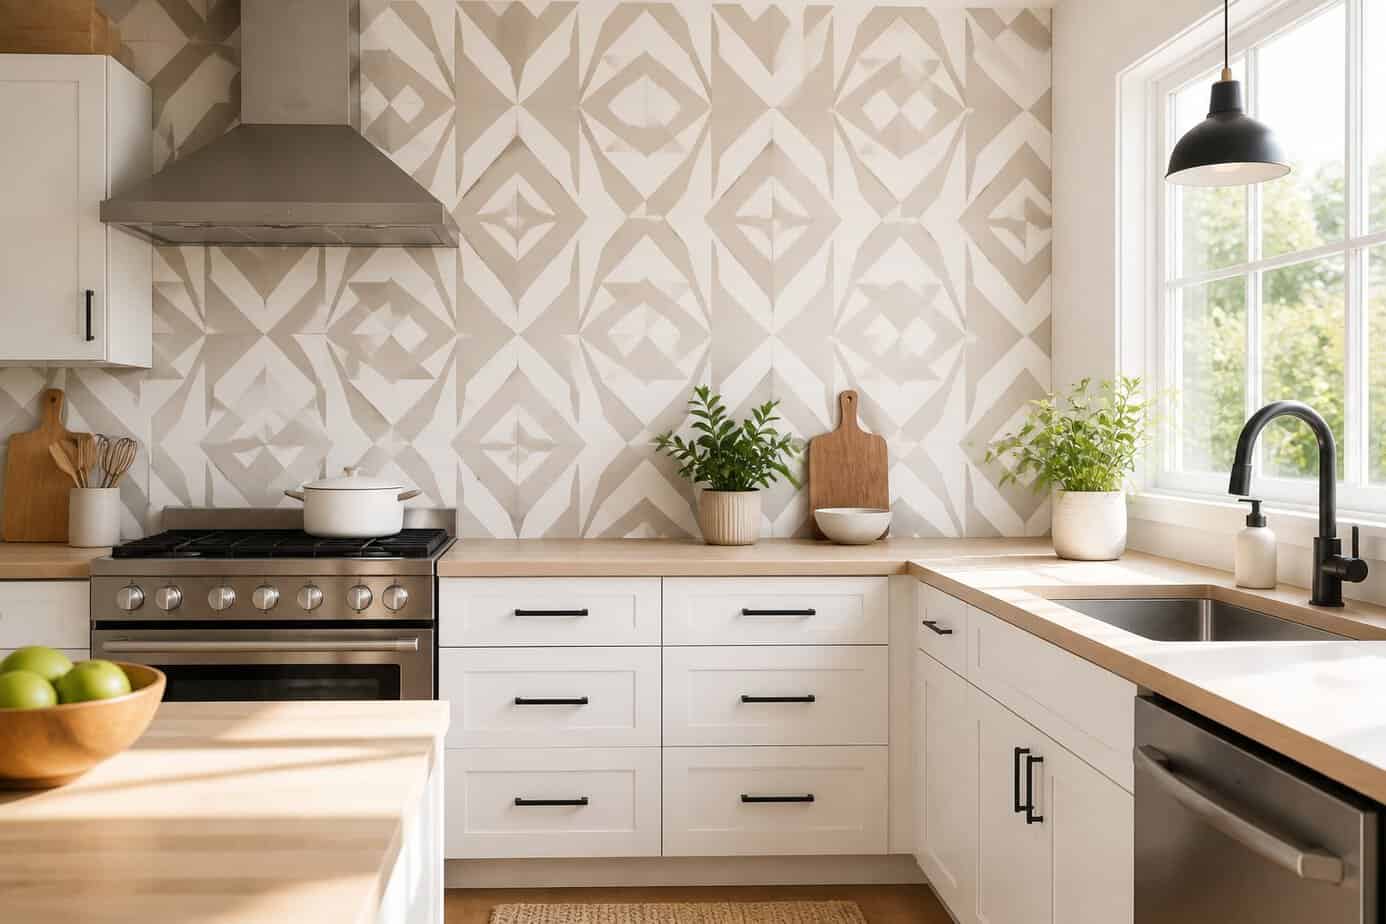
Stenciling offers the sophisticated look of wallpaper at a fraction of the cost. You can purchase stencils at craft stores or online, with geometric patterns being particularly popular for modern kitchens.
Pick one wall as your focal point, such as behind open shelving or your dining area. You’ll need painter’s tape, a foam roller or stencil brush, and paint in your chosen color.
The process requires patience but no special skills. Tape the stencil firmly to the wall, apply paint with light pressure to prevent bleeding, then move the stencil to the next section. Work in small areas to maintain consistency.
This upgrade typically costs less than $30 for supplies and creates a custom look that rivals expensive wallpaper installations.
17. Swap out dated light fixture for a pendant (West Elm Lookalike)
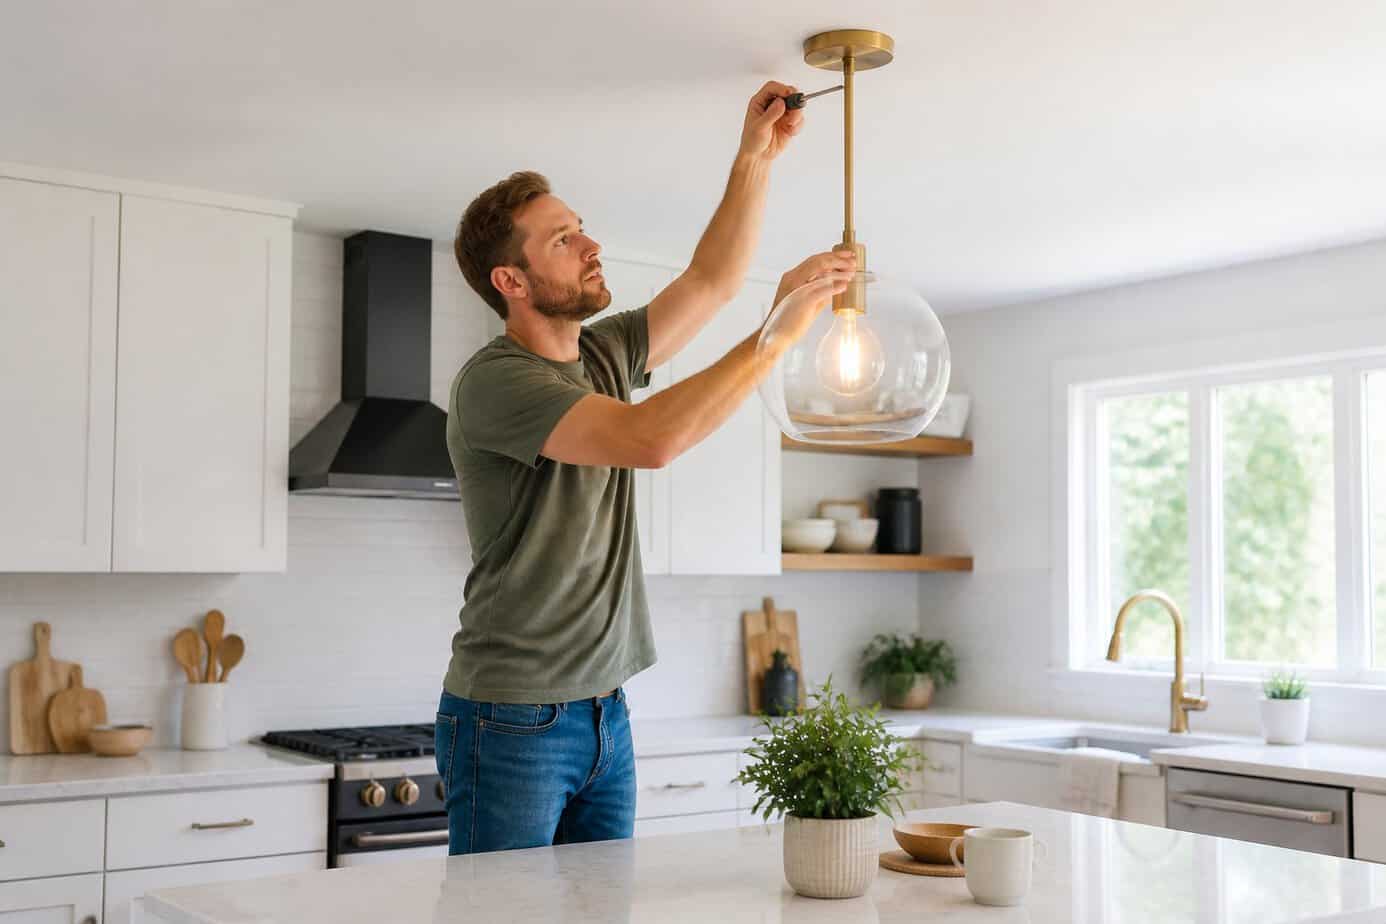
You can replace an outdated kitchen light fixture with a stylish pendant light that rivals West Elm designs for around $40. Start by turning off the power at your circuit breaker and removing your old fixture.
Purchase a basic pendant light from IKEA or another budget retailer as your foundation. You can customize it with materials like bentwood, floral accents, or woven elements to mimic high-end styles that typically cost $400 or more.
The installation process is straightforward. Connect the wires from your new pendant to the existing electrical box, matching black to black and white to white. Secure the fixture and restore power.
This upgrade takes about an hour to complete. You’ll transform your kitchen’s look without hiring an electrician, saving both time and money while achieving a designer aesthetic.
18. Add peel-and-stick vinyl stair runner as pantry shelf liner
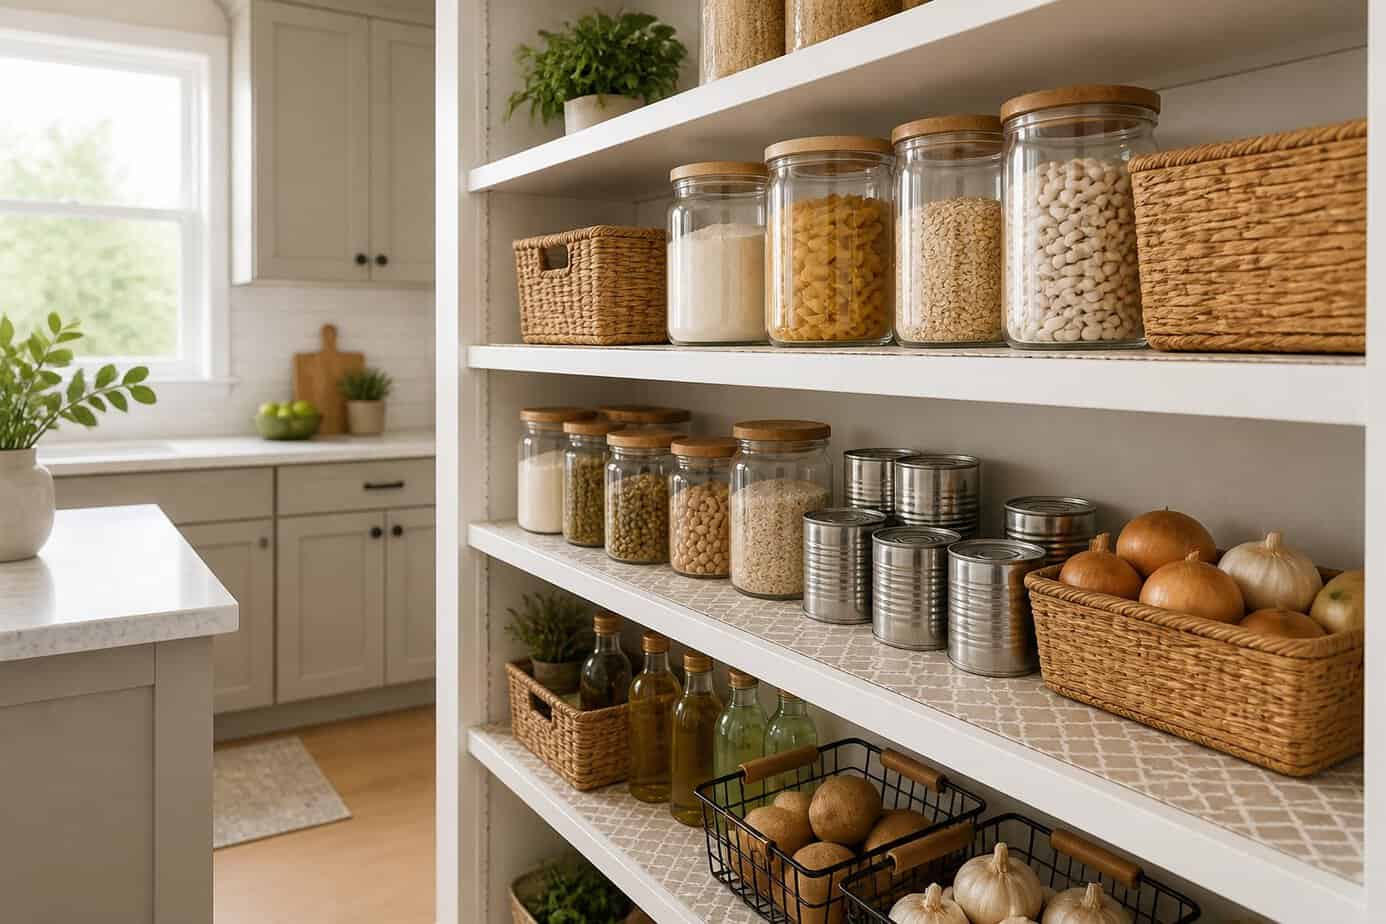
Peel-and-stick vinyl stair runners offer a budget-friendly alternative to traditional shelf liner. These runners typically cost less than dining out and provide durable, easy-to-clean surfaces for your pantry shelves.
The installation process is straightforward. You measure your shelves, cut the runner to size, and apply it by peeling back the adhesive backing gradually as you smooth it into place.
Vinyl stair runners often feature attractive patterns that can enhance your pantry’s appearance. The material is thicker than standard shelf liner, which provides better protection against spills and scratches.
You can find these runners at home improvement stores and online retailers. They come in various widths, making them adaptable to different shelf sizes. The adhesive backing stays secure but remains removable if you need to replace it or move to a new home.
19. Install a tension pantry rod for vertical storage
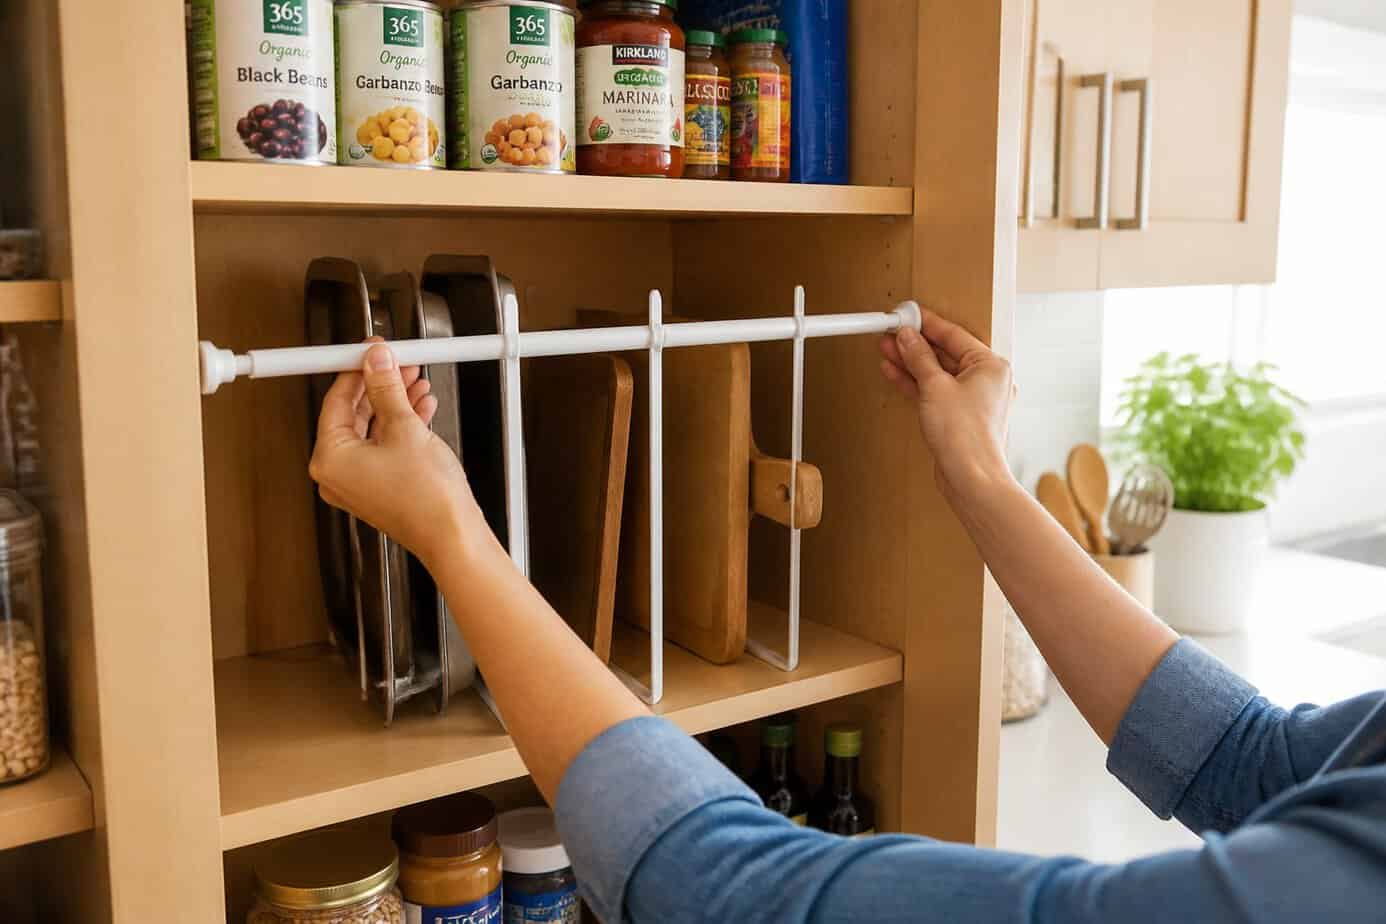
Tension rods offer a simple way to unlock unused vertical space in your pantry without drilling or permanent modifications. These rods work through static friction and compression, making them ideal for renters or anyone avoiding wall damage.
Position a tension rod horizontally between pantry walls to create an instant hanging zone for lightweight items like dish towels or small baskets. You can also install two rods vertically to create a paper towel dispenser that keeps rolls accessible while freeing up shelf space.
The installation takes minutes and requires no tools. Simply twist the rod to extend it until it fits snugly between surfaces.
This hack works best in narrow pantries where traditional shelving proves difficult to install. You’ll maximize otherwise wasted space for under $10.
20. Replace cabinet toe kicks with beadboard panels
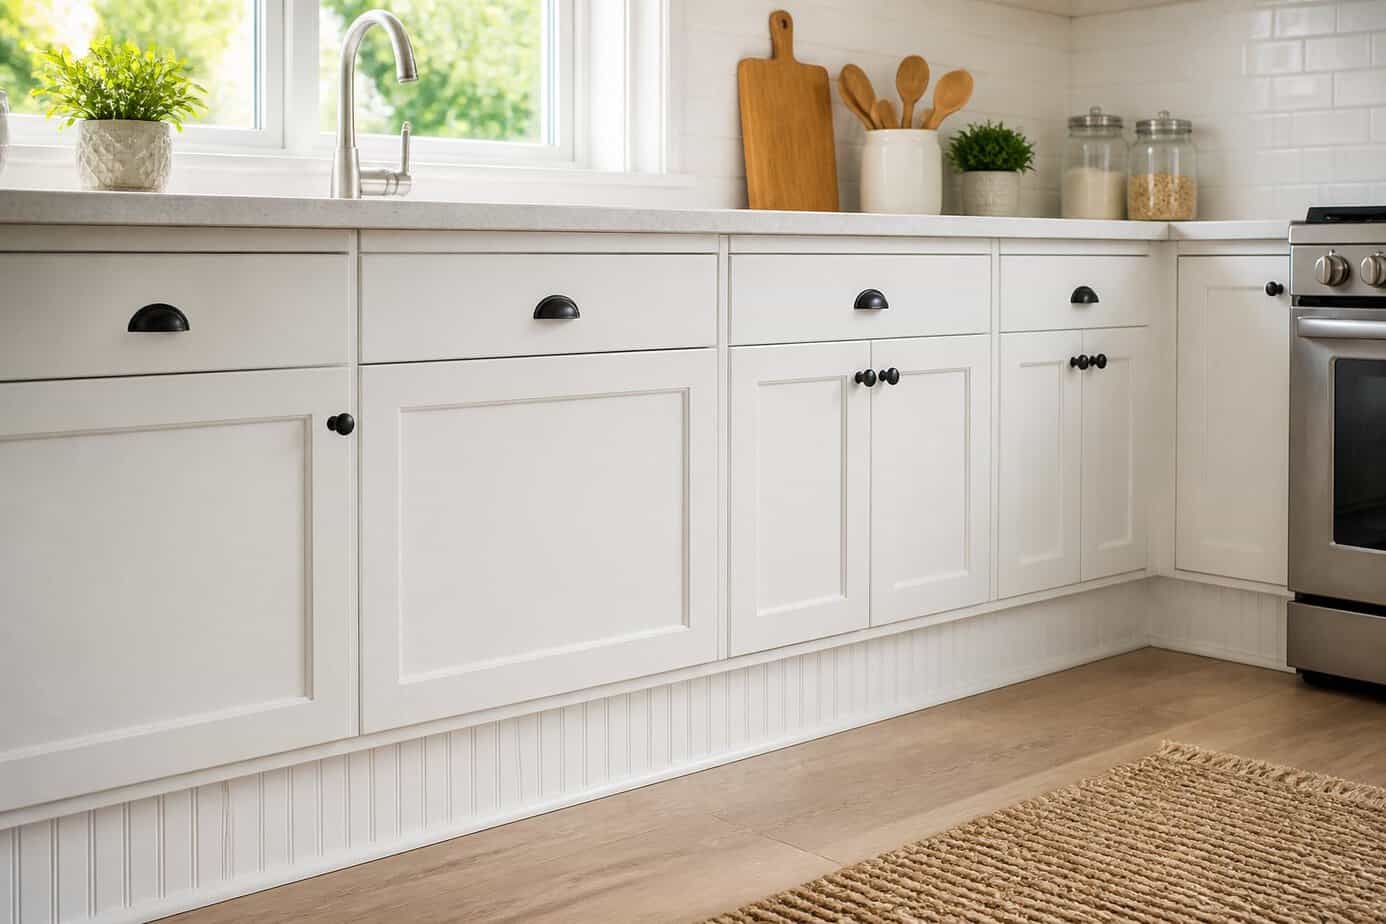
Cabinet toe kicks are the recessed boards at the base of your cabinets, typically plain and overlooked. Replacing them with beadboard panels adds texture and character to your kitchen without major renovation costs.
You can purchase pre-cut beadboard panels at most home improvement stores for under $20. Measure your existing toe kick area, cut the beadboard to size, and attach it using construction adhesive or finishing nails.
This upgrade works particularly well if you’re aiming for farmhouse, cottage, or vintage-inspired kitchen aesthetics. The vertical grooves create visual interest at floor level and make your cabinets appear more custom-built.
The installation takes just a few hours and requires basic tools you likely already own. Paint or stain the beadboard to match your cabinets for a cohesive look.
21. Apply a fresh coat of Sherwin-Williams Alabaster on walls
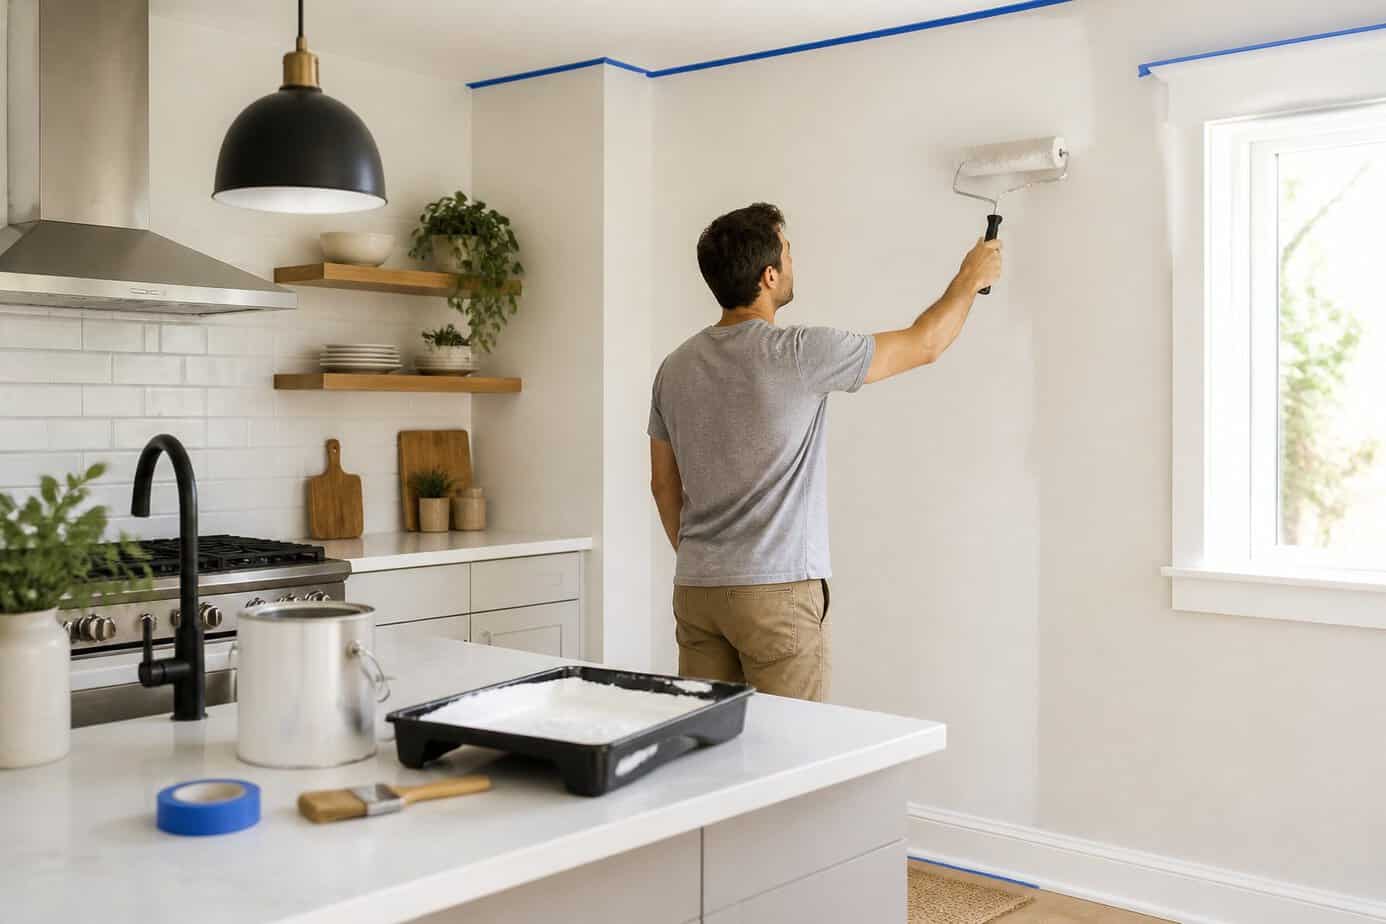
Sherwin-Williams Alabaster (SW 7008) transforms your kitchen walls without the expense of a full renovation. This warm white paint color works well in kitchens because it maintains its appearance across different lighting conditions.
The color features subtle beige undertones that create a creamy, inviting look rather than a stark white finish. You can pick up a gallon for around $50-70, making it an affordable upgrade that competes with the cost of dinner and drinks out.
Alabaster pairs well with most cabinet colors and countertop materials. You’ll find it especially effective in rooms with natural light, where it appears crisp without feeling cold.
The project takes just a weekend to complete with basic painting supplies. You’ll need painter’s tape, rollers, brushes, and drop cloths in addition to the paint itself.
22. Add peel-and-stick decorative molding (Nailup MDF trim)
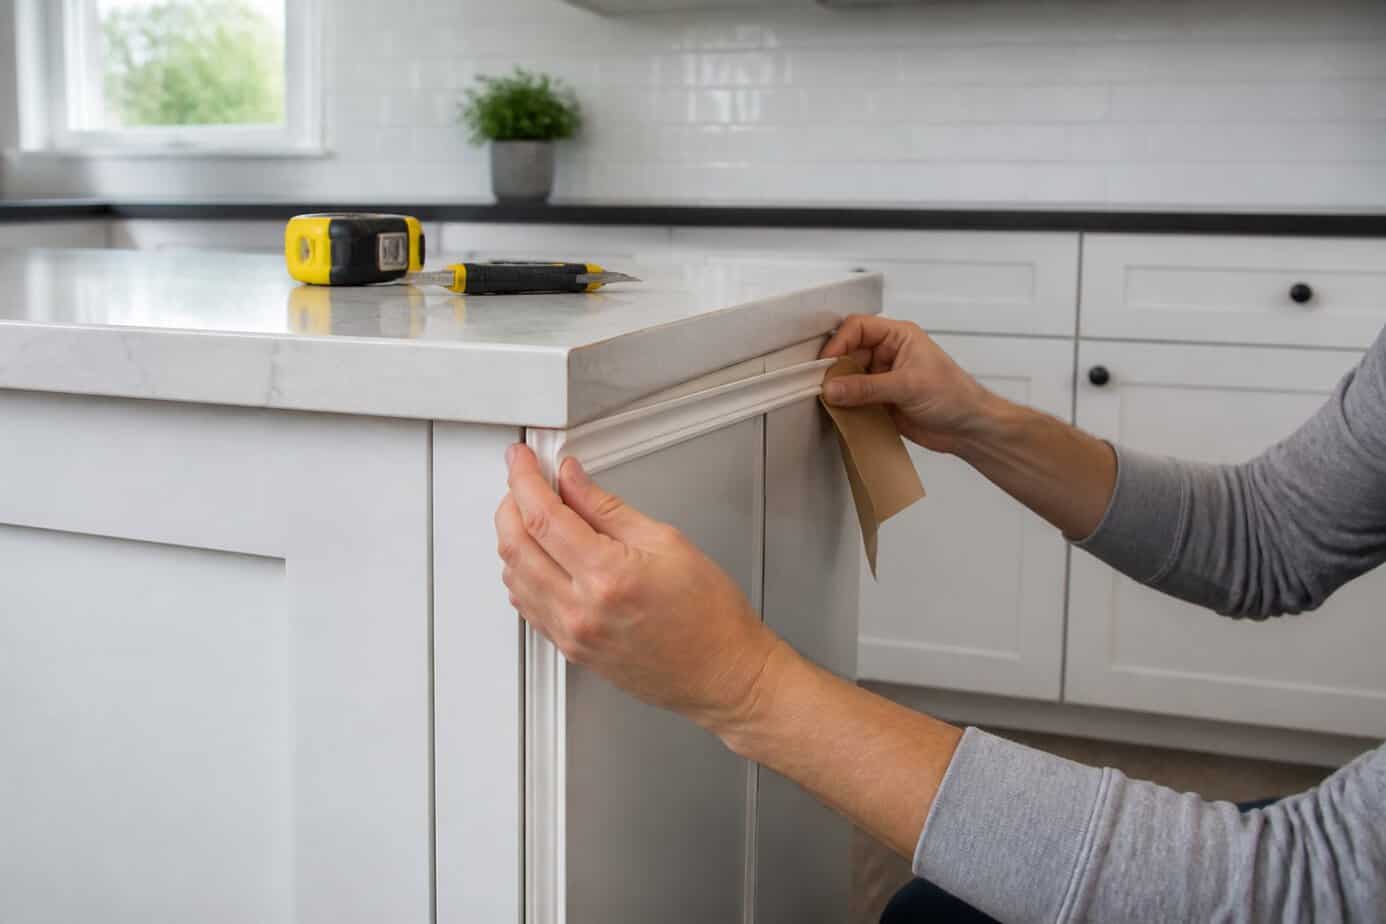
Peel-and-stick molding transforms plain walls without requiring nails, paint, or professional installation. You can apply these self-adhesive strips to create frames around mirrors, doors, or as wainscoting accents in under 10 minutes.
Most options are made from flexible vinyl, plastic, or foam materials with adhesive backing. They cost significantly less than traditional wood trim and require no special tools.
Simply measure your space, cut the molding to size with scissors or a utility knife, and press it onto clean walls. The adhesive backing eliminates the need for hammers or nail guns.
This upgrade works particularly well for renters since the trim removes cleanly without damaging walls. You can create custom patterns or simple border designs to add architectural interest to your kitchen for a few dollars per foot.
23. Install a DIY wine glass rack under upper cabinets
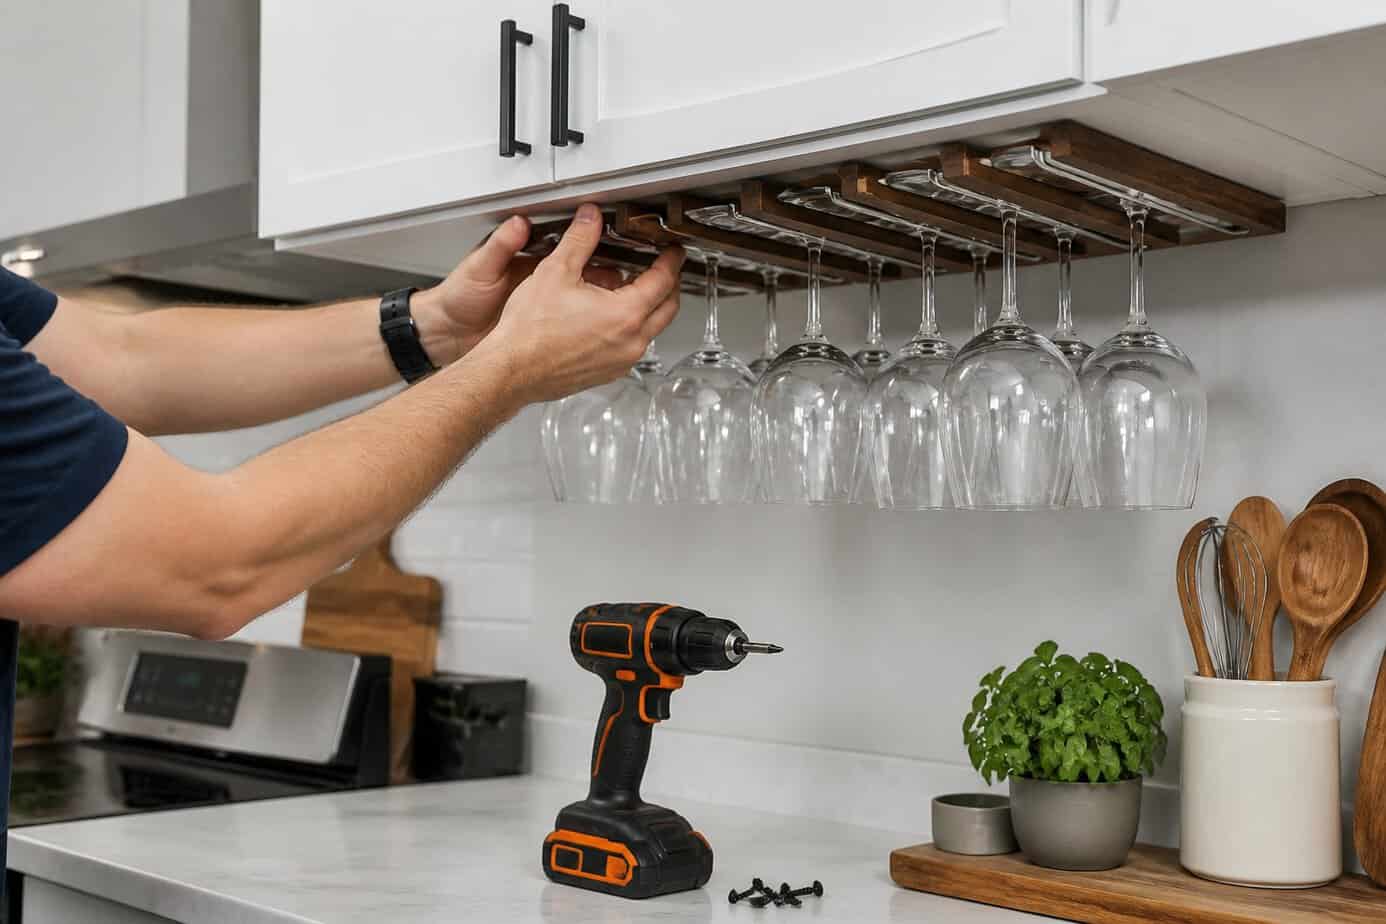
Transform unused space beneath your kitchen cabinets into functional storage with a simple wine glass rack. This project requires minimal materials: two 1×4 boards cut to match your cabinet width and basic mounting hardware.
The rack attaches directly to the underside of your upper cabinets, creating a hanging stemware holder. Cut slots or grooves into the wood to accommodate the stems of your glasses. You can complete this project in just a few hours.
Measure your cabinet width carefully before purchasing materials. Sand and finish the wood to match your existing cabinetry or create a contrasting accent. Use appropriate screws to secure the rack into the cabinet bottom, ensuring it can support the weight of your glassware.
This upgrade keeps glasses accessible while freeing up valuable cabinet space. The materials typically cost less than $20.
24. Create a chalkboard menu wall with Rust-Oleum Chalkboard Paint
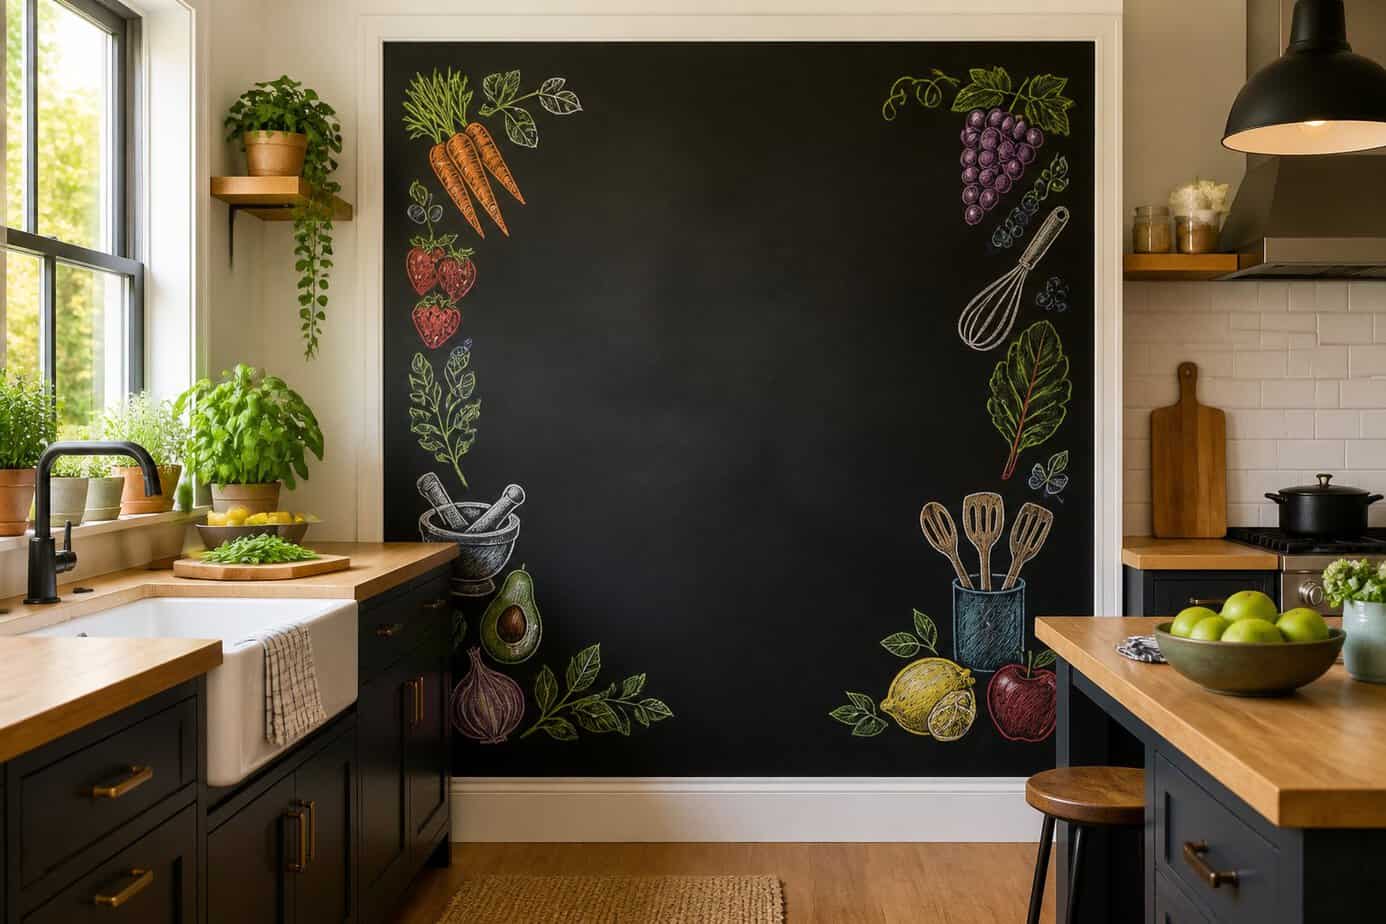
Transform an empty kitchen wall into a functional menu board using Rust-Oleum Chalkboard Paint. This budget-friendly upgrade costs less than dining out and adds both charm and practicality to your space.
Start by cleaning your wall surface and ensuring it’s dry and free of grease. Lightly sand glossy areas to improve paint adhesion. Apply the chalkboard paint with a roller, following the manufacturer’s instructions for multiple coats.
Once the paint dries completely, condition the surface before first use. Rub the side of a piece of chalk across the entire area, then erase it. This prevents permanent marks from your first writing.
Use your new chalkboard wall to display weekly menus, grocery lists, or family messages. The erasable surface lets you update information as needed while creating a personalized focal point in your kitchen.
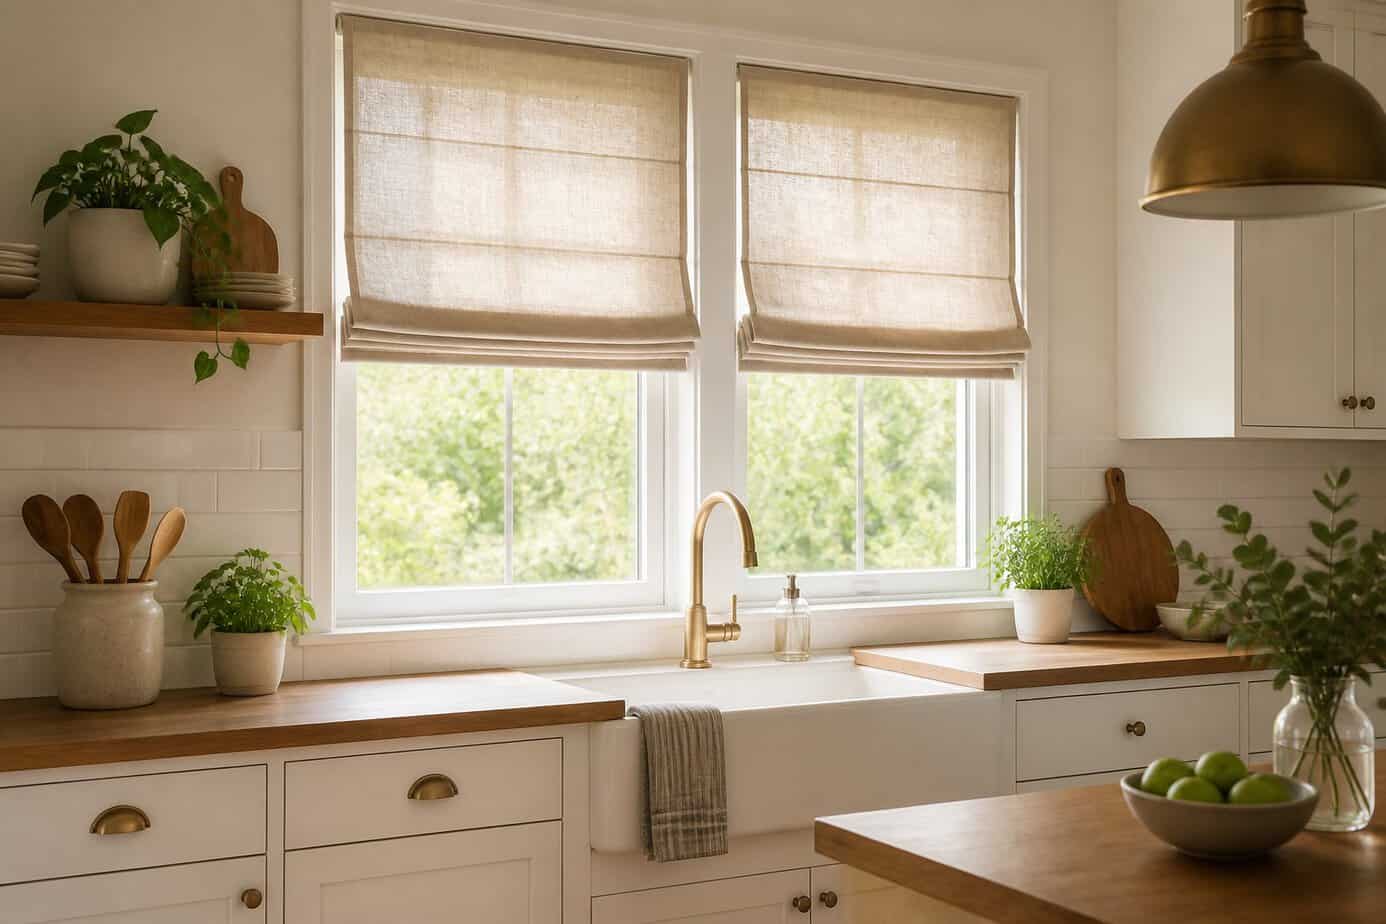
25. Dress windows with Roman shades (Etsy linen shade)
Would you like to save this?
Roman shades offer a tailored look that instantly elevates your kitchen windows without the expense of custom treatments. You can find ready-made linen Roman shades on Etsy that fit standard window sizes at a fraction of what custom options cost.
Linen fabric brings natural texture and timeless appeal to your space. The material filters light beautifully while maintaining privacy during the day.
Installation takes minimal effort since most Etsy sellers provide mounting hardware and instructions with their shades. You’ll simply need a drill and about 20 minutes to hang them.
The clean lines of Roman shades work with any kitchen style, from modern to farmhouse. Choose neutral tones for versatility or select patterned options to add personality to your windows.
26. Swap dated knobs for D-shape bin pulls
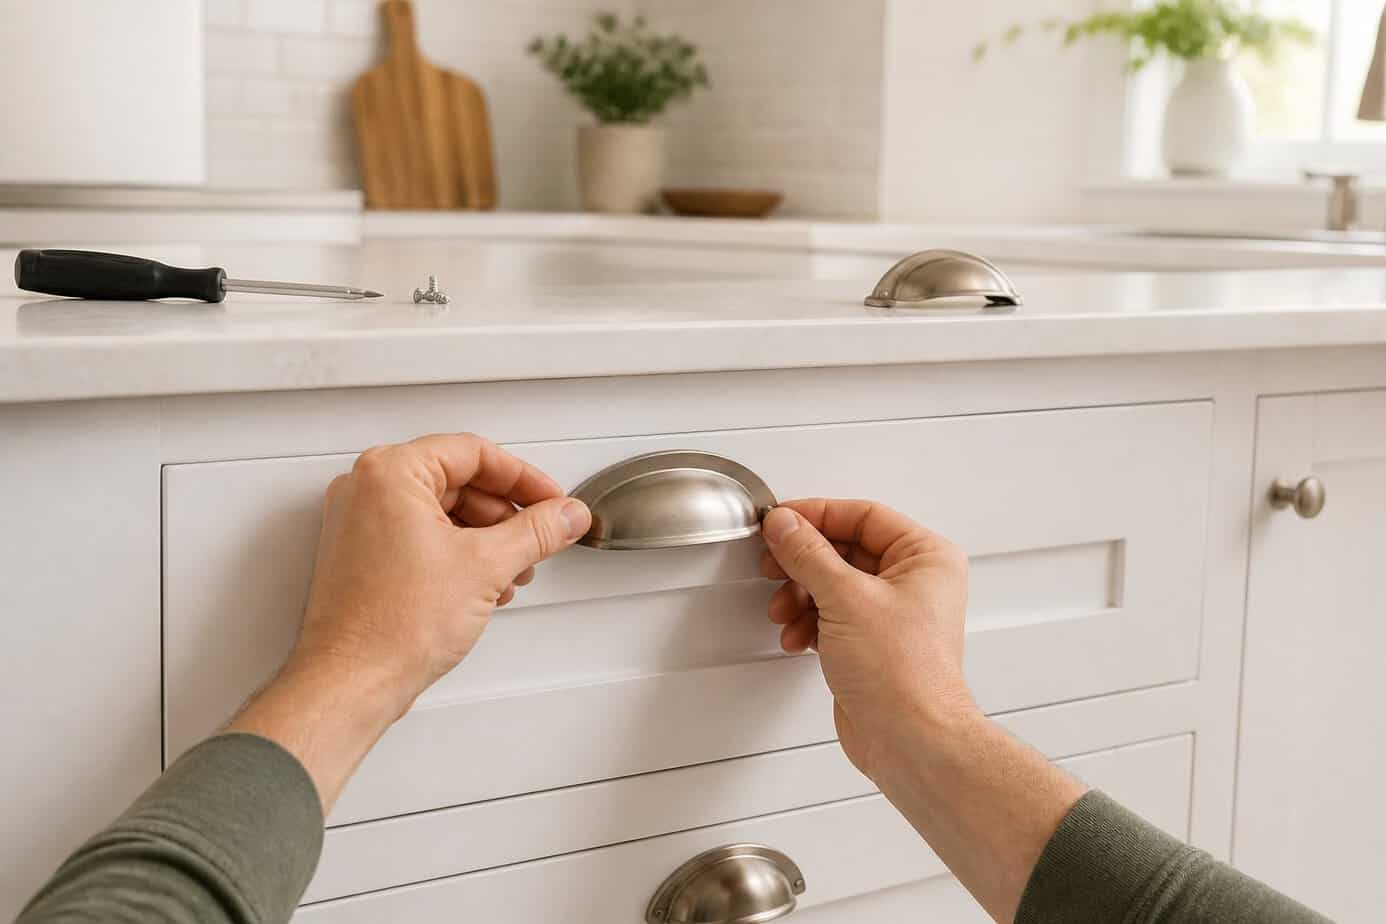
D-shape bin pulls offer a modern alternative to traditional round knobs. These half-moon handles mount flat against your cabinet doors and drawers, creating clean lines that work well in contemporary kitchens.
You’ll need a screwdriver and possibly a drill if the existing holes don’t match your new hardware. Most D-pulls require two mounting points, so you may need to fill old single holes with wood filler if you’re replacing knobs. Budget around $3-5 per pull at home improvement stores.
The installation takes about 10 minutes per cabinet once you establish your spacing. Mark your holes carefully using a template or measuring tape to ensure consistent placement across all cabinets.
D-shape pulls work particularly well on drawer fronts where you need a comfortable grip. Their low profile prevents snagging clothing as you move around your kitchen.
27. Install a roll-out trash bin drawer kit
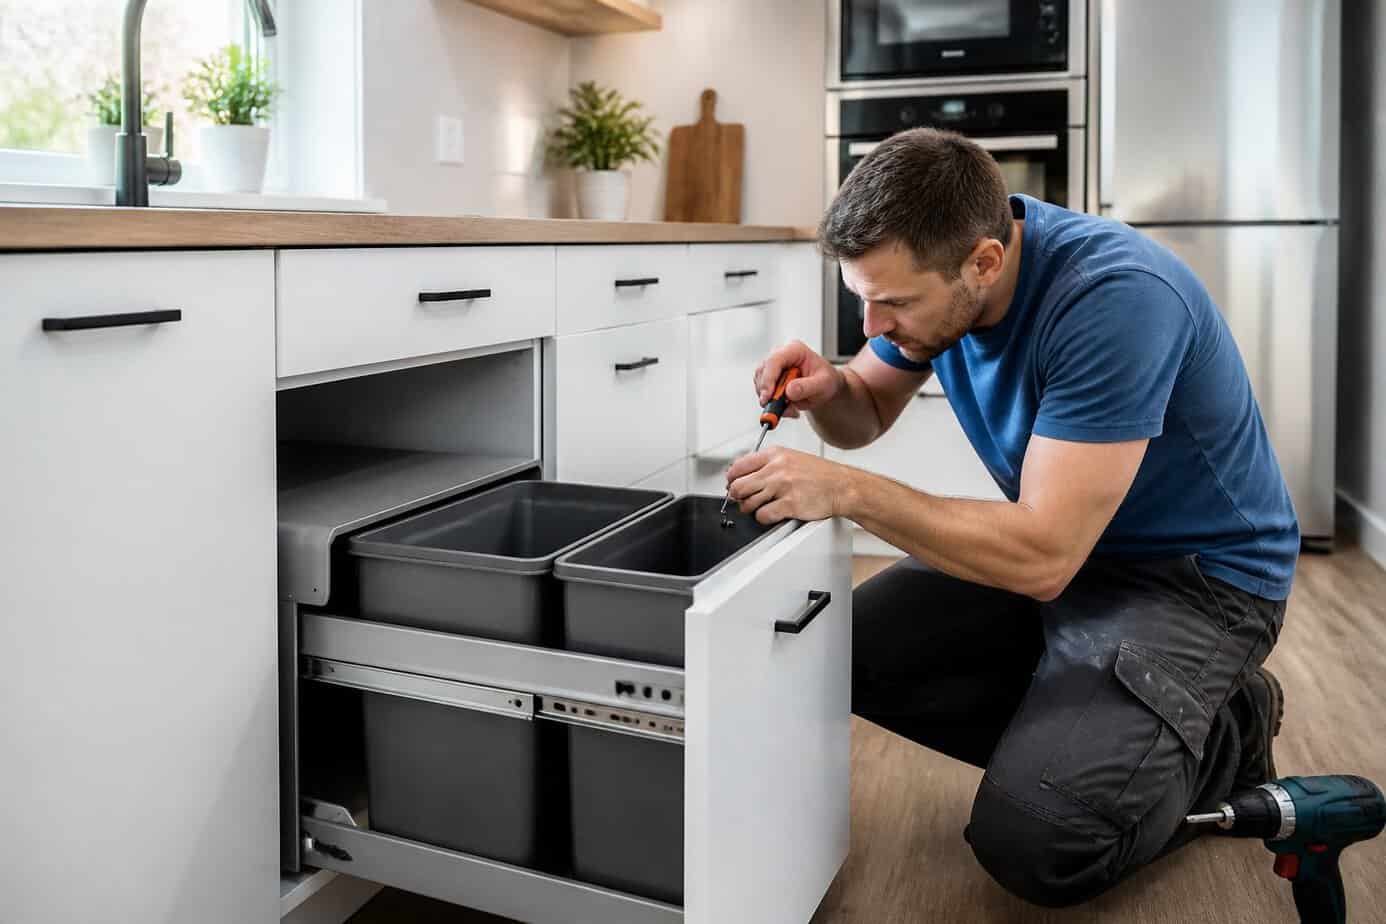
A pull-out trash system transforms unused cabinet space into organized storage while keeping your kitchen floor clear. You can purchase a pre-made kit from most hardware stores designed to fit standard cabinet sizes.
The installation requires only basic tools and takes less than an hour. You’ll need to attach mounting hardware or wood blocks to the inside of your cabinet following the kit’s instructions. The system uses slides that allow the bin to roll out smoothly when you open the cabinet door.
This upgrade hides unsightly trash cans and keeps pets out of the garbage. It’s one of the simplest kitchen improvements you can make, requiring no advanced carpentry skills. The result is a cleaner, more functional kitchen that makes daily cleanup easier.
28. Attach a spice rack organizer to cabinet door
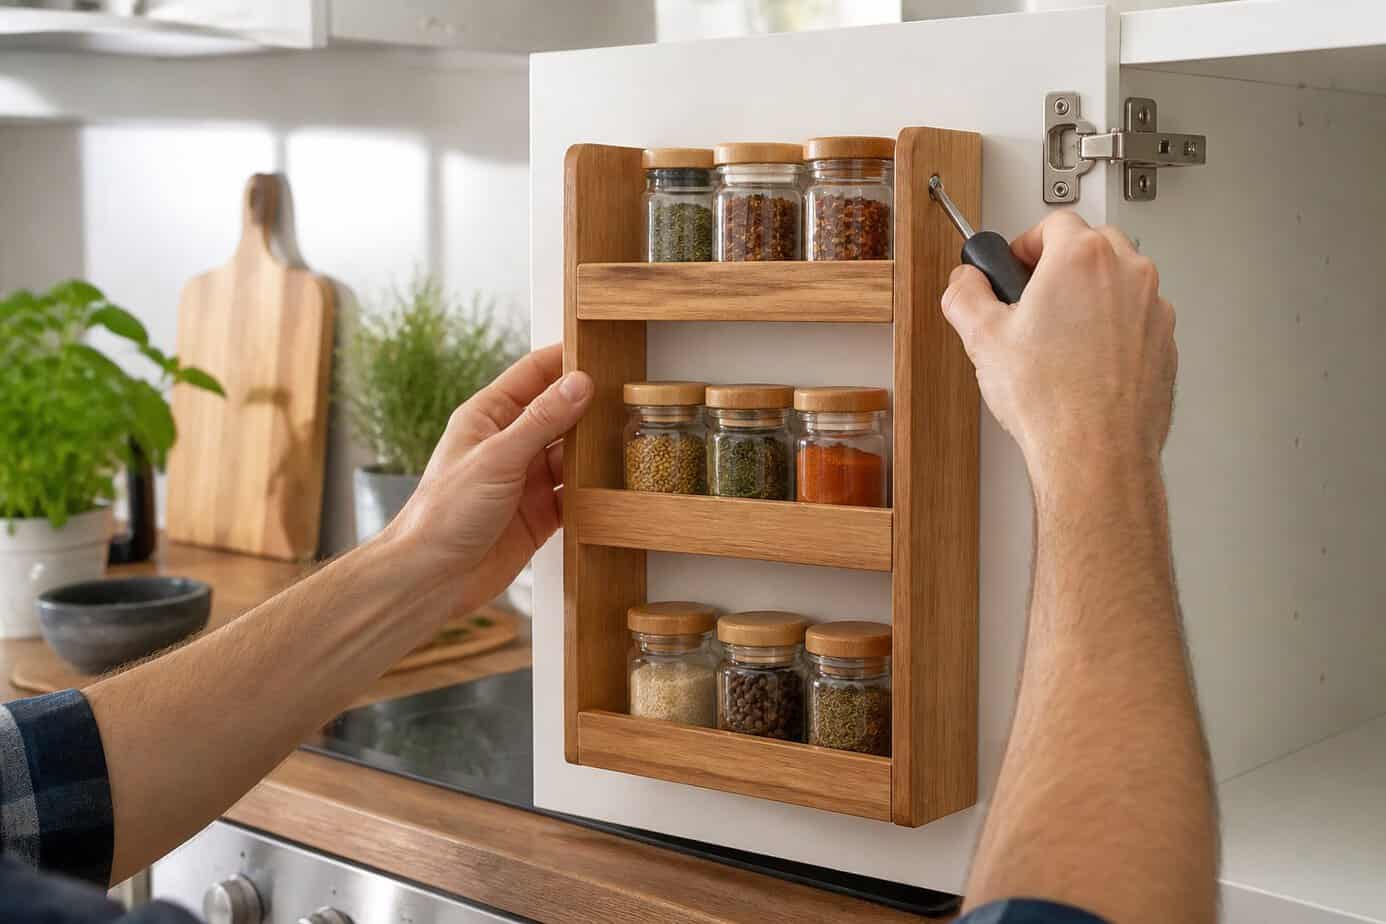
Cabinet doors offer unused vertical space perfect for spice storage. You can mount a simple rack to the inside of your pantry or cabinet door using basic hardware and lumber.
This project typically takes about an hour to complete. You’ll need wood for shelves, small rails or bars to hold jars in place, and mounting brackets or screws to attach everything to the door.
The rack keeps your spices visible and accessible while freeing up valuable shelf space. You won’t need to dig through cluttered cabinets anymore.
Wire racks work well if you prefer a ready-made option that attaches directly to the door. For a custom solution, measure your spice jar dimensions and build shallow shelves that fit your specific needs.
Make sure your door hinges can support the added weight before installation.
29. Add motion-sensor under-sink light (Vont)
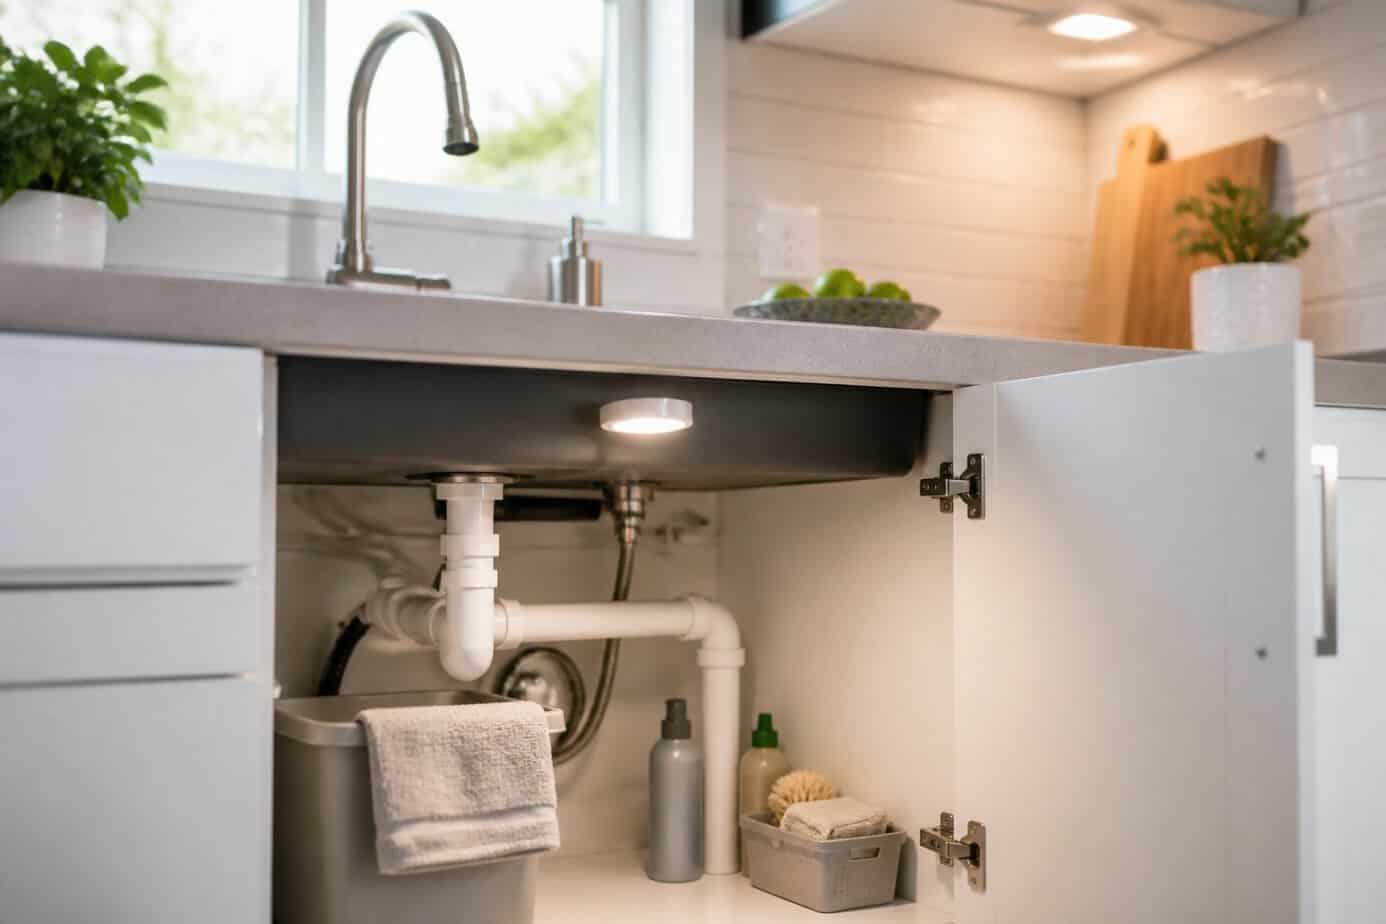
The dark cabinet under your sink doesn’t need to stay that way. A Vont motion sensor light solves this problem without any wiring or permanent installation required.
These battery-operated LED lights stick to the inside of your cabinet door or wall using adhesive backing. When you open the cabinet, the motion sensor activates the light automatically. No switches to fumble for when your hands are full.
Installation takes less than five minutes. Clean the surface, peel off the backing, and press the light into place. The batteries typically last several months depending on usage.
This upgrade costs around $10 to $15 and makes finding items under your sink much easier. You’ll wonder how you managed without it, especially during late-night kitchen visits.
30. Install adhesive LED puck lights inside cabinets
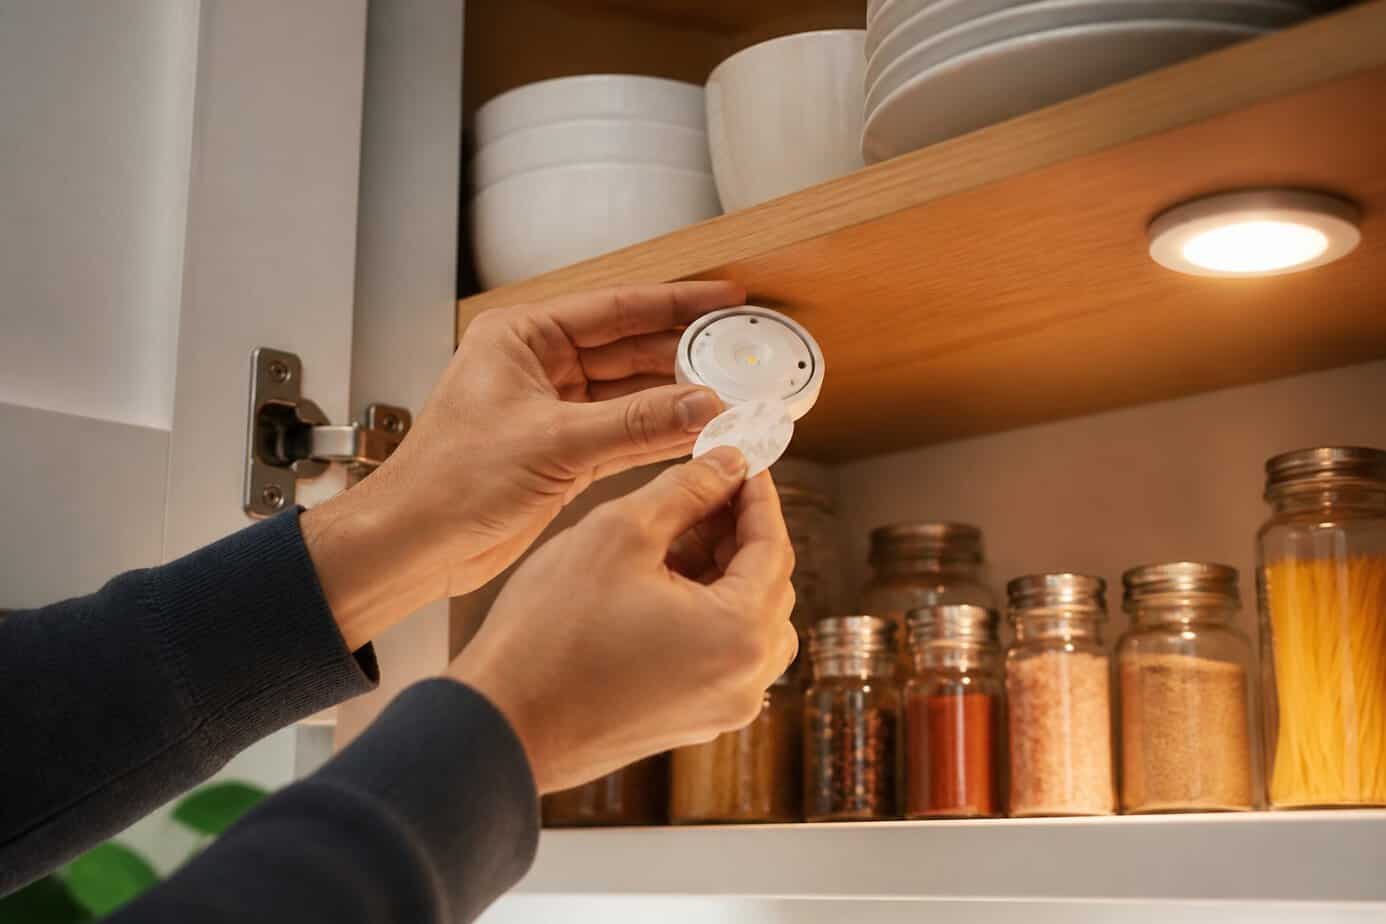
Adhesive LED puck lights transform the interior of your cabinets without requiring any electrical work or special tools. You simply peel off the backing and stick them to the underside of shelves or cabinet tops.
These battery-powered lights cost between $15 and $30 for a multi-pack, making them an affordable upgrade. They work particularly well in glass-fronted cabinets where they showcase your dishes or glassware.
Installation takes just minutes. Clean the surface where you’ll mount the lights, press them firmly in place, and you’re done. Most models include a remote control or touch activation for easy operation.
The lights provide practical benefits too. You’ll no longer need to dig through dark cabinets searching for items. Battery life typically lasts several months with regular use, and replacing them is straightforward.
31. Refinish laminate countertops with Giani Countertop Paint Kit
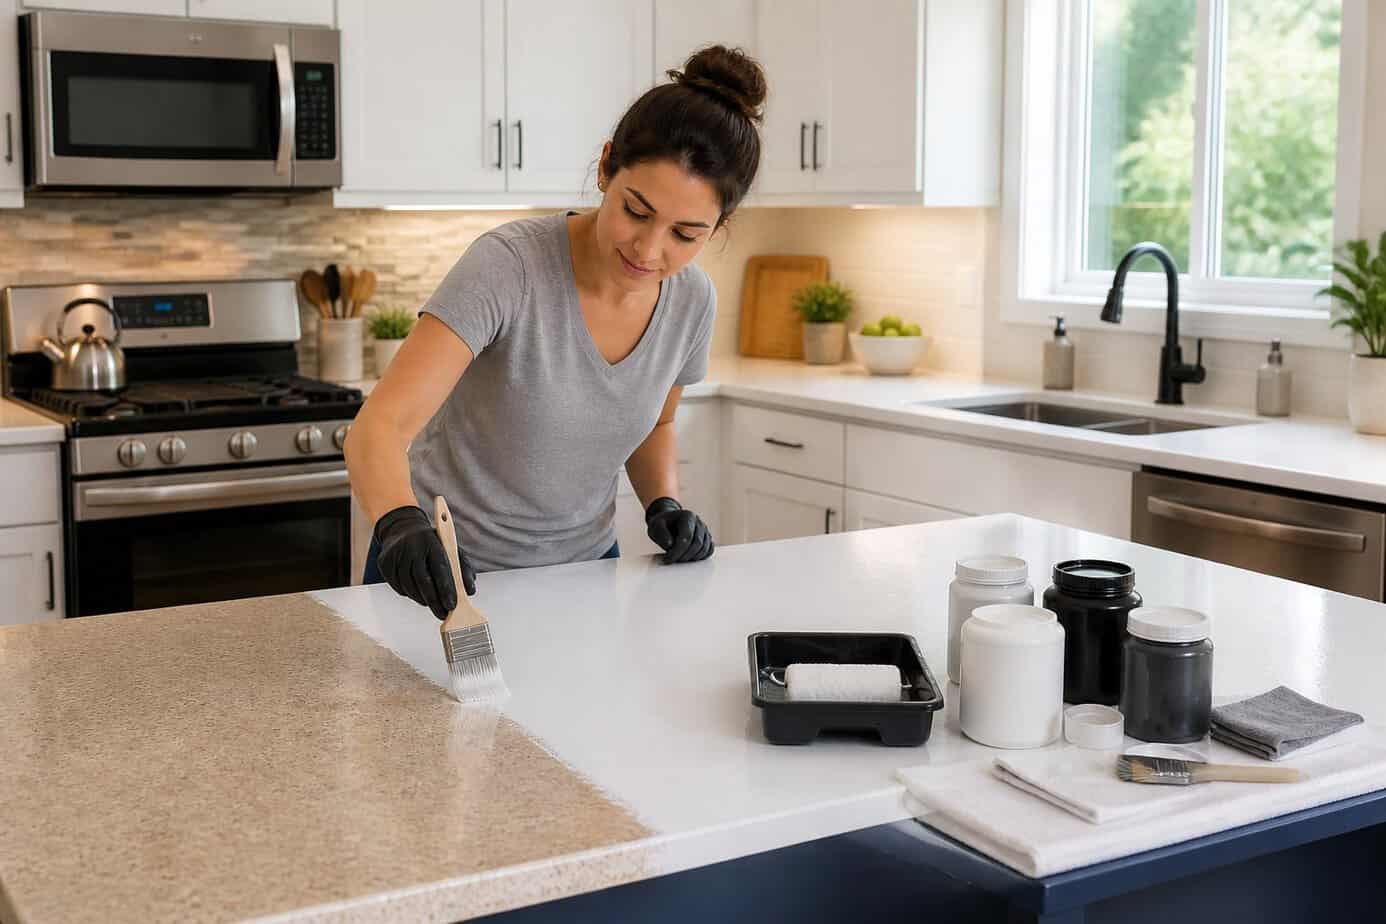
Giani Countertop Paint Kits offer a practical solution for updating tired laminate surfaces without replacement costs. The kit includes primer, mineral colors, epoxy resin, and application tools needed to create a granite-like finish.
You can complete this project in a weekend. The three-step process involves preparing the surface, applying the mineral colors in layers, and sealing with epoxy for durability.
The kits come in various color options including White Diamond, Slate, Sicilian Sand, and Bombay Black. This allows you to match your kitchen’s aesthetic preferences.
At a fraction of the cost of new countertops, these paint kits transform basic laminate into surfaces that mimic natural stone. The application requires no special skills, making it accessible for most DIYers willing to follow the included instructions carefully.
32. Add a DIY tiled backsplash using mosaic peel-and-stick tiles
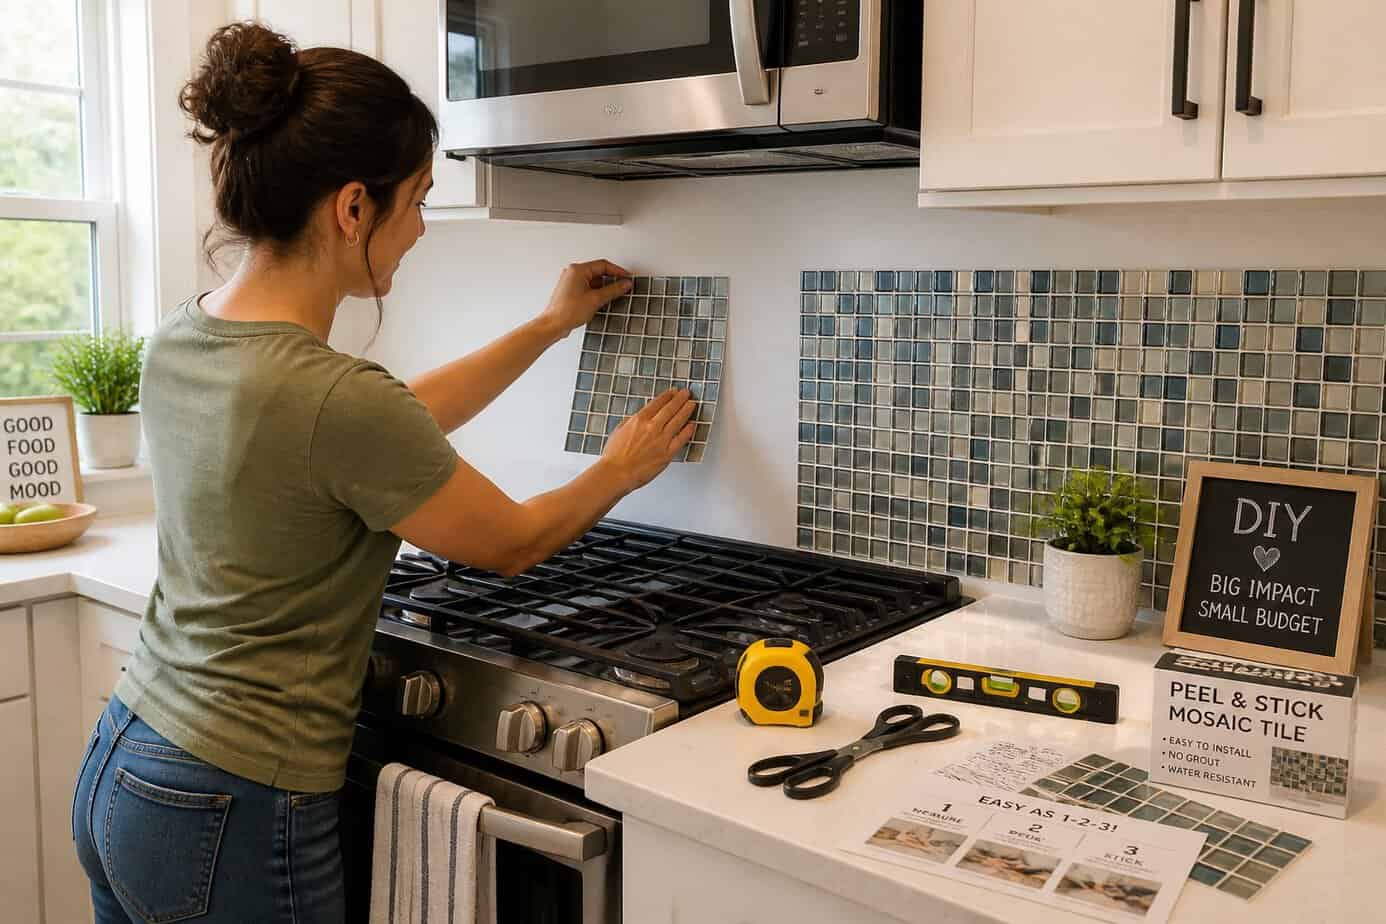
Mosaic peel-and-stick tiles let you update your kitchen backsplash without traditional tiling complications. These tiles feature adhesive backing that eliminates the need for mortar or thinset application.
You can complete the installation in a single weekend. Start by cleaning your wall surface thoroughly to ensure proper adhesion. Measure your backsplash area and plan your tile layout before removing any backing.
The tiles work on most smooth surfaces and come in various materials including natural stone, ceramic, metal, and glass. Simply peel off the backing and press firmly into place. You won’t need specialized tools like a wet saw for most installations.
This approach costs significantly less than hiring professionals for traditional tile work. The adhesive backing makes alignment straightforward, even if you’ve never worked with tile before.
33. Hang a decorative plate rail above backsplash
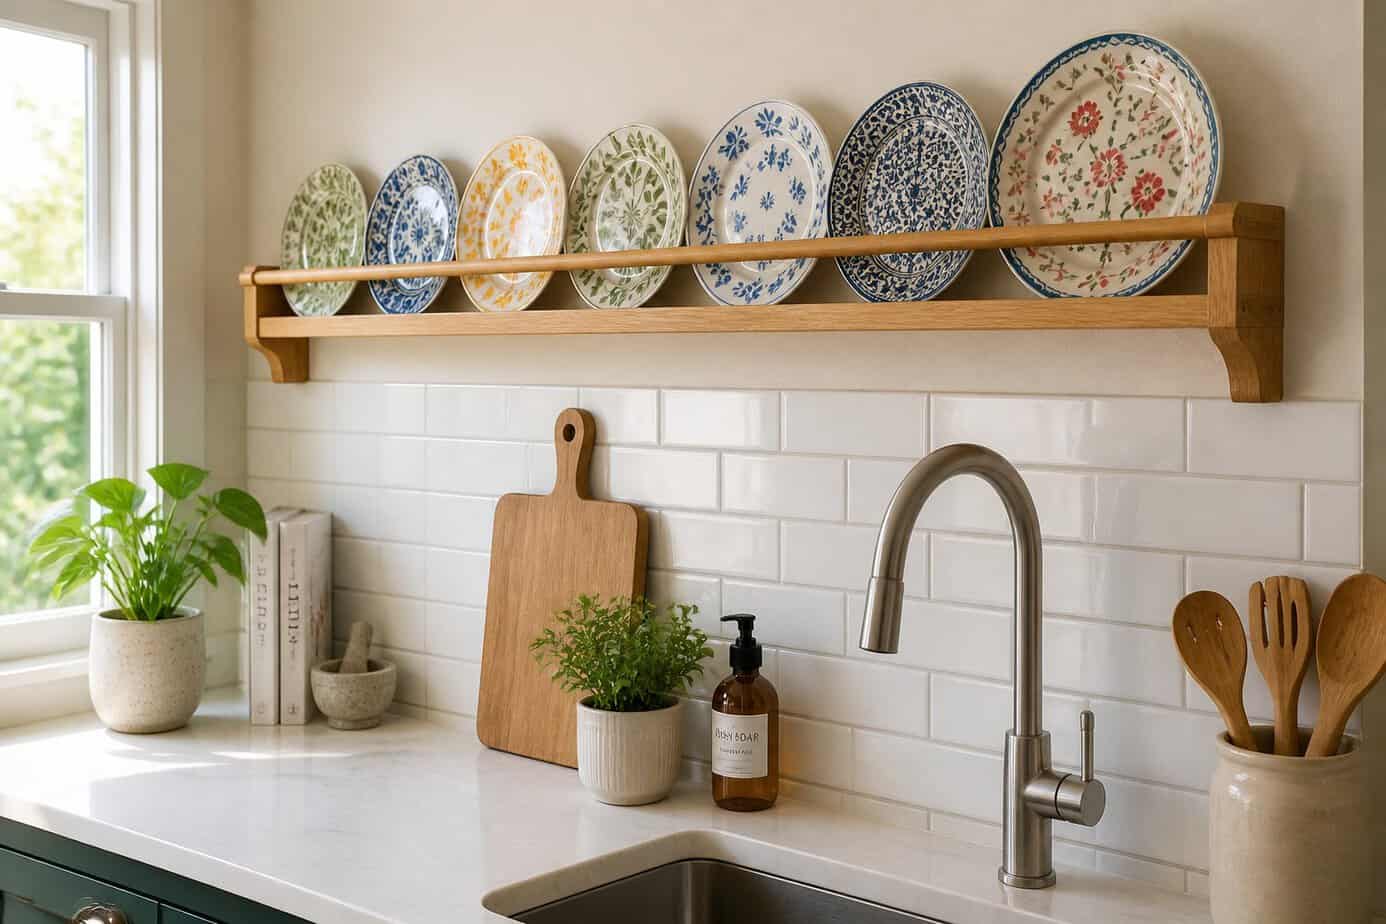
A plate rail mounted above your backsplash creates instant visual interest while adding functional display space. You can install a simple wooden rail using basic brackets and a length of trim molding from your local hardware store.
Position the rail about 4-6 inches above your backsplash to create proper spacing. Use a level to ensure straight installation, then secure it to wall studs for stability.
This upgrade works well for displaying decorative plates, small artwork, or vintage kitchenware. The rail keeps items accessible while protecting your backsplash from nail holes or adhesive damage.
Choose a finish that complements your existing cabinetry. Paint it to match your trim, stain it for a natural wood look, or leave it unfinished for a rustic feel. The entire project typically costs less than $20 in materials.
Understanding the True Value of Small Kitchen Changes
Would you like to save this?
Budget kitchen upgrades deliver measurable improvements in how you cook each day and provide financial benefits whether you rent or own your home. These changes compound over time, affecting everything from meal preparation efficiency to property value.
How Budget Upgrades Impact Daily Cooking
Small upgrades transform your cooking routine in ways that expensive renovations often miss. New cabinet pulls make opening drawers smoother and faster during meal prep. Better lighting under cabinets eliminates shadows on your cutting board and stove.
Adding a magnetic knife strip to your wall saves you 15-30 seconds every time you need a knife instead of digging through a drawer. Installing a tension rod under your sink creates vertical storage for spray bottles, giving you instant access to cleaning supplies. A $20 lazy Susan in your corner cabinet means you no longer lose ingredients in the back.
Fresh paint on walls or cabinets makes your kitchen feel cleaner, which encourages you to cook more often rather than ordering takeout. When your space looks intentional and organized, you spend less time searching for tools and more time actually preparing food.
Long-Term Benefits for Homeowners and Renters
Homeowners see direct returns on kitchen updates, with even minor improvements contributing to resale value. Paint, new hardware, and updated fixtures signal to buyers that the home has been maintained. These visible changes often cost $200-500 but can influence a buyer’s perception of the entire property.
Renters gain different advantages from budget upgrades. Removable peel-and-stick backsplash tiles, temporary cabinet liners, and portable storage solutions improve your living experience without losing your security deposit. You can take freestanding shelving units, utensil organizers, and decorative items to your next apartment.
Both groups benefit from reduced daily frustration and increased functionality. A $15 drawer organizer stays useful for years. Command hooks that hold pot lids or measuring cups eliminate clutter permanently for minimal cost.
Maximizing Your Budget for Style and Function
Smart material choices and strategic focus areas can stretch your kitchen budget significantly further. The key is selecting finishes that deliver visual impact while concentrating efforts where they matter most.
Choosing Materials That Look Expensive
Certain materials punch well above their price point when selected carefully. Quartz-look laminate countertops now feature realistic veining and depth that rivals stone at a fraction of the cost. Peel-and-stick backsplash tiles in subway or hexagon patterns create the appearance of custom tilework without installation expenses.
Vinyl plank flooring mimics hardwood or natural stone convincingly, with water resistance that actually outperforms pricier options in kitchens. Look for products with textured surfaces and varied color tones within each plank.
For cabinet updates, satin or semi-gloss paint finishes photograph like lacquered cabinetry while requiring only basic painting supplies. Brushed brass or matte black hardware reads as premium regardless of the actual metal composition underneath the finish.
Prioritizing High-Impact Areas
Your budget delivers maximum returns when concentrated on elements at eye level and frequently touched surfaces. Cabinet faces consume more visual real estate than any other kitchen component, making paint or new doors your highest-value investment.
Lighting fixtures and faucets serve as focal points that guests notice immediately. Swapping builder-grade options for updated styles transforms your kitchen’s perceived value.
Backsplash areas between counters and cabinets create strong visual statements in relatively small square footage. Even a 15-square-foot backsplash dramatically shifts the room’s appearance. Conversely, flooring under islands or in corners hidden by appliances deserves less budget allocation than open pathways.