29 Outdated Home Features You Can Fix Yourself for Under $100
Would you like to save this?
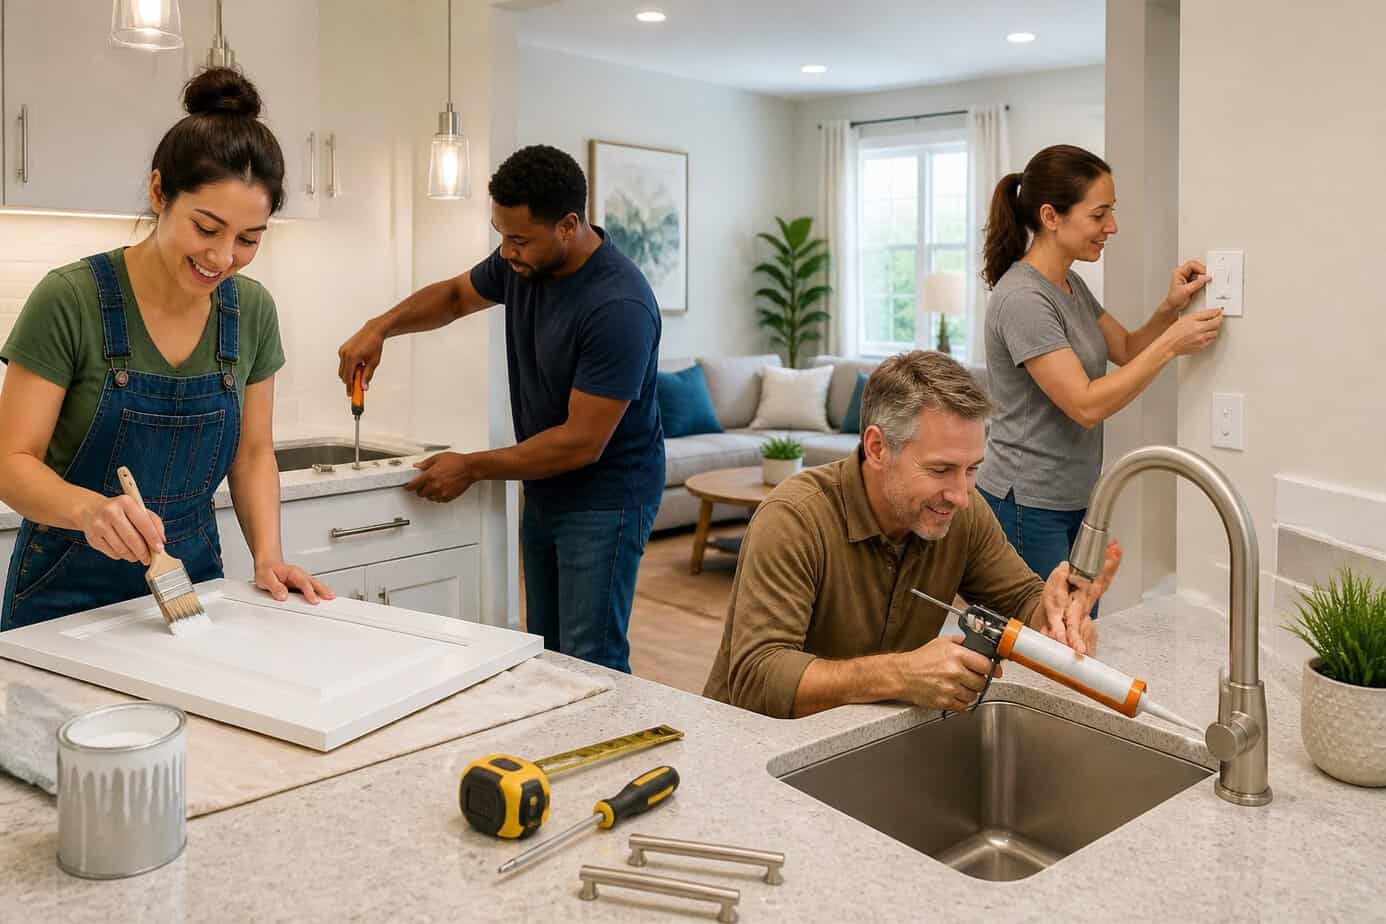
Many homes show their age through small, visible details that chip away at a space’s modern appeal. Outdated outlet covers, yellowed light switches, brass hardware, and grimy caulk are common culprits that make rooms feel stuck in the past.
The good news is that most of these cosmetic issues don’t require professional help or major expenses to fix. You can update nearly 30 outdated features in your home for less than $100 each, using basic tools and a few hours of your time.
From replacing old thermostats and light fixtures to refreshing grout and installing smart home upgrades, these projects target the specific elements that date a space.
Whether you’re tackling electrical updates, hardware swaps, or surface treatments, each fix offers a straightforward path to a more current look without the cost of a full renovation.
1. Replace yellowed outlet covers with white Decora outlet and switch covers
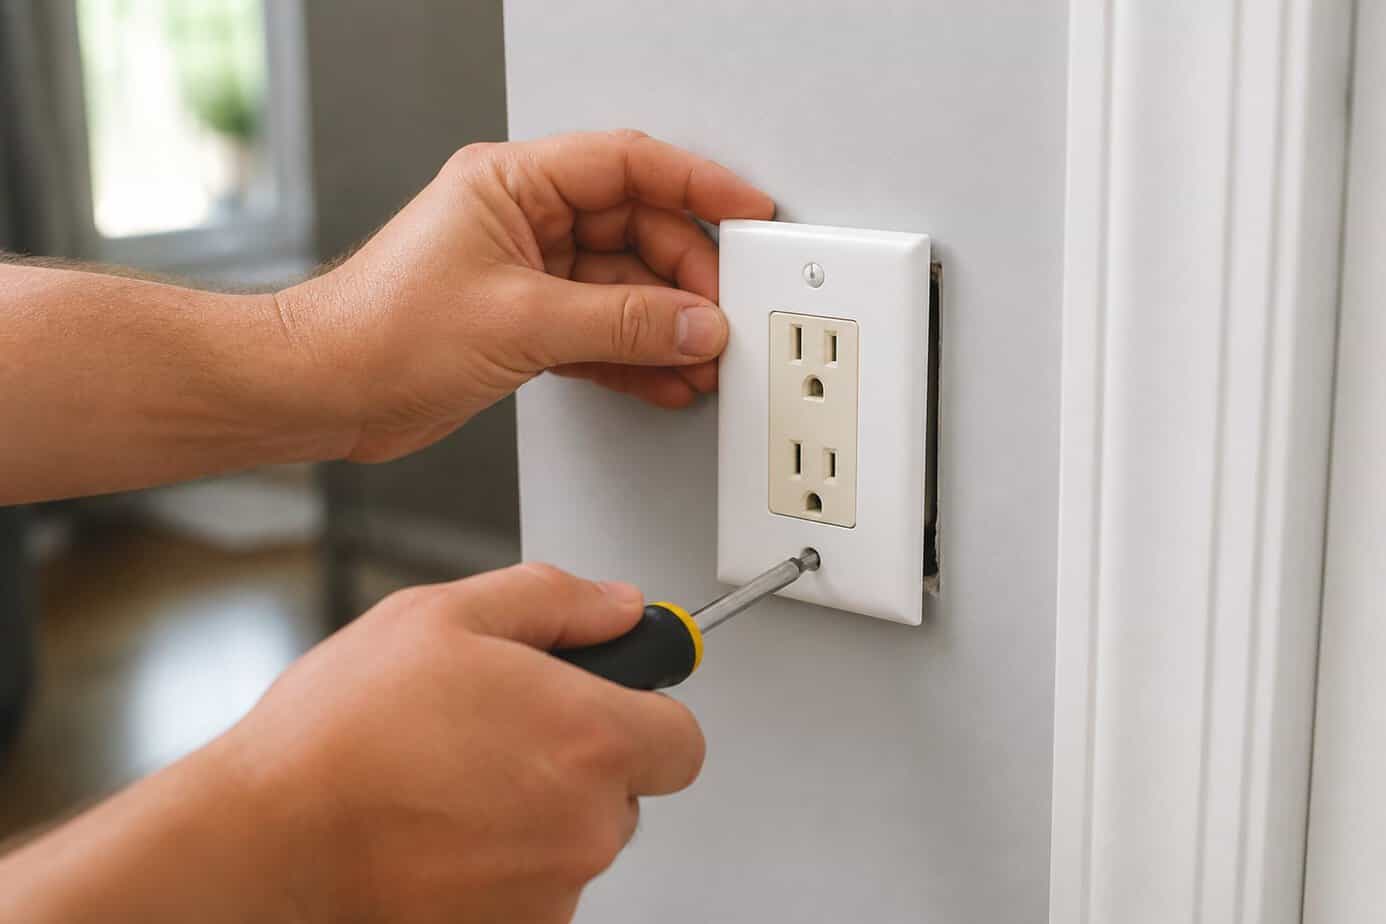
Yellowed or almond-colored outlet covers age your home instantly. Replacing them with modern white Decora-style plates creates an immediate visual upgrade.
This project requires no electrical work. You simply unscrew the old covers and attach the new ones. A screwdriver is the only tool you need.
Screwless Decora plates offer the cleanest look and hide mounting screws behind a snap-on face. Standard Decora covers work just as well at a lower price point. You can find packs of 5-10 covers for $10-20 at most hardware stores.
The entire house can be updated in under an hour. This simple change makes walls look fresher and more maintained without any technical skills required.
2. Install a programmable Honeywell T5 thermostat
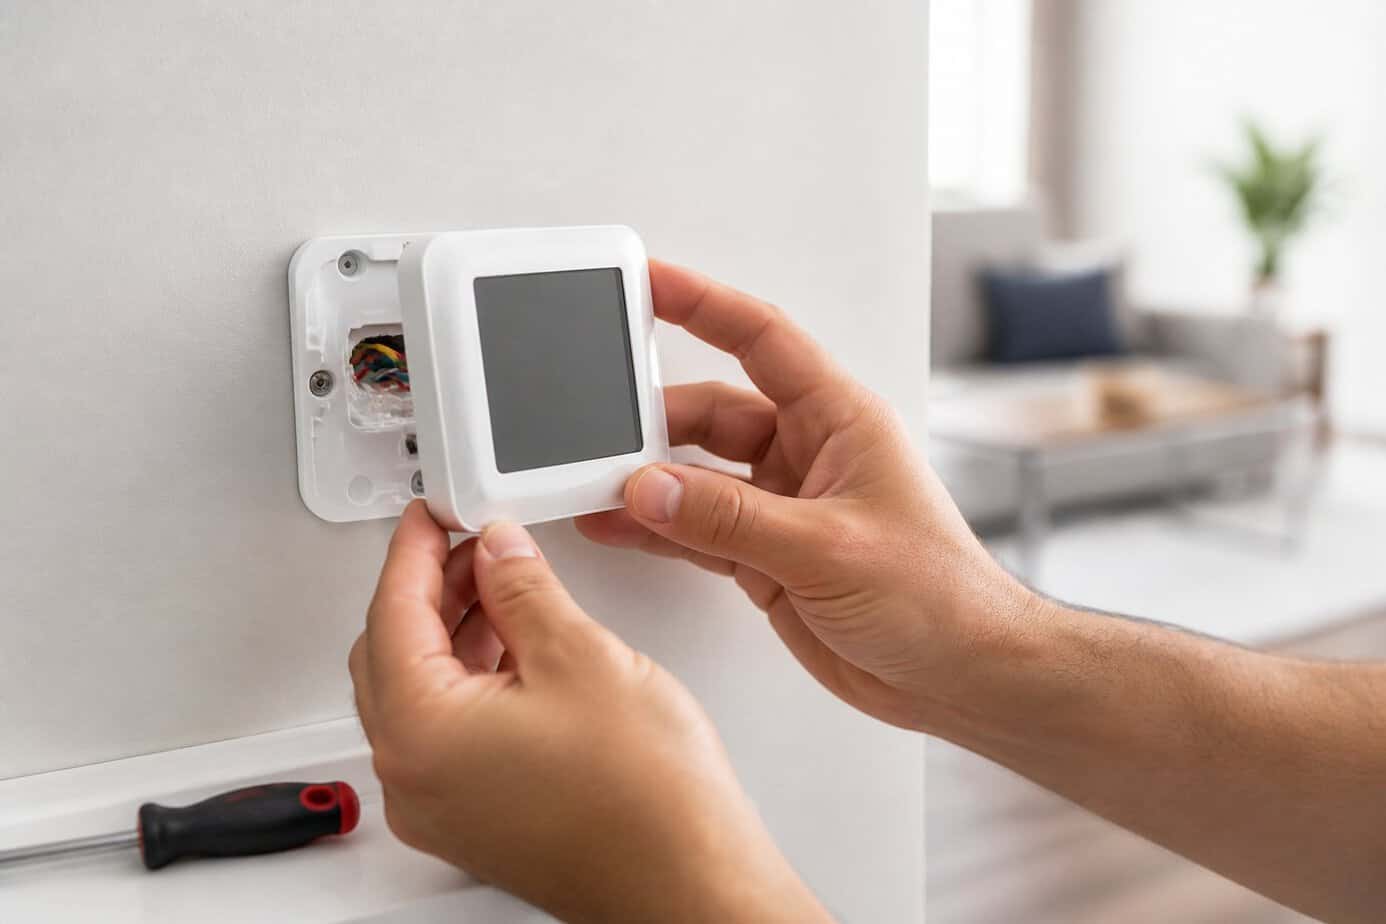
Replacing an outdated manual thermostat with a Honeywell T5 Smart Thermostat costs between $70-$100 and takes about 30 minutes to install. You can do this yourself without professional help.
Start by turning off the power to your HVAC system at the breaker. Remove your old thermostat and take a photo of the existing wire connections for reference. Label each wire according to its terminal letter.
Mount the T5 baseplate to your wall using the included screws. Connect your wires to the corresponding terminals on the new baseplate. The T5 works with most heating and cooling systems, but check compatibility before purchasing.
Snap the thermostat display onto the baseplate and restore power. Follow the on-screen prompts to connect it to your Wi-Fi network. You can then program temperature schedules through the device or smartphone app to reduce energy costs.
3. Swap dated brass cabinet knobs for matte black knobs (Liberty Hardware)
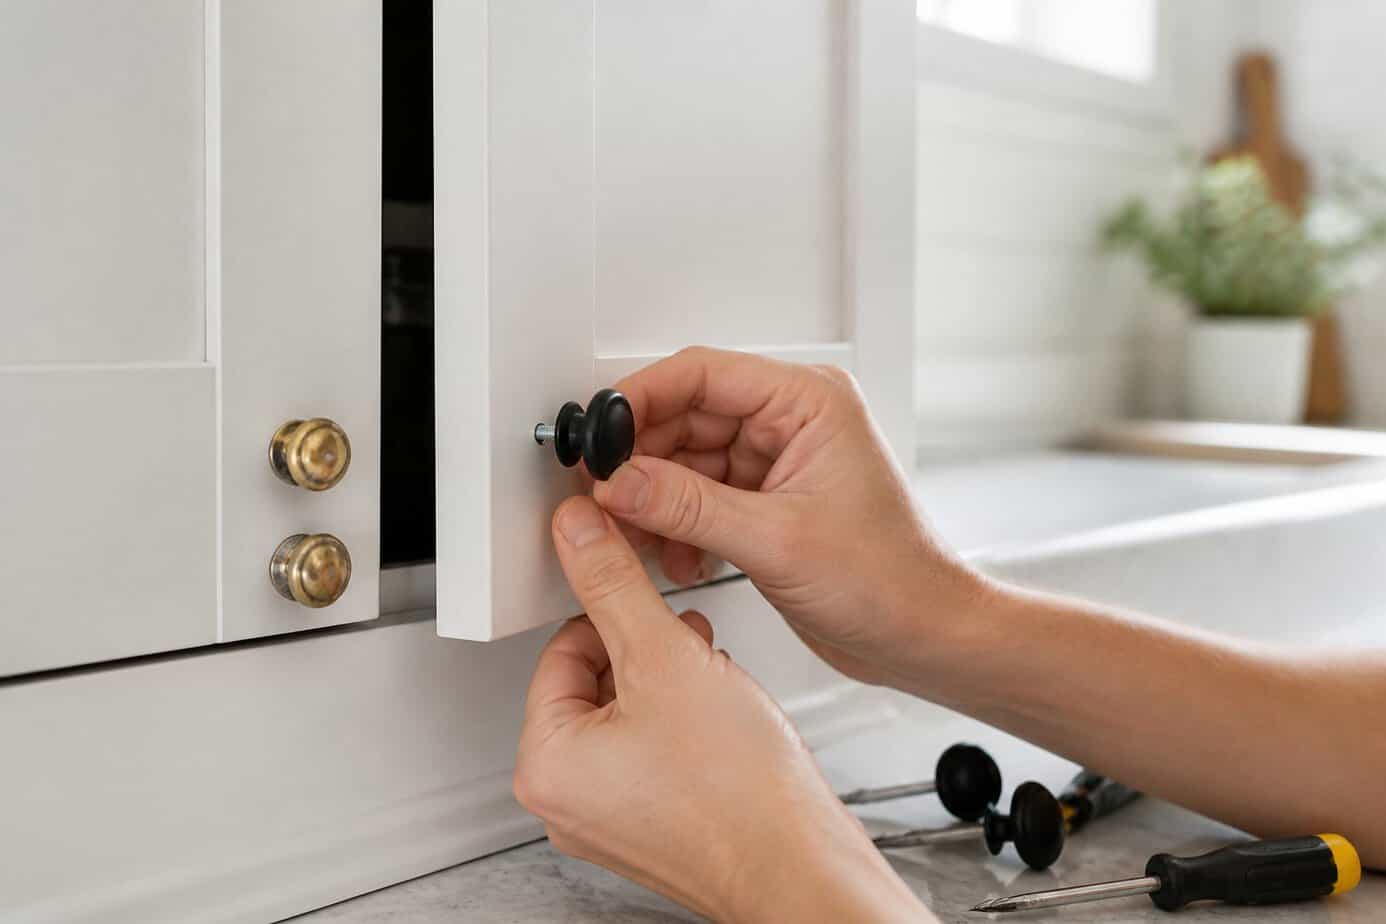
Brass cabinet hardware instantly ages your kitchen or bathroom. Switching to matte black knobs from Liberty Hardware costs between $2-5 per piece and takes roughly 10 minutes to complete.
You’ll need a screwdriver and your new knobs. Remove the old hardware by unscrewing from the back of the cabinet door. Most knobs use standard 1-inch holes, so your new Liberty knobs will fit existing holes without drilling.
Liberty Hardware offers multiple matte black styles that work with both modern and traditional cabinets. Their knobs come with mounting screws included.
After installation, test each knob by pulling gently to confirm it’s secure. This simple swap transforms builder-grade cabinets into custom-looking features without paint or major renovation. The cost typically runs $50-80 for an average kitchen.
4. Paint popcorn ceilings with ceiling-specific flat paint (Glidden or Behr)
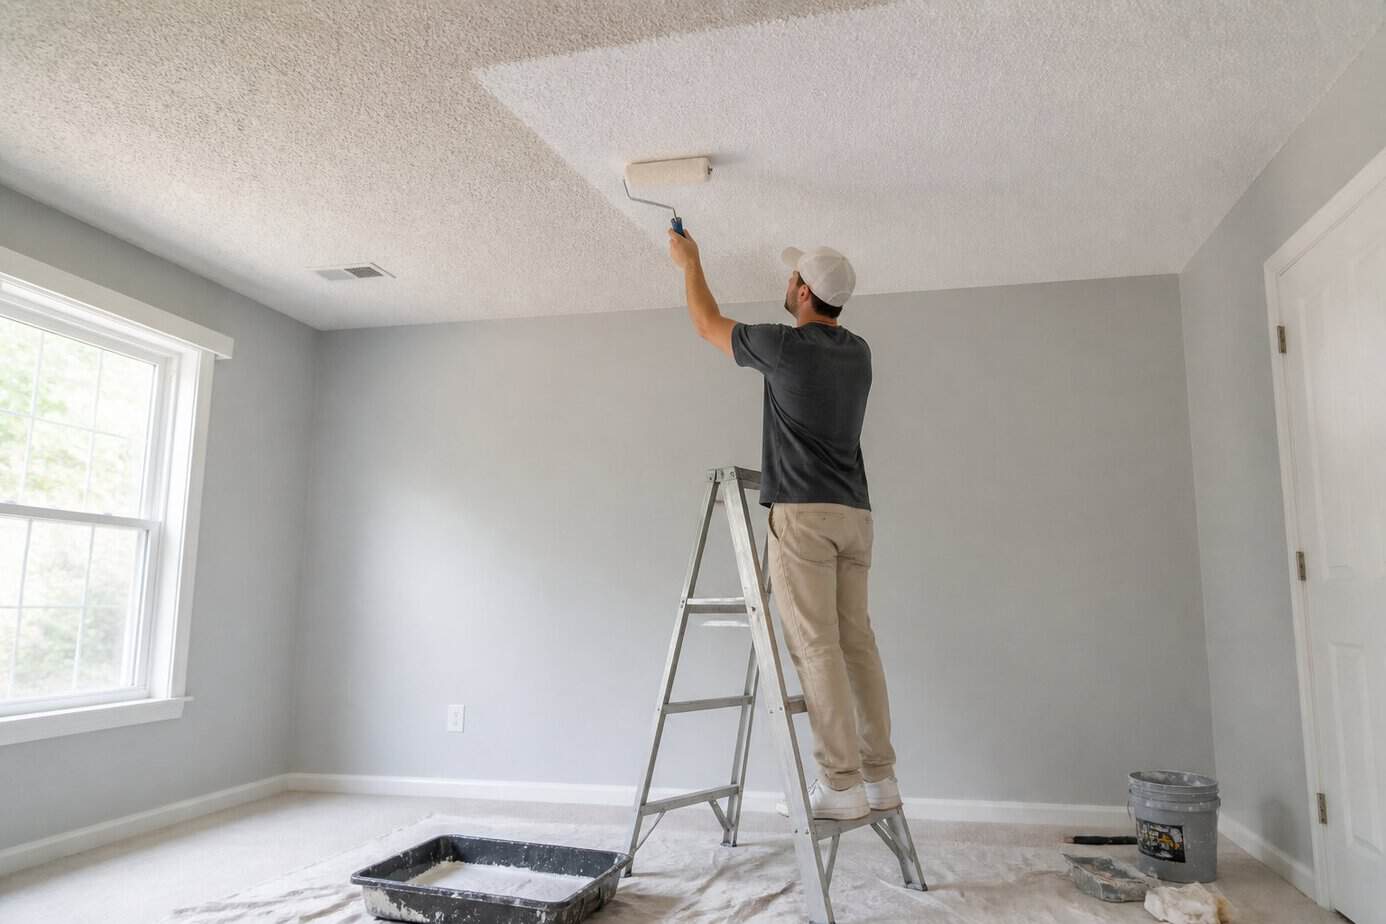
Popcorn ceilings can make your home look dated, but painting them is an affordable fix. You’ll need ceiling-specific flat paint designed for textured surfaces.
Brands like Behr and Glidden offer acrylic-latex formulas that adhere well to porous popcorn texture. These paints typically include primer, saving you time and money. A gallon costs between $25-$40 at most home improvement stores.
Buy 15-20% more paint than you would for smooth ceilings since the texture creates additional surface area. Use a thick-nap roller to reach into the crevices without crushing the texture.
Apply paint gently to avoid knocking off pieces of the popcorn material. Work in small sections and avoid overworking any area. The flat finish helps hide imperfections and gives your ceiling a clean, refreshed appearance.
5. Apply peel-and-stick subway tile backsplash (Smart Tiles)
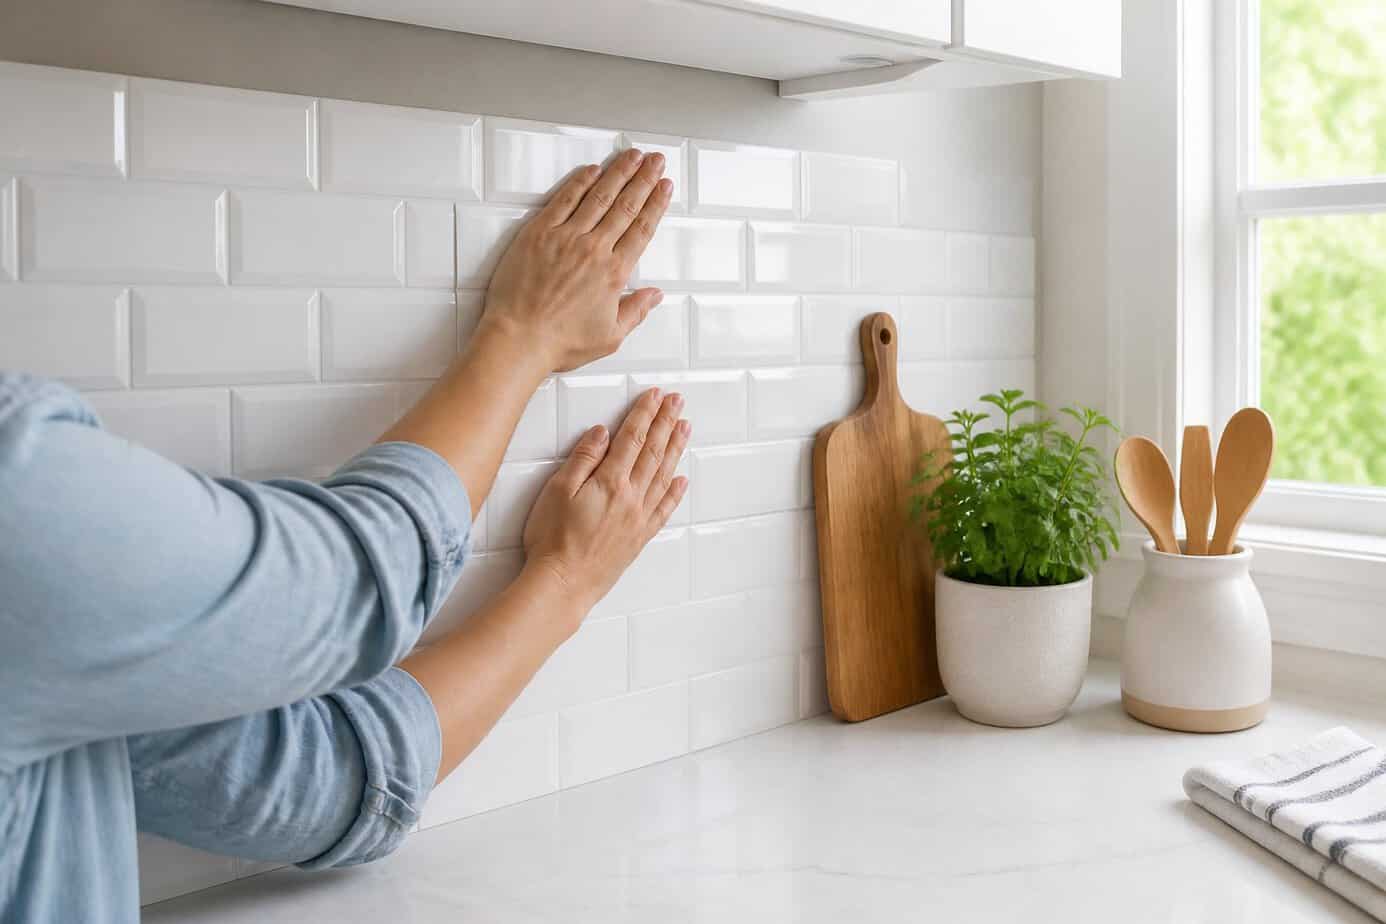
Outdated backsplashes make your kitchen or bathroom look dated, but Smart Tiles offer an affordable fix. These peel-and-stick tiles require no grout, glue, or specialized tools.
You can install them on any clean, smooth surface in minutes. Simply peel off the backing and press the tiles into place. They’re lightweight, easy to cut, and reposition if needed.
Smart Tiles are made in Canada and come with a lifetime warranty. A typical box covers around 5 square feet and costs under $100 at Home Depot or Lowe’s.
You may need to replace outlet covers since the tiles add thickness to your wall. The installation process is straightforward enough for any DIYer to complete in a single weekend without professional help.
6. Change old incandescent bulbs to Philips Hue white bulbs
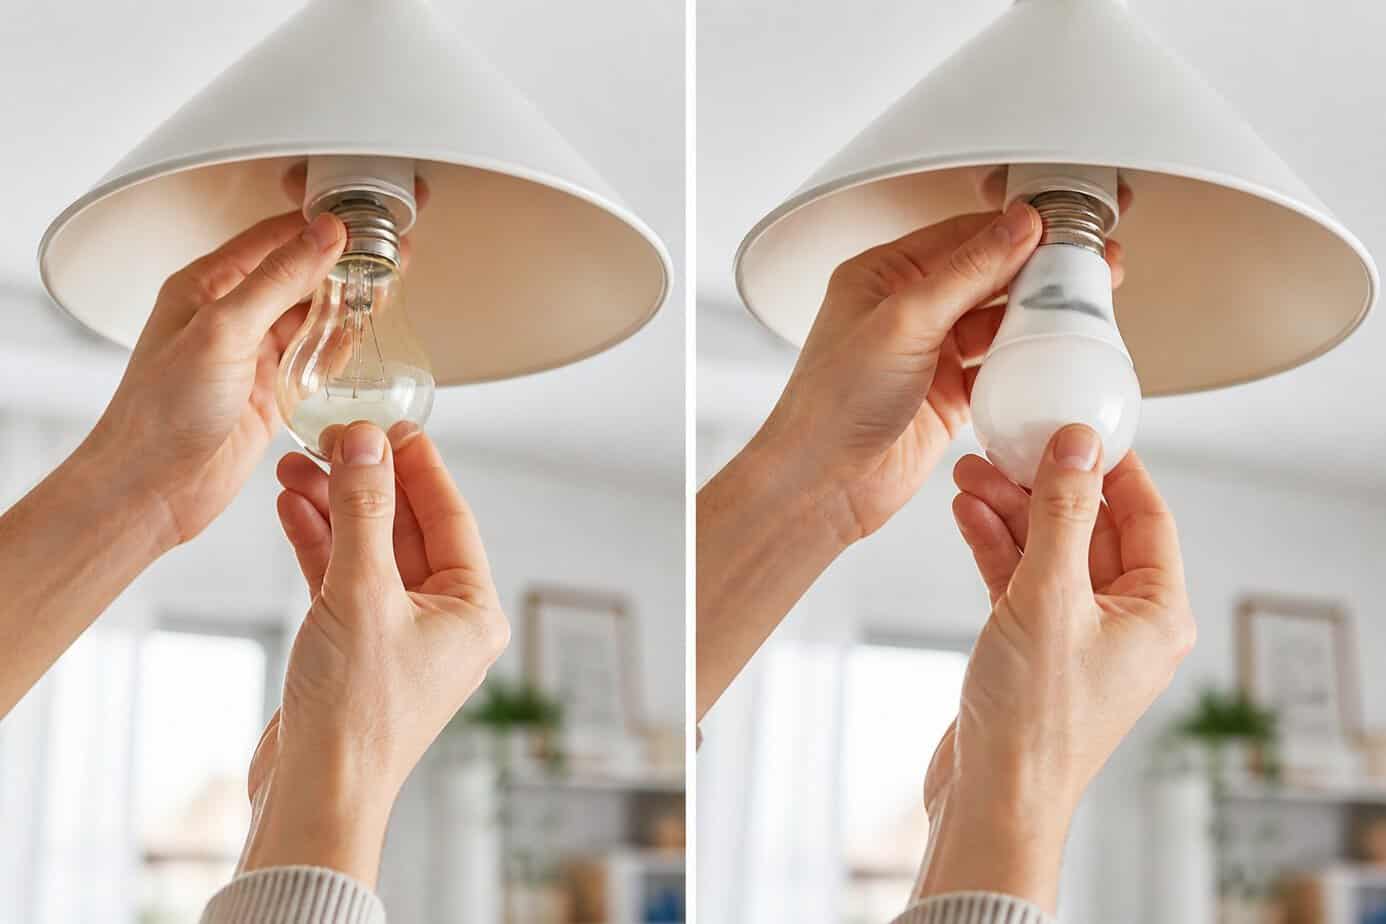
Replacing incandescent bulbs with Philips Hue white bulbs is a straightforward upgrade that modernizes your lighting. You can purchase individual Hue white bulbs for well under $100, making this an accessible improvement.
The installation process is simple. Turn off the power, unscrew your old incandescent bulb, and screw in the Philips Hue replacement using the same A19 socket. The bulbs fit standard fixtures without any modifications.
After installation, download the Philips Hue app to your smartphone. You’ll pair the bulbs through the app, which allows you to control brightness and set schedules. If you’re replacing bulbs you already have in the system, you can use the app’s features to manage the transition.
The energy savings add up quickly since LED technology uses significantly less electricity than incandescent bulbs while lasting much longer.
7. Install a Kasa smart plug for outdated lamps (TP-Link Kasa HS103)
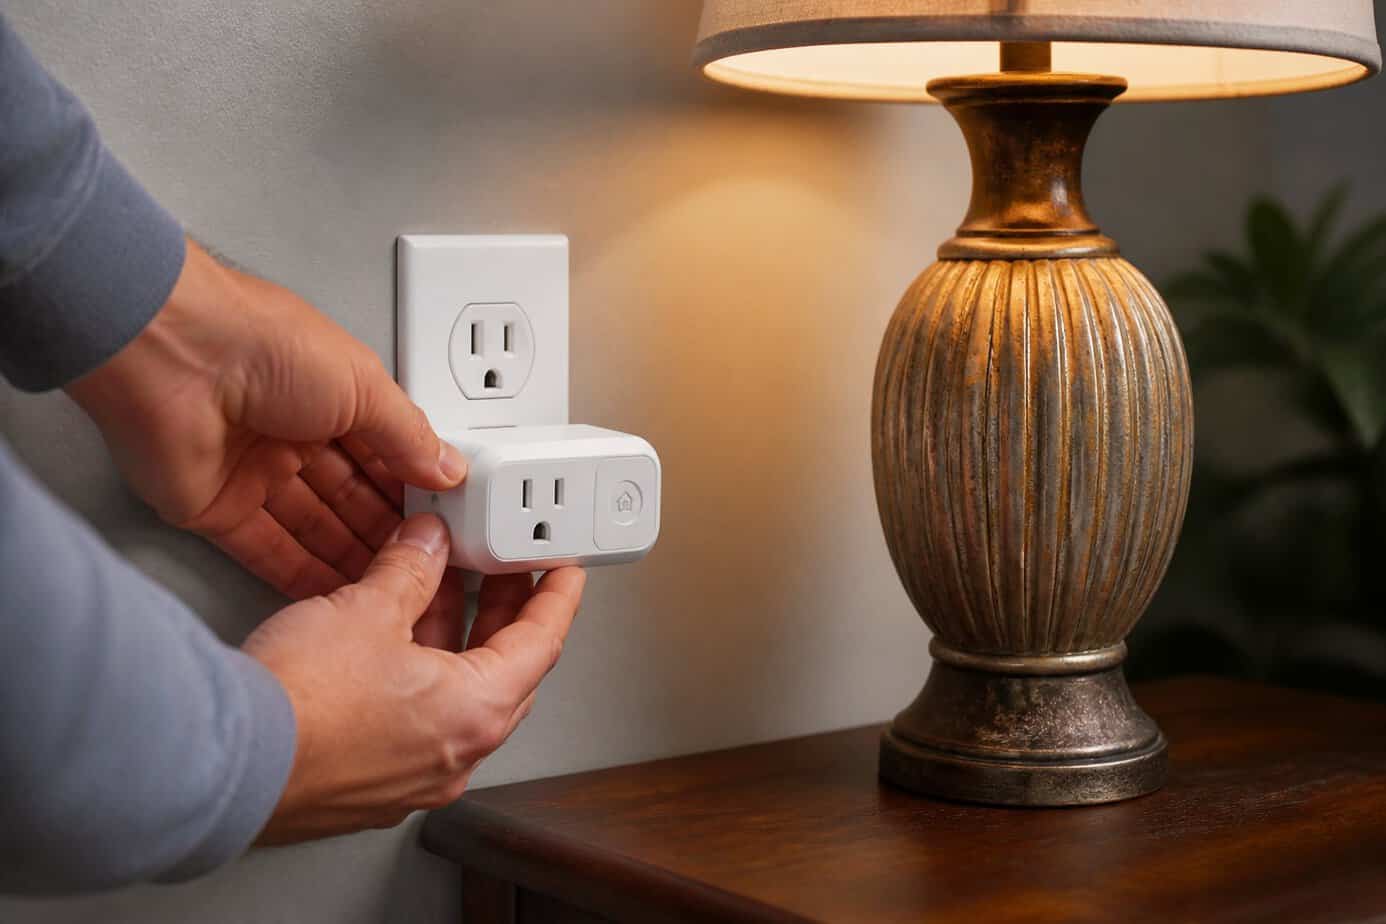
The TP-Link Kasa HS103 transforms your old lamps into smart devices without replacing them. You simply plug the HS103 into your wall outlet, connect your lamp, and download the Kasa Smart app to your phone.
Setup takes just a few minutes. The app guides you through connecting the plug to your Wi-Fi network. Once connected, you can control your lamps from anywhere using your smartphone.
The HS103 works with voice assistants like Amazon Alexa and Google Assistant. You can schedule your lamps to turn on and off at specific times, which helps save energy and adds security when you’re away.
This compact plug fits into standard outlets and costs well under $100. It gives your outdated lamps modern functionality without the expense of buying new smart lighting fixtures.
8. Re-caulk grimy bathtub with GE Silicone II Caulk
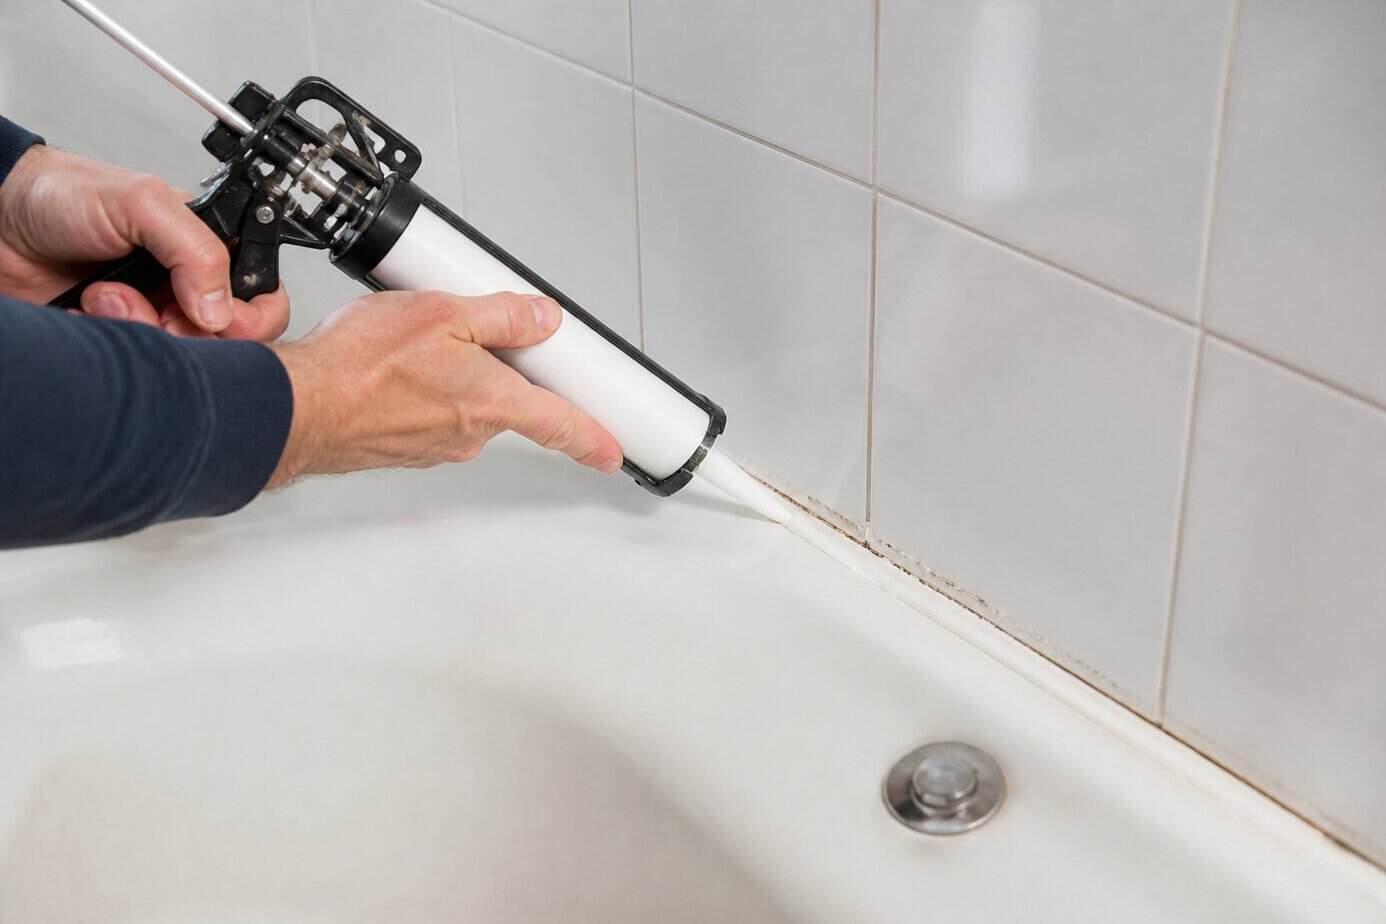
Old bathtub caulk collects mold, turns yellow, and makes your bathroom look dated. You can replace it yourself in an afternoon for under $100.
Start by removing the old caulk with a utility knife or plastic scraper. Plastic tools work best on acrylic or fiberglass to avoid scratches. Clean the area thoroughly with rubbing alcohol and let it dry completely.
Apply GE Silicone II caulk in a steady bead along the seam between your tub and wall. Smooth it with a caulking tool or wet finger within five minutes of application. The fresh seal prevents water damage and eliminates those unsightly black spots.
Let the caulk cure for at least 24 hours before using your shower. This simple update costs around $10-15 and gives your bathroom a cleaner appearance.
9. Replace old showerhead with a high-pressure Moen 26008
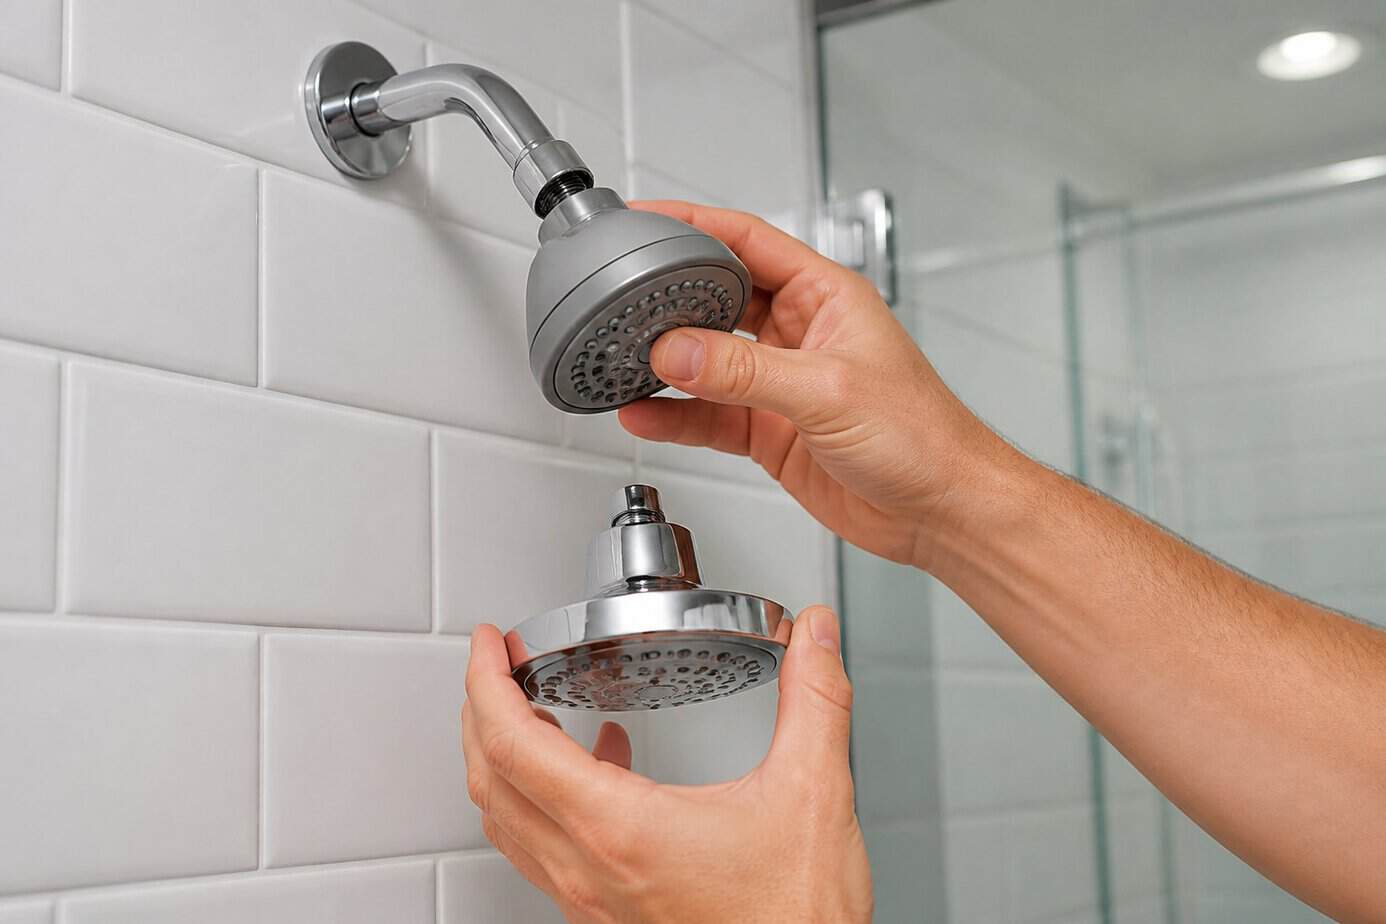
Swapping your dated showerhead for the Moen 26008 Attract with Magnetix takes less than 10 minutes and requires only an adjustable wrench. This dual shower head system features a 6.75-inch rainshower and a handheld with six spray settings, giving you flexibility without professional installation costs.
The Magnetix technology includes a magnetic docking system that securely holds the handheld in place. You get both heads working separately or together for full coverage. The chrome finish resists water spots and complements most bathroom styles.
Simply unscrew your existing showerhead counterclockwise, wrap the shower arm threads with plumber’s tape, and hand-tighten the new fixture. The system meets EPA WaterSense criteria at 1.75 GPM, so you’ll conserve water while upgrading your shower experience.
The standard 60-inch metal hose provides reach and durability. If you need more length, Moen sells a compatible 72-inch hose separately.
10. Add peel-and-stick vinyl plank flooring (LifeProof) for small areas
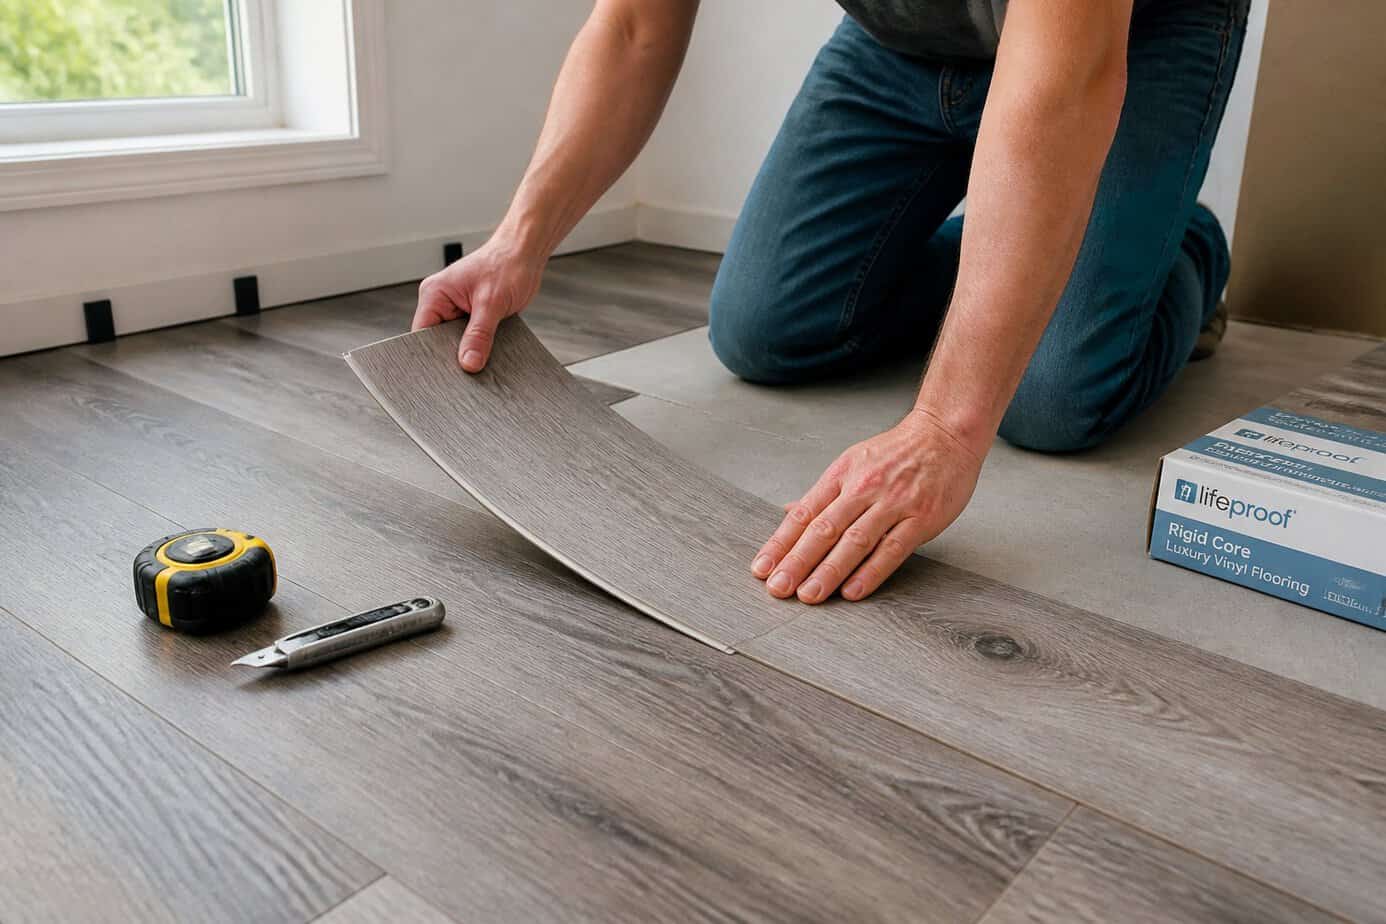
Outdated flooring in small spaces like bathrooms or entryways can drag down your home’s appearance. Peel-and-stick vinyl plank flooring offers a budget-friendly solution you can install yourself in a weekend.
LifeProof vinyl planks work well for compact areas because they require no adhesive, underlayment, or power tools. The adhesive backing is already applied, so you simply peel off the protective layer and press each plank into place.
Before starting, clean your subfloor thoroughly and let it dry completely. Measure the space to calculate how many planks you need, adding 10% for cuts and waste.
Start in one corner and work your way across, staggering the seams for a natural look. Use a utility knife and straightedge to make clean cuts for edges and corners. Most small-area projects cost under $100 in materials.
11. Install a magnetic knife strip to declutter dated counter space
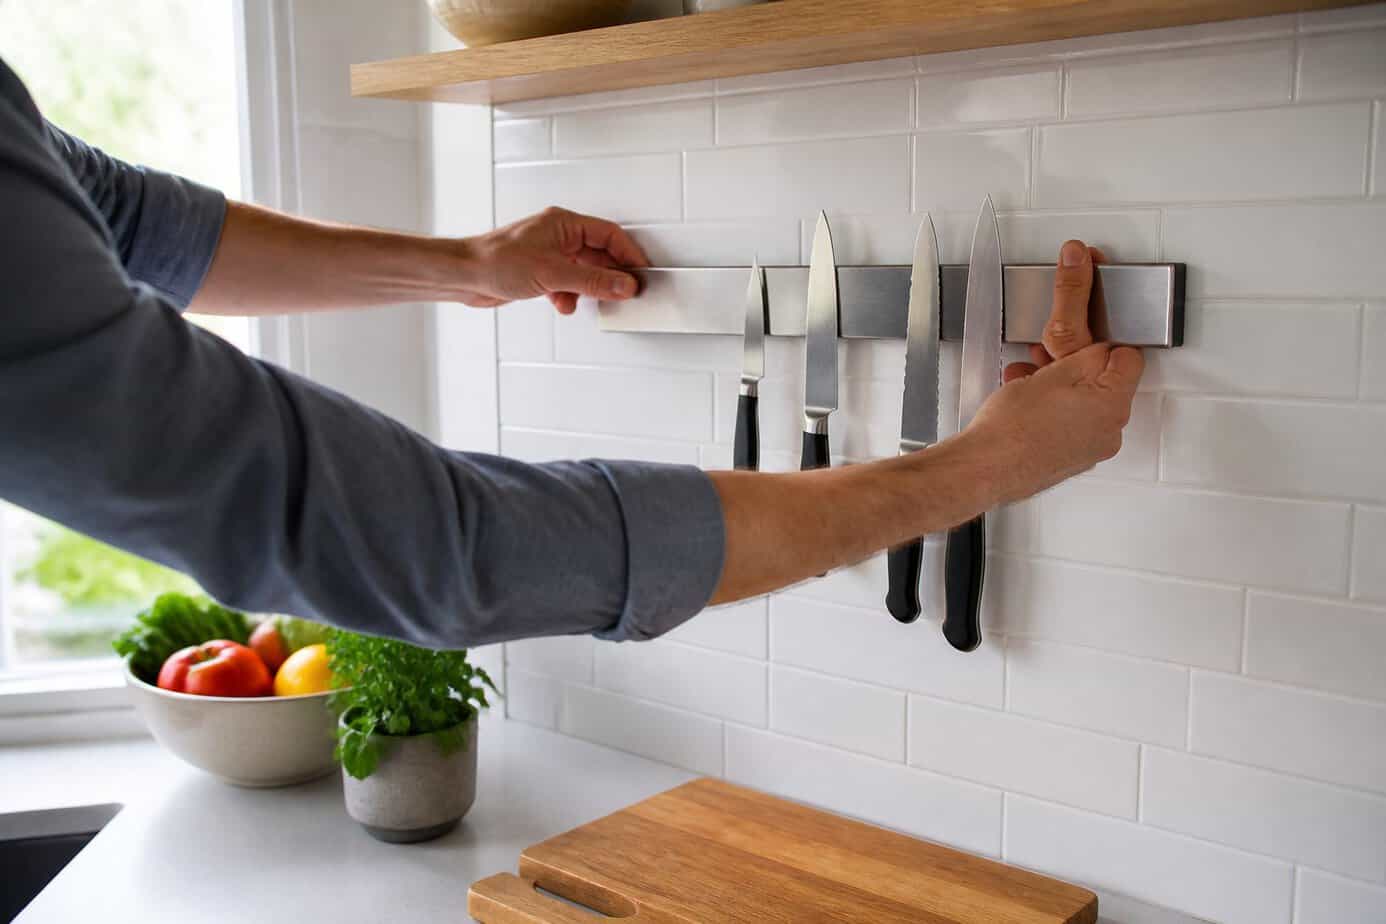
Bulky knife blocks consume valuable counter space and collect dust in their slots. A magnetic knife strip mounts to your wall and keeps knives visible and accessible while freeing up your workspace.
You can purchase a basic magnetic strip for $15 to $30 at most home improvement stores. Installation requires only a drill, screws, and a level. Choose a spot on your wall that’s easy to reach but away from the stove’s heat.
Mark your drill holes with a pencil, ensuring they align with wall studs for maximum support. Drill pilot holes, then secure the strip with the provided mounting hardware. The magnets hold your knives safely in place while keeping the blades dry and preventing damage.
This simple upgrade transforms cluttered counters into clean, functional spaces with a modern appearance.
12. Swap outdated towel bars for a brushed nickel Moen DN8424
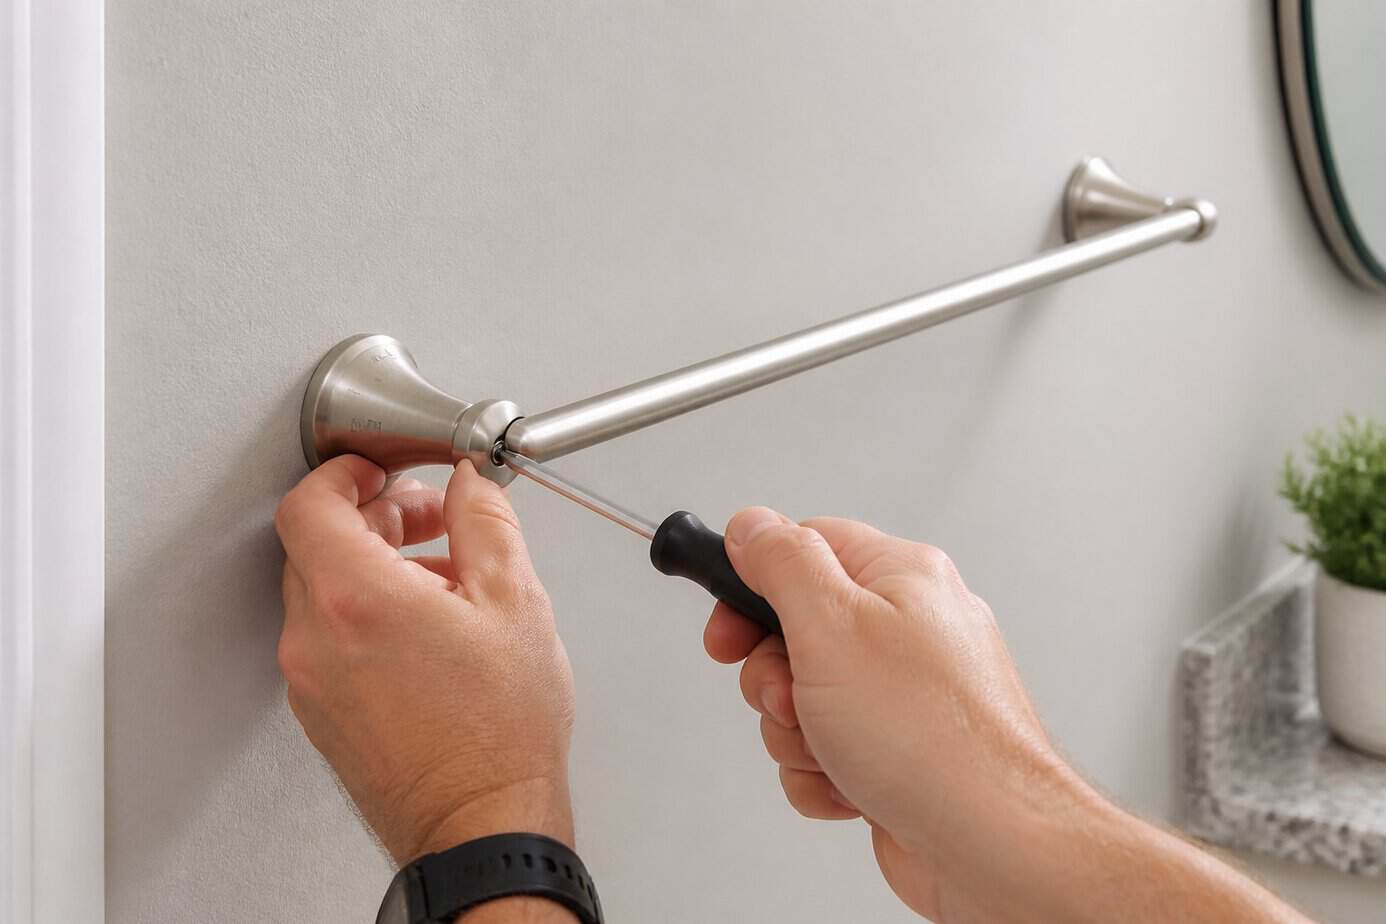
Replacing old towel bars updates your bathroom’s appearance without requiring professional help. The Moen DN8424BN Preston towel bar offers a brushed nickel finish that provides a warm grey metallic look suitable for modern bathrooms.
This 24-inch towel bar is constructed from aluminum, making it durable while remaining lightweight and easy to install. The finish resists rust and corrosion during everyday use. You can mount it with basic tools following the included installation instructions.
The Preston collection features a simple, low-key design that complements various bathroom styles. It coordinates with other Preston accessories if you want to update additional fixtures.
At under $100, this upgrade delivers noticeable improvement to dated bathrooms. Moen backs the product with a limited lifetime warranty, ensuring long-term reliability for your investment.
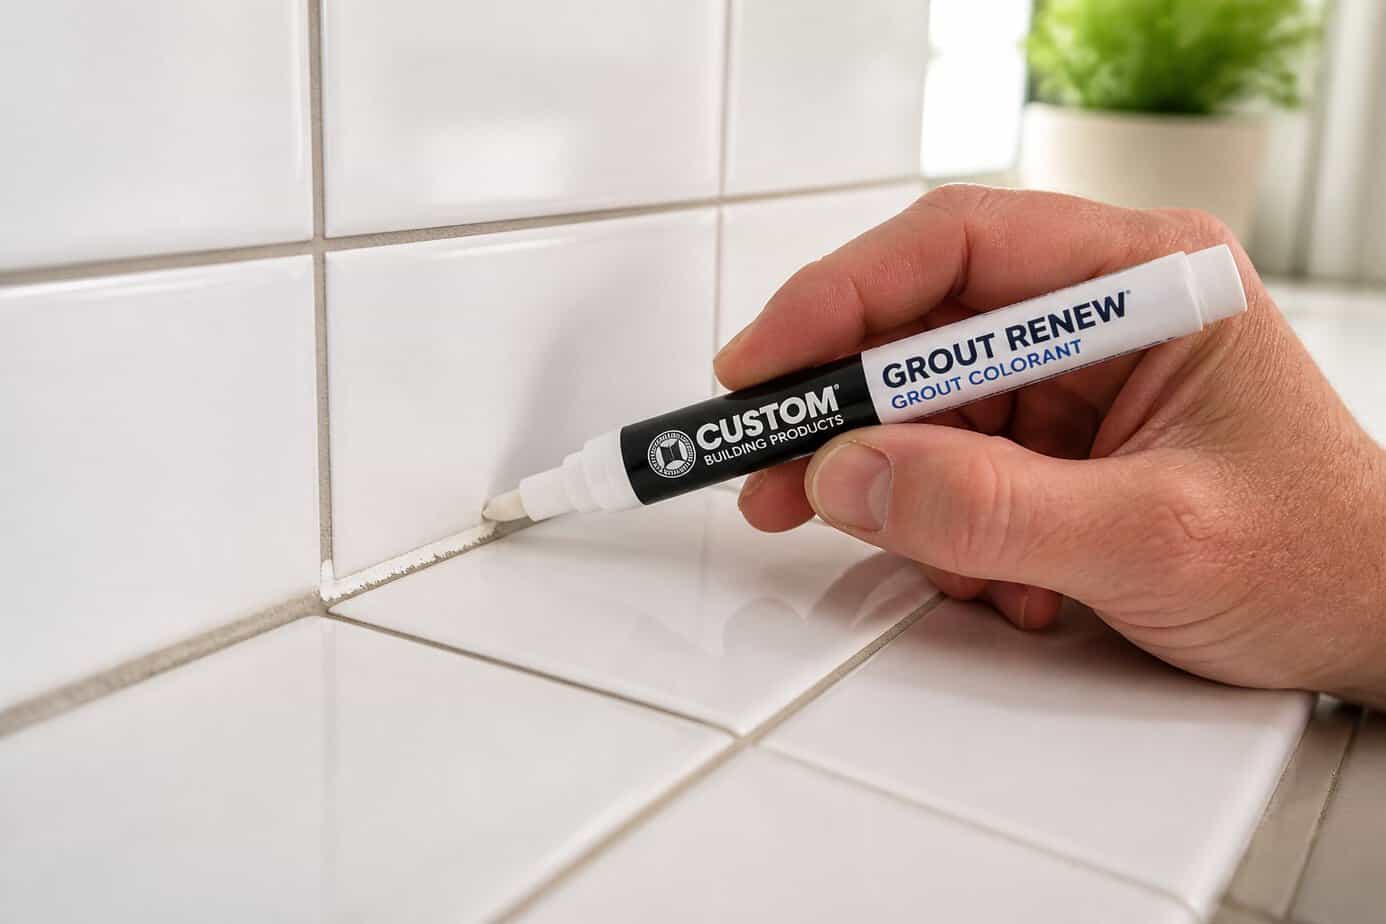
13. Refresh grout with a grout pen (Custom Building Products Grout Colorant)
Would you like to save this?
Dingy grout lines can make your entire bathroom or kitchen look dated. Custom Building Products Polyblend Grout Renew offers an affordable solution under $100 that transforms discolored grout without replacing it.
This waterborne acrylic product works as both a stain and sealer. You apply it directly to existing cement grout lines to change or restore their color. The formula contains fade-resistant pigments and comes in 40 different colors to match your tile.
The application process takes about 90 minutes for most projects. You clean the grout thoroughly, then use the applicator tip to paint the colorant along each grout line.
The product seals grout against future stains while recoloring it. It works with cement, epoxy, urethane, and other grout types, making it versatile for different installations.
14. Update door hardware to Schlage Satin Nickel lever
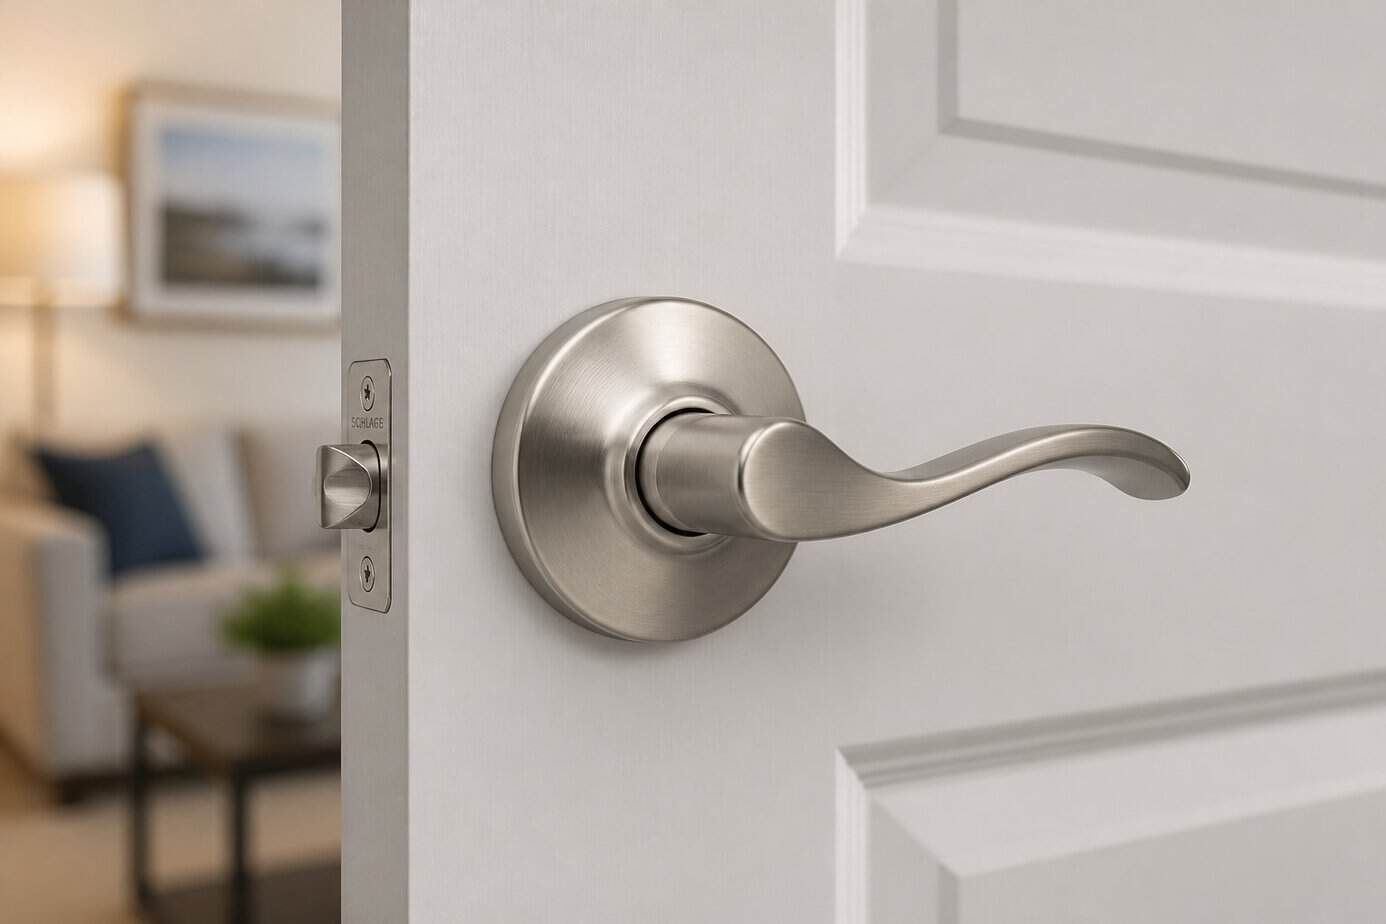
Outdated brass or builder-grade door handles instantly age your home’s interior. Replacing them with Schlage satin nickel levers gives every room a modern, polished appearance.
You can find Schlage satin nickel door levers at most hardware stores and online retailers for $15-$40 per handle. The installation process requires only a screwdriver and takes about 15 minutes per door.
Schlage provides installation instructions with QR codes on their packaging, and you can download guides from their website if needed. The levers come in various styles like the Accent or Sacramento collections, allowing you to match your home’s aesthetic.
Start with high-visibility areas like your entryway and main hallways. Focus on passage function levers for interior doors or keyed entry versions for exterior doors. This simple upgrade transforms the look of multiple rooms while staying well under $100.
15. Install weatherstripping (Frost King V25) on drafty exterior doors
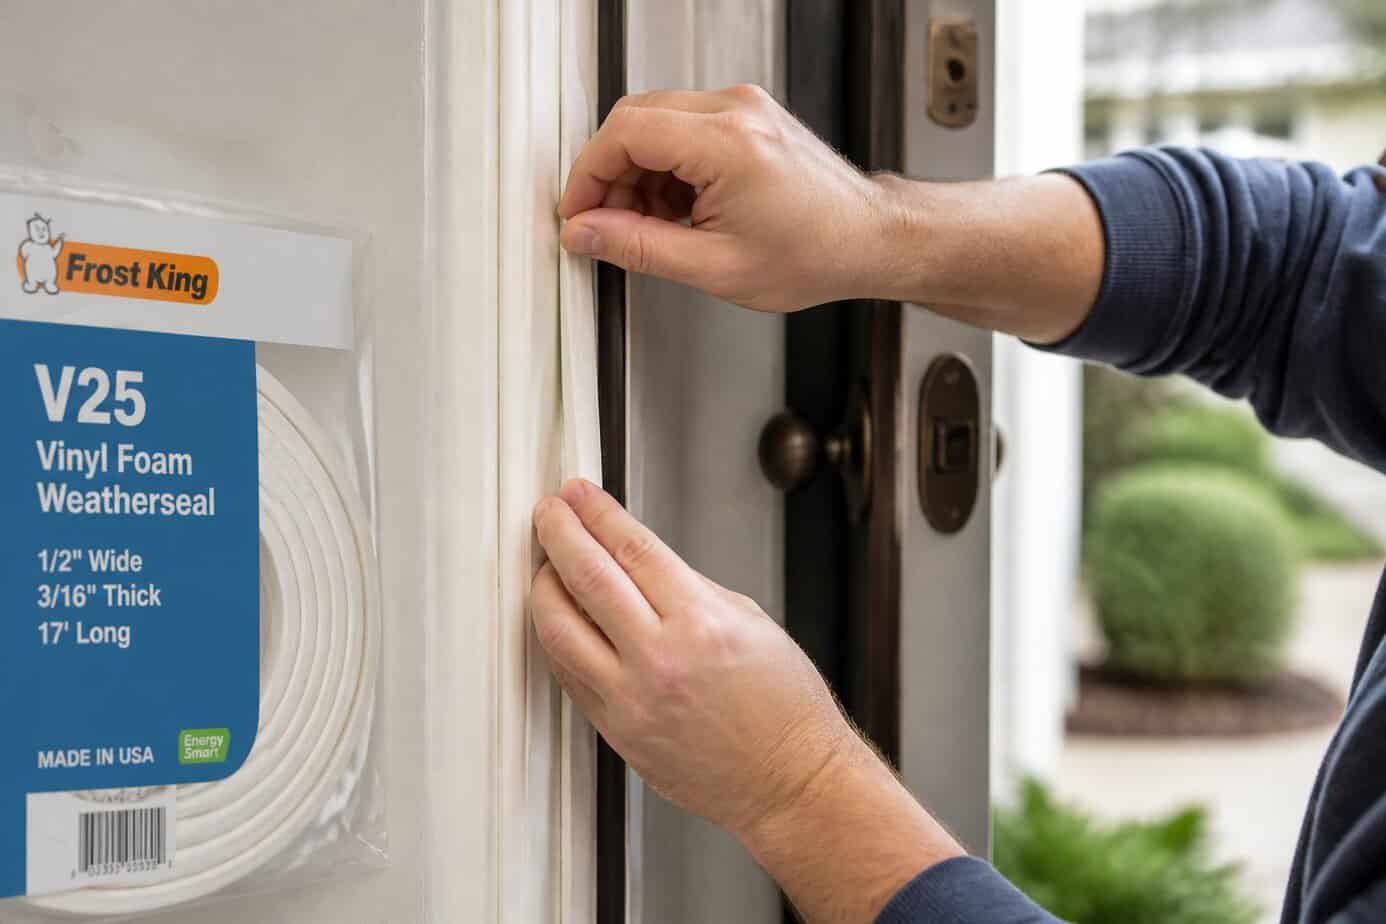
Air leaks around doors can account for up to 20% of your home’s heating and cooling losses. Installing weatherstripping is one of the most cost-effective fixes you can make.
The Frost King V25WA D-Section Rubber Self-Stick Weatherseal Tape offers a simple solution. This self-adhesive tape comes in a 17-foot roll and requires no nails or special tools. You just need to clean the door frame, measure the gaps, and press the tape into place.
Start by checking for drafts using the dollar bill test around all sides of your door. If the bill slides out easily when the door is closed, you have a leak. Clean the surface thoroughly before applying the weatherstripping to ensure proper adhesion.
The entire installation takes less than an hour and costs well under $100.
16. Replace yellowed window screens with Phifer aluminum screens
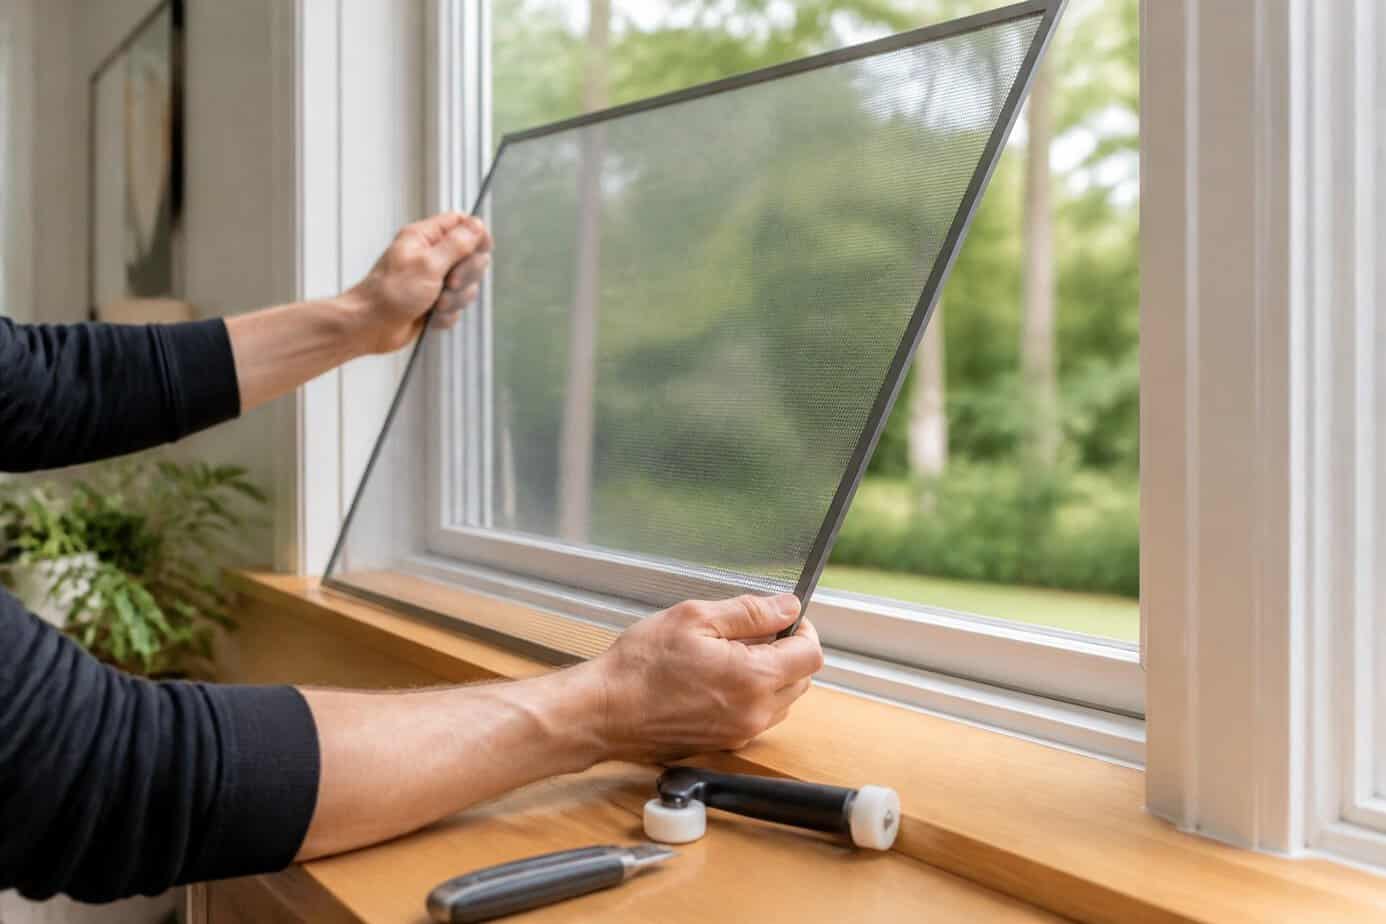
Old window screens develop an unsightly yellow tint from sun exposure and age. You can replace them yourself with Phifer aluminum screens for well under $100.
Phifer aluminum screen mesh comes in rolls at major home improvement stores like Lowe’s and Home Depot. A 36-inch by 100-foot roll costs around $30-40, which is enough for multiple windows. The material features precision weaving and uniform coating for durability.
You’ll need basic tools like a spline roller, utility knife, and replacement spline. The aluminum mesh offers better visibility than yellowed screens while maintaining proper ventilation and insect protection.
The installation process involves removing the old screen, cutting new mesh to size, and securing it with the spline. Phifer provides DIY video tutorials on their website to guide you through each step. The entire project takes just a few hours.
17. Paint dated kitchen cabinets with bonding primer and Benjamin Moore Advance
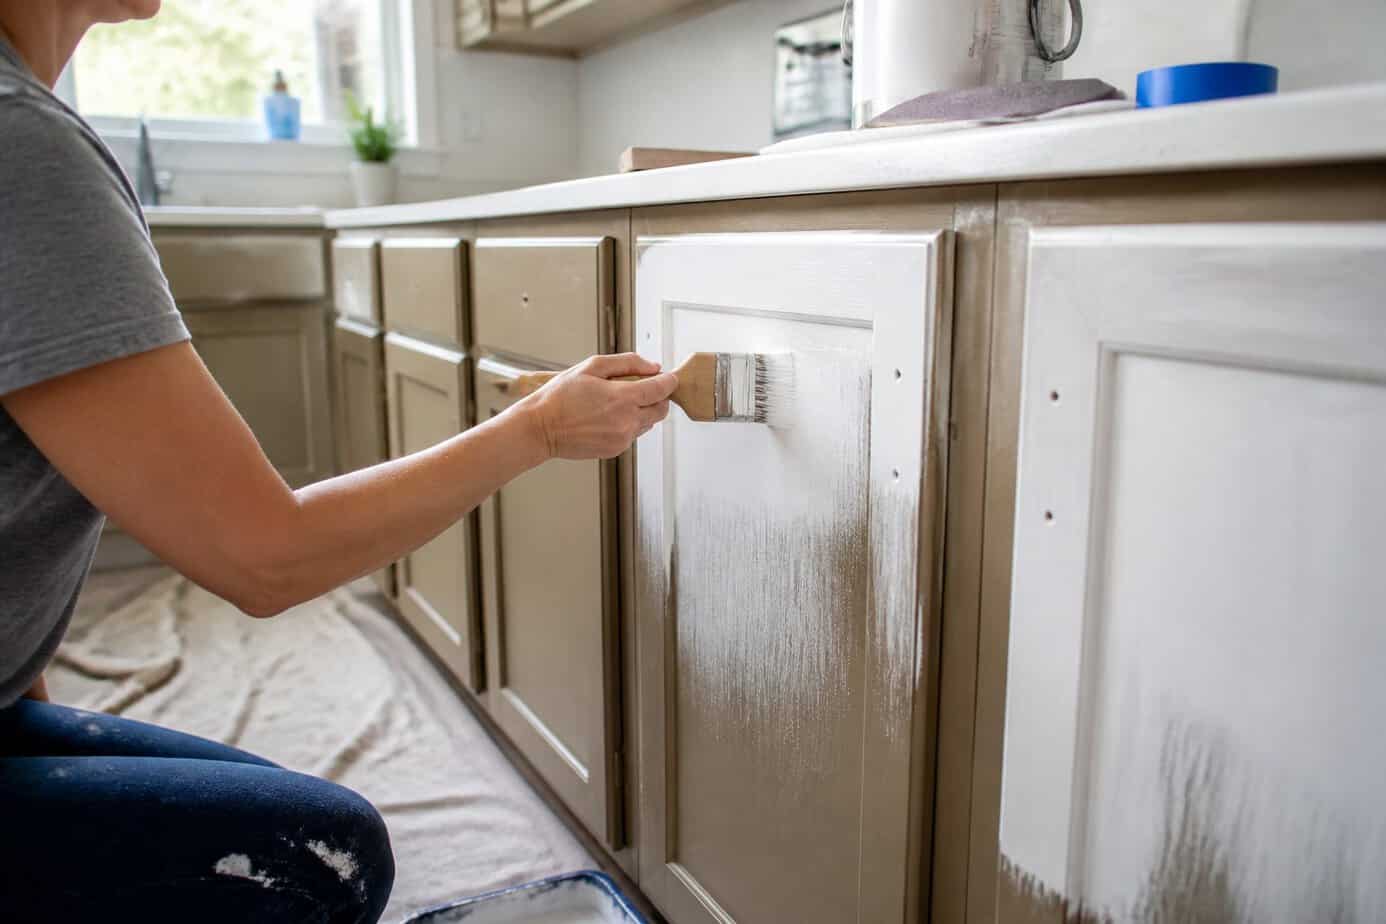
Outdated kitchen cabinets don’t require replacement when quality paint can transform them for $300-800 in materials. Benjamin Moore Advance is a waterborne alkyd paint that combines water-based cleanup with oil-based performance, delivering professional results for DIY projects.
Start by emptying your cabinets completely and degreasing all surfaces. Scuff sand using 100-150 grit sandpaper to create adhesion. Apply a bonding primer like STIX to ensure proper paint adhesion on existing finishes.
After priming, apply two coats of Benjamin Moore Advance in your chosen finish. The paint self-levels and provides smooth application with minimal brush marks. Allow proper curing time between coats.
The process takes 7-10 days from start to finish, with 60% of that time dedicated to preparation work. New hardware completes the refresh, giving your kitchen an updated look without exceeding your budget.
18. Add under-cabinet LED tape lights (Wobane LED kit)
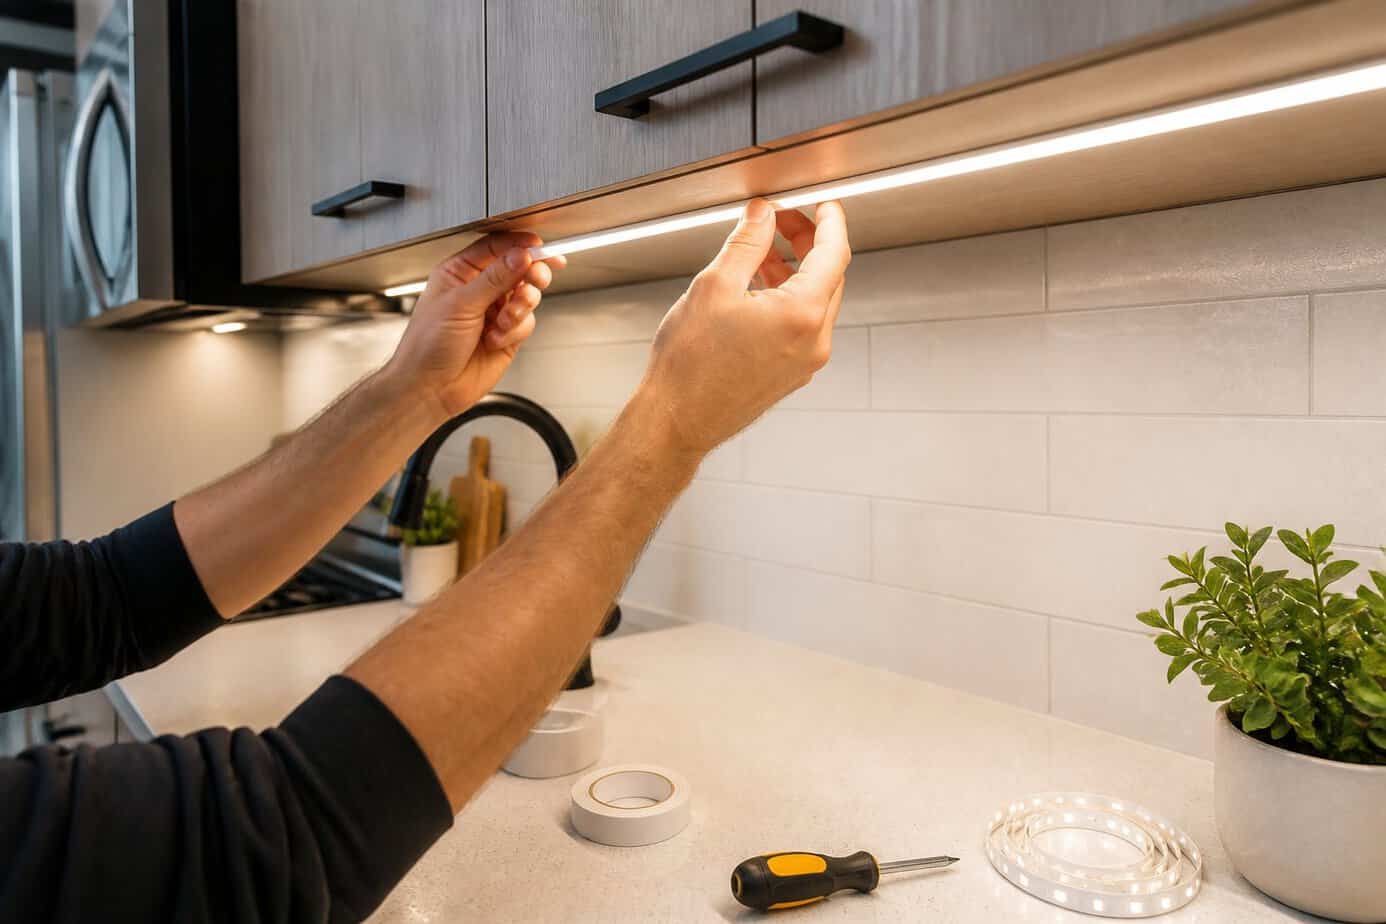
Poor kitchen lighting makes meal prep difficult and leaves your countertops in shadows. Installing under-cabinet LED strips fixes this problem without requiring an electrician.
The Wobane LED lighting kit includes multiple pre-cut light bars, typically ranging from 6 to 8 strips depending on the package. These kits come with all necessary connectors, a dimmer remote, and a plug-in adapter. You can arrange the strips to fit your specific cabinet layout.
Installation takes about 30 minutes. The strips attach with adhesive backing, and you connect them using the included clips. The remote control lets you adjust brightness and set automatic timers.
These kits cost between $20 and $40, well under your $100 budget. They operate on low-voltage DC power, making them safe to install yourself. The LED bulbs last for years and use minimal electricity.
19. Switch out old light fixtures for a modern flush mount (Westinghouse)
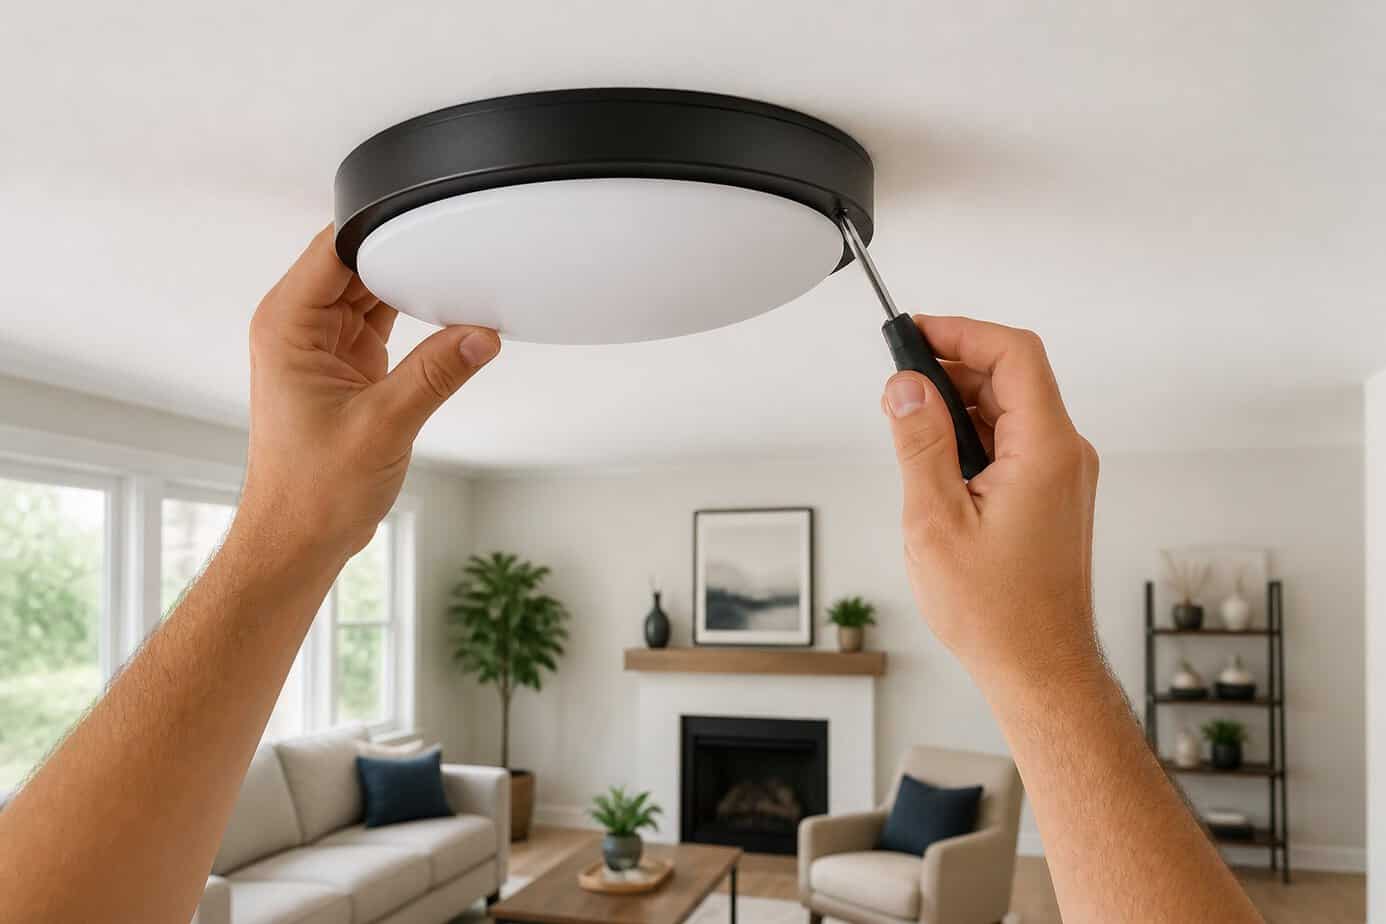
Outdated dome lights and builder-grade fixtures instantly age your home’s interior. You can replace them with modern Westinghouse flush mount fixtures for under $100.
Start by turning off the power at your breaker box. Remove the old fixture by unscrewing the mounting hardware and disconnecting the wires. Most installations use simple wire connections that twist together with wire nuts.
Westinghouse offers affordable LED flush mount options that provide better lighting while using less energy. Connect the fixture wires to your ceiling wires, matching black to black and white to white. Attach the ground wire to the mounting bracket.
Secure the new fixture to the ceiling box and restore power to test. This straightforward upgrade takes about 30 minutes and dramatically updates any room’s appearance without requiring professional help.
20. Install a new toilet seat – Toto SoftClose U.S. Seat
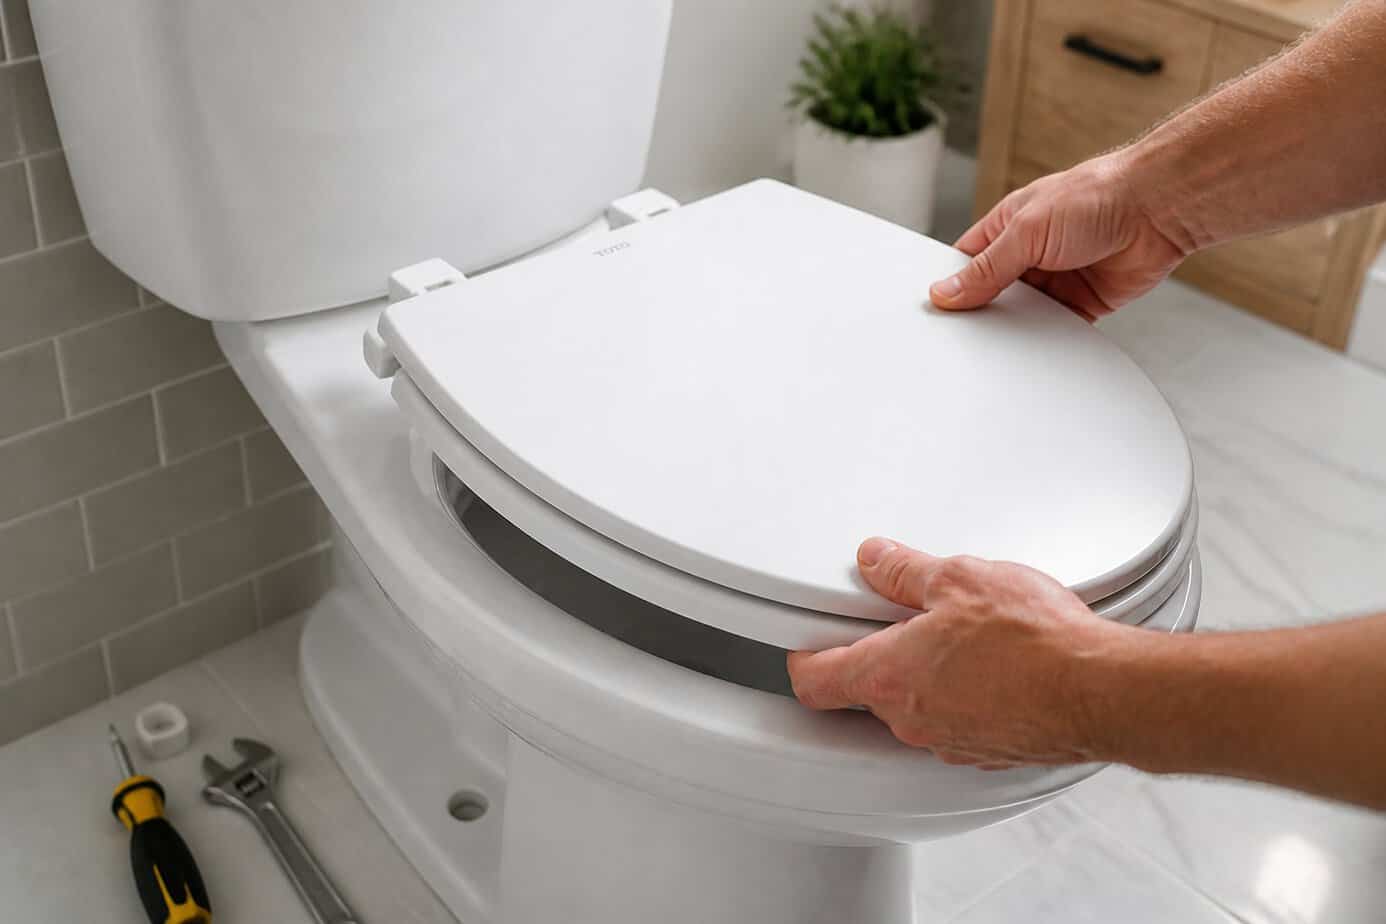
A worn toilet seat cheapens your bathroom’s appearance. The Toto SoftClose seat offers a straightforward upgrade you can complete without professional help.
You won’t need many tools for this project. A flathead screwdriver handles most installations, though some models require no tools at all. Start by removing your old seat, which typically involves loosening bolts at the back of the bowl.
Unbox your new Toto seat and identify the components. Align the seat holes with the hinge points on your toilet bowl. Insert the screws through these holes and tighten them securely.
The soft-close feature prevents slamming, which extends the seat’s lifespan. Toto backs these seats with a one-year warranty against defects in materials and workmanship. Most models retail well under $100, making this an affordable bathroom refresh.
21. Replace old shower curtain rod with a curved tension rod (Zenna Home)
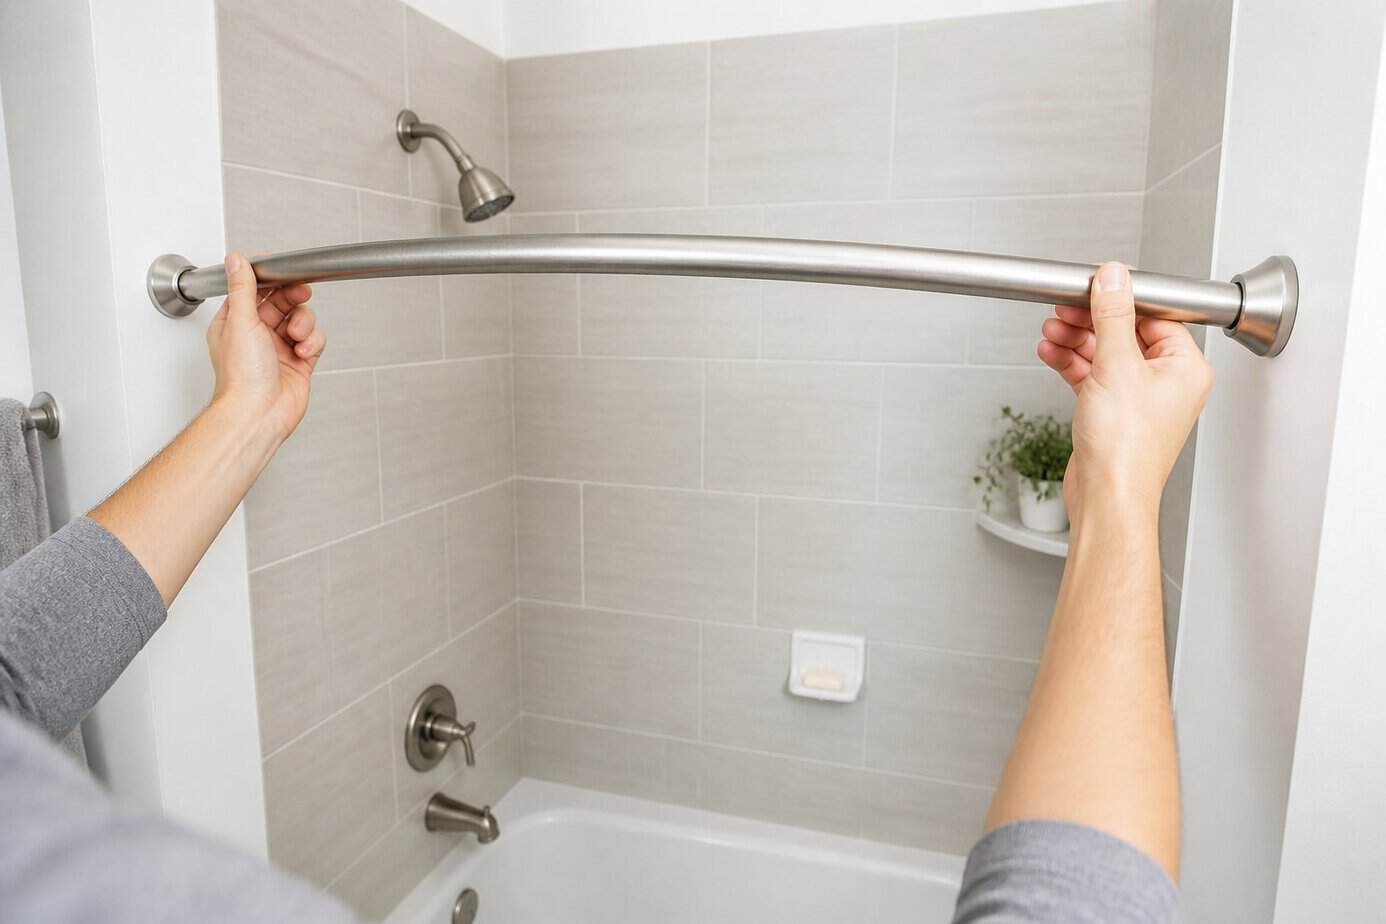
A curved tension rod transforms your shower space without tools or permanent installation. The Zenna Home NeverRust aluminum rod extends from 50 to 72 inches, fitting most standard tubs and showers.
The curved design adds up to 6.5 inches of extra elbow room compared to straight rods. This makes your shower feel more spacious and prevents the curtain from clinging to you during use.
Installation takes minutes. The rod features non-slip pads on each end that grip your walls securely through tension alone. No drilling or hardware is required.
The aluminum construction guarantees the rod will never rust, even in humid bathroom conditions. The 1-inch diameter provides sturdy support for your shower curtain while remaining lightweight.
You can find these rods at major retailers including The Home Depot, Lowe’s, and Amazon for well under $100.
22. Hang peel-and-stick wallpaper accent wall (RoomMates)
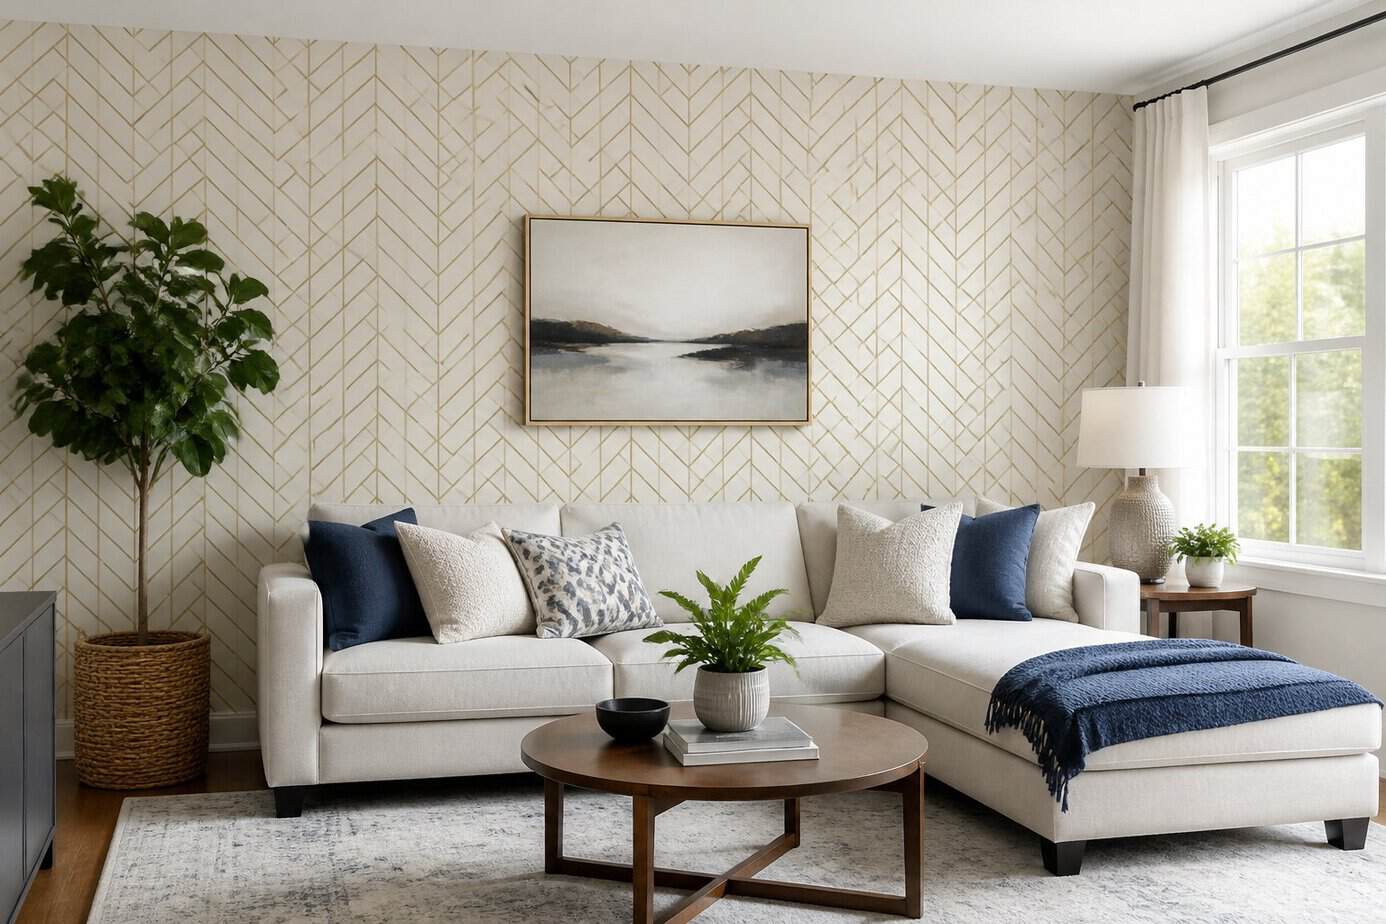
Plain painted walls can make your home feel dated, but RoomMates peel-and-stick wallpaper offers an affordable solution. You can transform an entire accent wall for under $100 without special tools or professional help.
The application process is straightforward. You measure and cut the wallpaper to size, remove the backing, and stick it to any smooth, clean surface. No paste or brushes are required.
RoomMates wallpaper works well for accent walls, furniture updates, and even backsplashes. The product comes in various patterns and colors to match different design preferences.
When you’re ready to redecorate, you can pull the wallpaper off in full sheets. It removes cleanly without leaving sticky residue or damaging your walls, making it ideal for renters and homeowners alike.
23. Install a dimmer switch using Lutron Diva dimmer
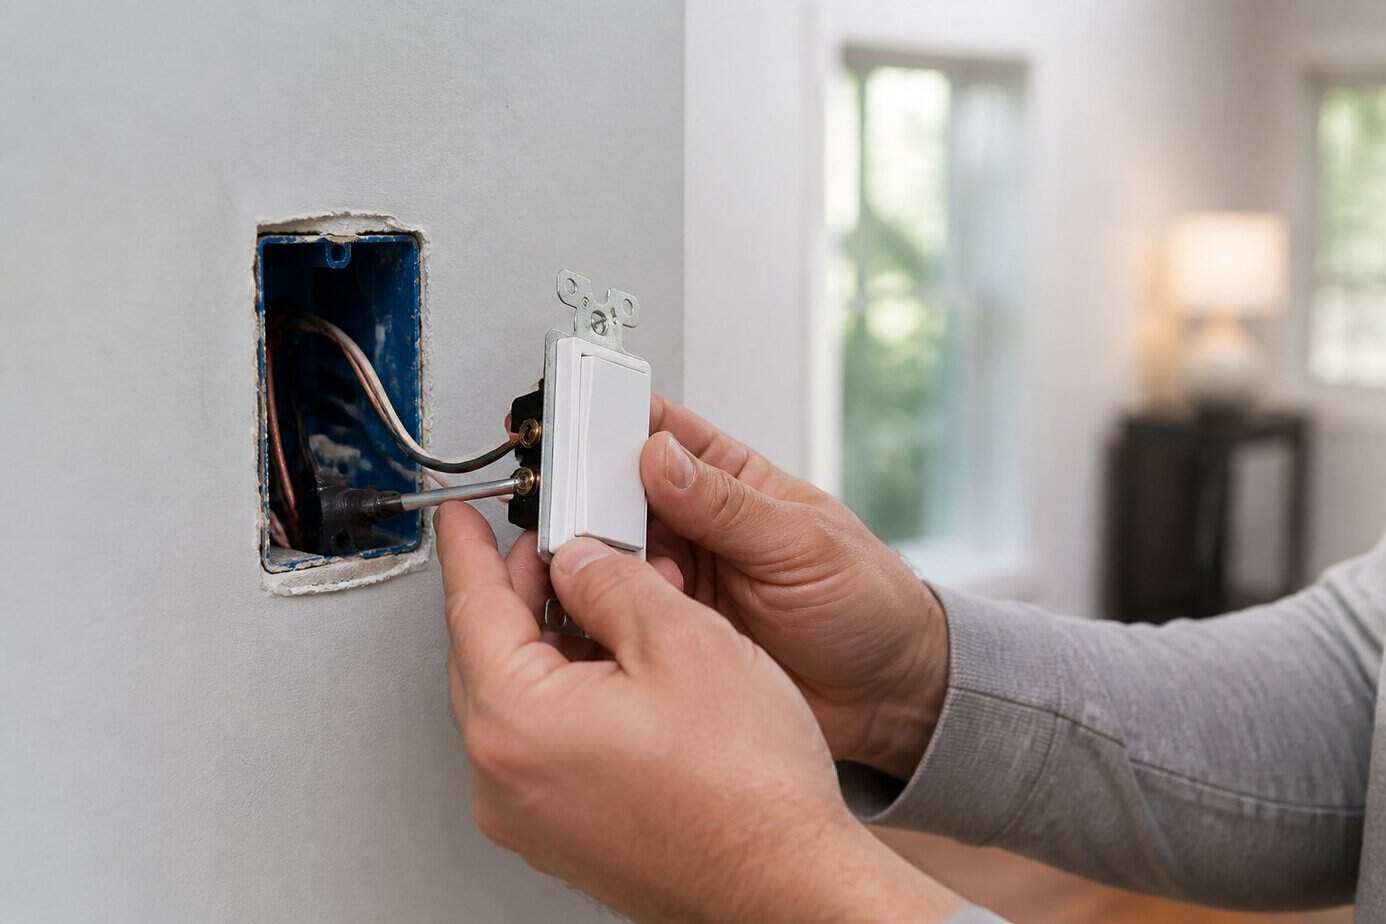
Replacing a standard light switch with a Lutron Diva dimmer takes about 15 minutes and costs under $50. You’ll need a screwdriver, wire stripper, and voltage tester.
Start by turning off the power at your circuit breaker. Remove the existing switch plate and unscrew the old switch from the wall box. Use your voltage tester to confirm the power is off before touching any wires.
The Lutron Diva connects with simple wire-to-wire attachments. Match the black wire from the dimmer to your hot wire, the white to neutral if available, and attach the ground wire to the green screw. Most models work without a neutral wire in older homes.
Screw the dimmer into the wall box, attach the wallplate adapter, and restore power. The Diva features a convenient slider for adjusting brightness levels and a separate on-off button.
24. Swap dated baseboards for flexible composite trim (Fypon replacement moldings)
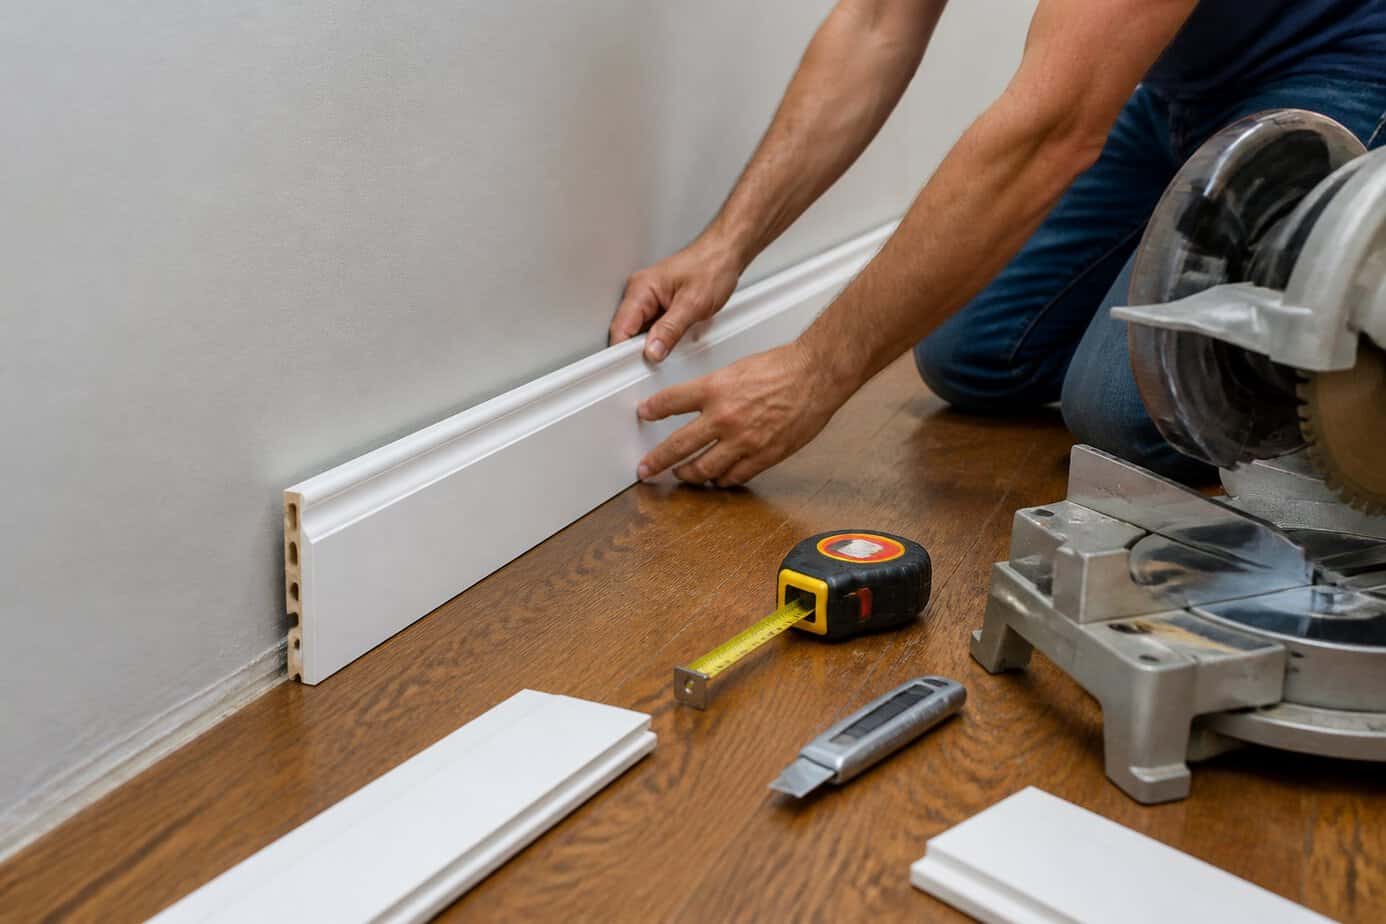
Replacing outdated baseboards doesn’t require demolition or professional help. Fypon polyurethane millwork offers an affordable alternative that installs easily over existing trim in many cases.
These composite moldings cost significantly less than wood while providing a clean, updated appearance. You can find options under $100 for average-sized rooms, making this an accessible upgrade.
The lightweight material cuts with standard tools and attaches using adhesive and finishing nails. Fypon products resist moisture and warping better than traditional wood baseboards, reducing maintenance over time.
You’ll save on labor costs since installation takes minimal experience. The polyurethane material arrives pre-primed, so you only need to apply your finish coat after installation. This simple swap modernizes your space without the expense or hassle of removing old baseboards first.
25. Replace cracked bathroom mirror with a framed mirror kit (Home Decorators Collection)
Would you like to save this?
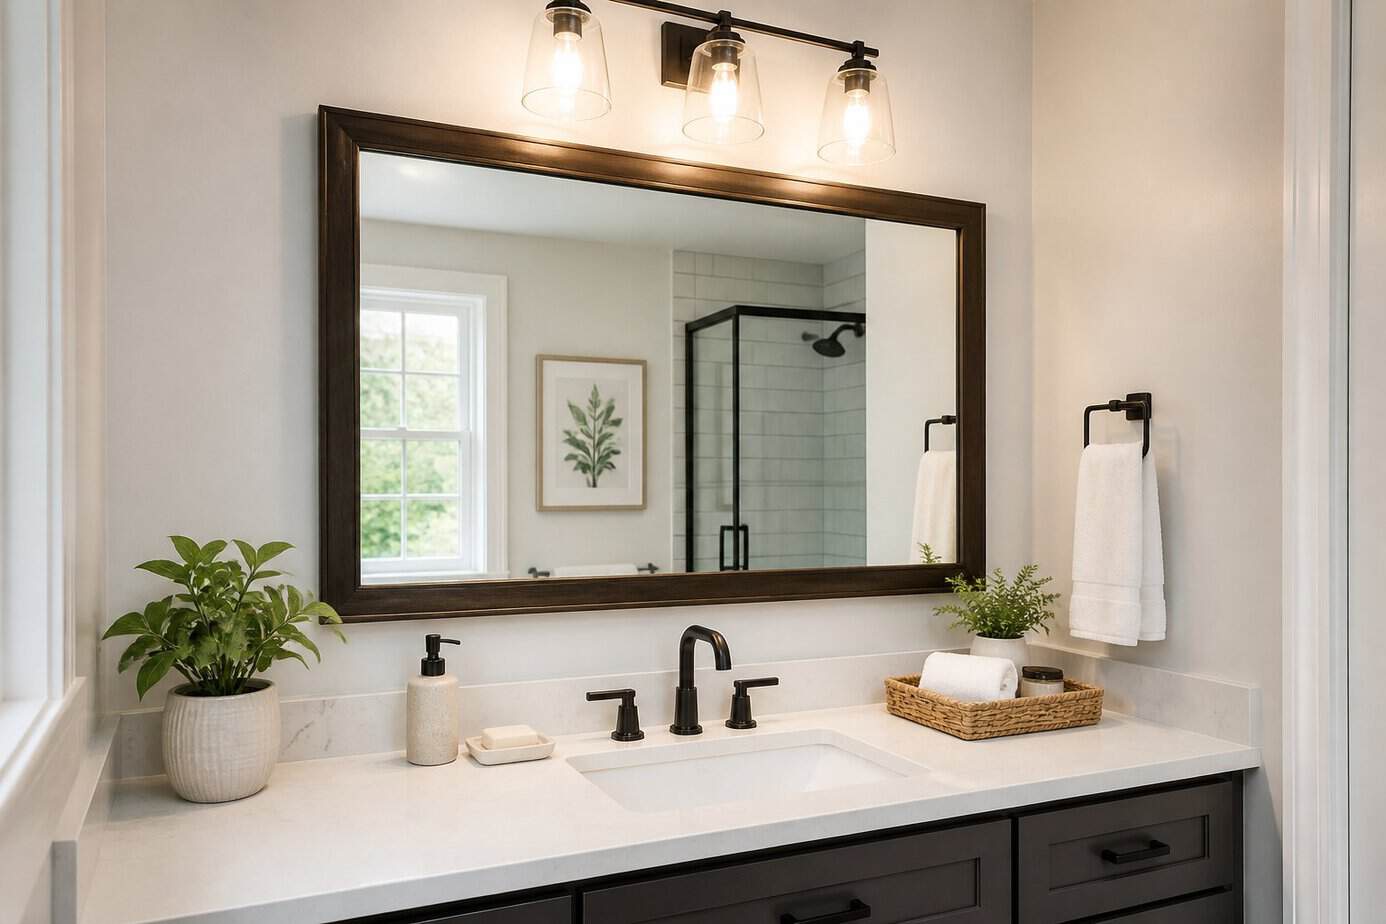
A cracked bathroom mirror creates an outdated, neglected appearance in your space. You can replace it yourself without hiring a contractor.
Home Decorators Collection offers framed mirror kits and pre-framed mirrors that provide a polished look. These options typically cost under $100 and come in various finishes including black, gold, and silver. You’ll find rectangular, arched, and other styles to match your bathroom’s design.
Installation requires basic tools you likely already own. Most models mount directly to the wall with screws or hanging hardware. The process takes less than an hour for most homeowners.
Some Home Decorators Collection mirrors include fog-free technology that eliminates the need for constant wiping after showers. This practical feature adds functionality while updating your bathroom’s appearance.
26. Install a modern house number plaque (Adams & Co.)
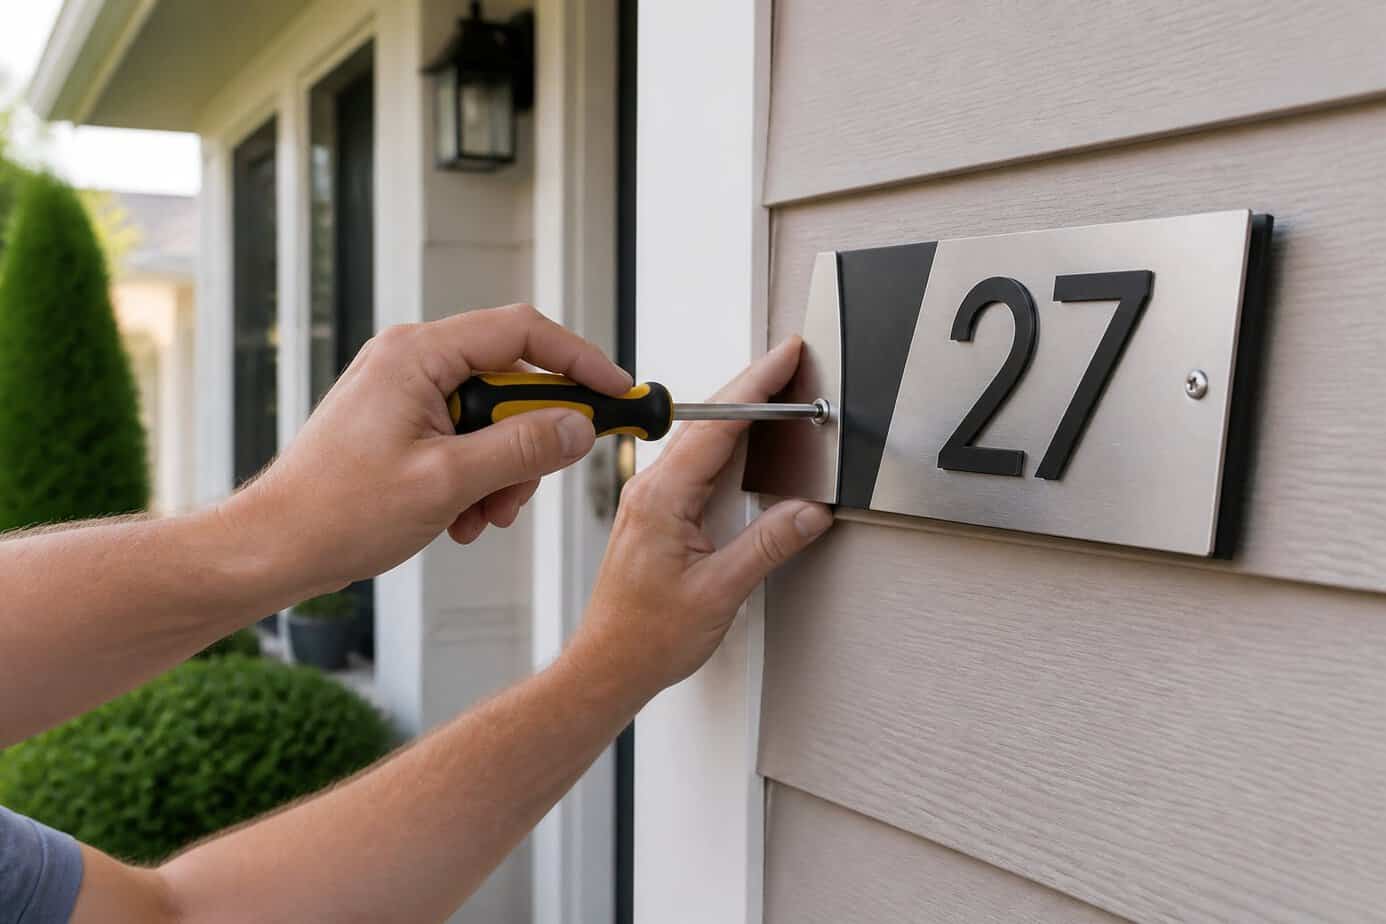
Outdated house numbers with faded brass or decorative scrollwork can make your entire home look dated. Replacing them with a modern plaque instantly updates your curb appeal.
You can find modern house number plaques in various styles, from sleek horizontal designs to vertical orientations. Choose materials like brushed aluminum, matte black, or white finishes that complement your home’s exterior. Most plaques come in sizes ranging from small 6-inch numbers to larger 12-inch options.
Installation typically requires basic tools you already own. You’ll need a drill, screws, and a level to ensure proper alignment. Most modern plaques mount directly to your siding, brick, or entryway wall with pre-drilled holes.
Measure your installation area before purchasing to determine the best size and orientation. This simple upgrade costs well under $100 and takes less than an hour to complete.
27. Add a programmable garage door keypad (LiftMaster universal keypad)
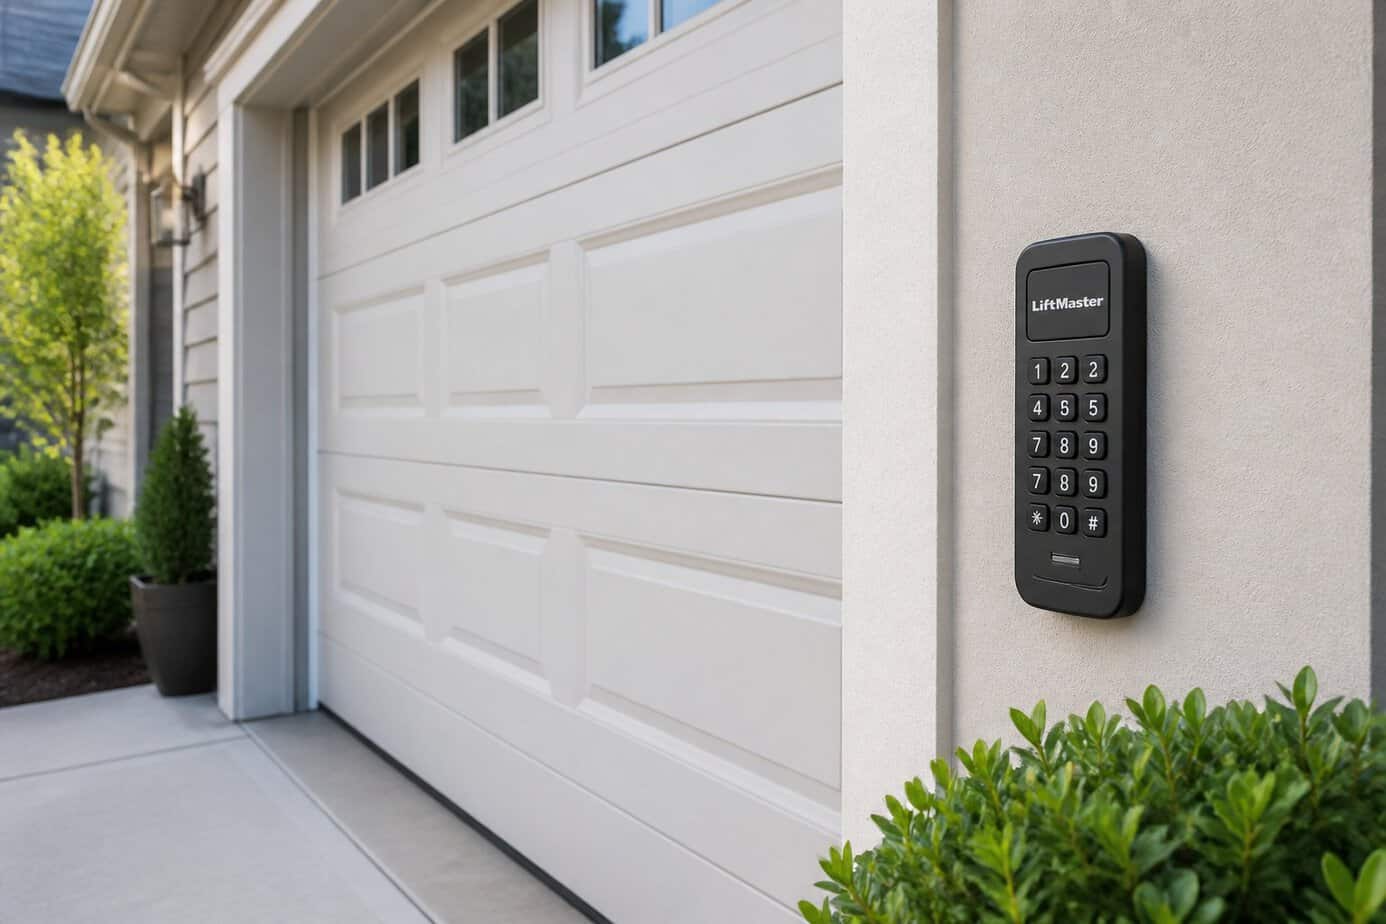
A programmable garage door keypad eliminates the need to carry keys or remotes. You can install a LiftMaster universal keypad for under $100, and it works with most major garage door opener brands manufactured from 1993 to present.
These keypads are compatible with LiftMaster, Chamberlain, Craftsman, Genie, and other brands. They support Security+ 2.0, Security+ 315MHz, and Security+ 390MHz systems, covering openers with yellow, purple, red, or orange learn buttons.
Installation requires only basic tools and takes about 15 minutes. You’ll mount the keypad to your garage door frame using the included screws, then program it by entering a PIN code and syncing it with your opener’s learn button.
This upgrade provides convenient keyless entry for family members and guests while maintaining security for your home.
28. Replace rusty mailbox with a steel locking mailbox (Step2 or Architectural Mailboxes)
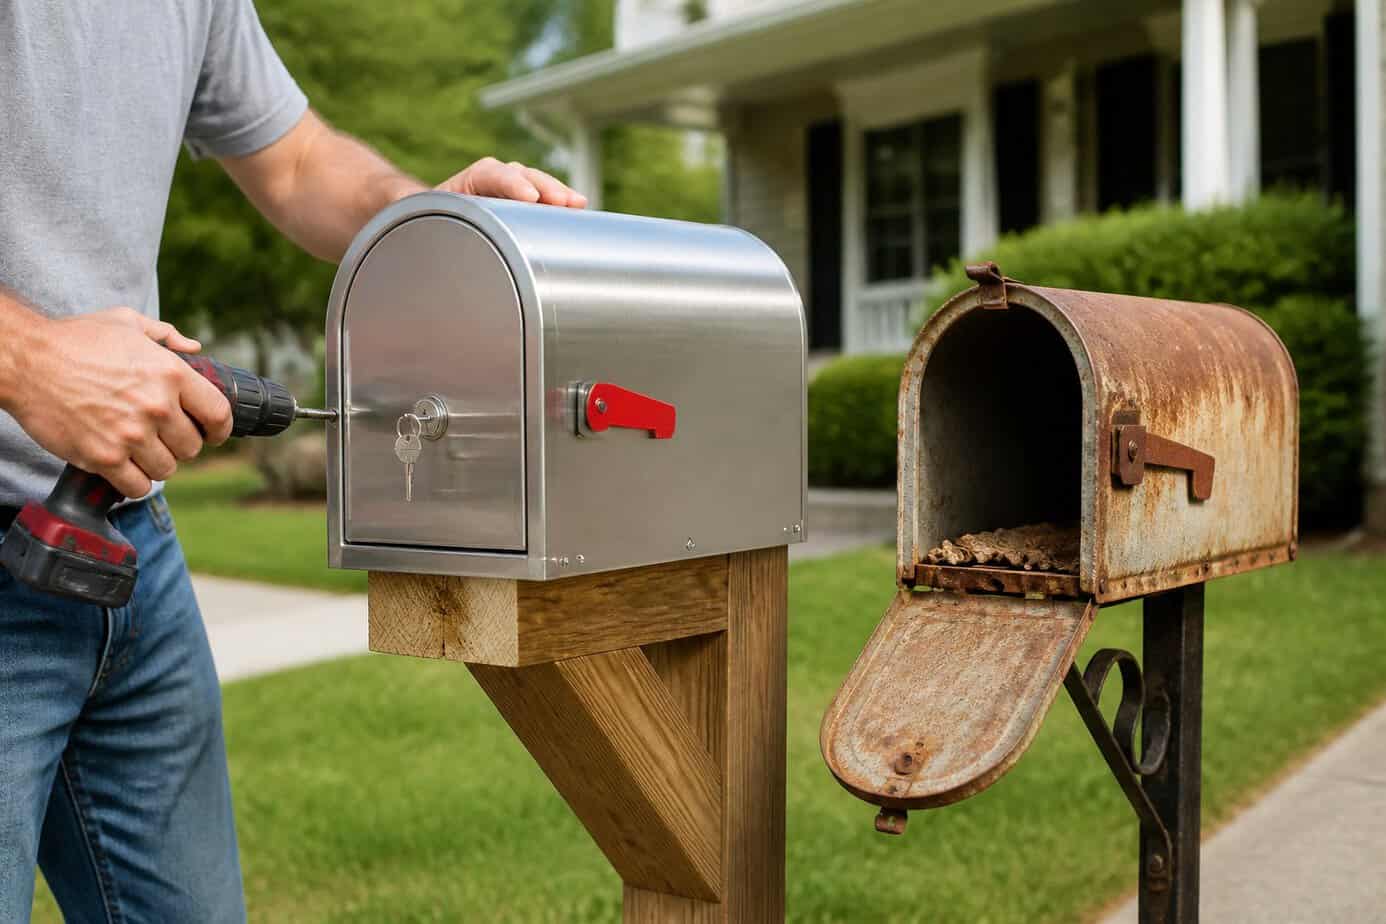
A rusty mailbox diminishes your home’s curb appeal and compromises mail security. You can replace it yourself with a steel locking mailbox for enhanced protection and appearance.
Step2 offers galvanized steel mailboxes with powder coating and stainless steel hinges. Their security features include anti-pry bars, commercial-grade locks, and baffle door designs that accommodate small packages. Architectural Mailboxes provides similar durable options at competitive prices.
Installation requires basic tools and takes about an hour. You’ll need to follow USPS guidelines for proper height and placement to ensure mail carriers can access your mailbox. Most models come with mounting hardware included.
These locking mailboxes prevent mail theft while handling everything from letters to small packages. The galvanized steel construction resists rust and weather damage for years of maintenance-free use.
29. Install a simple drip irrigation timer for landscaping (Orbit 62061)
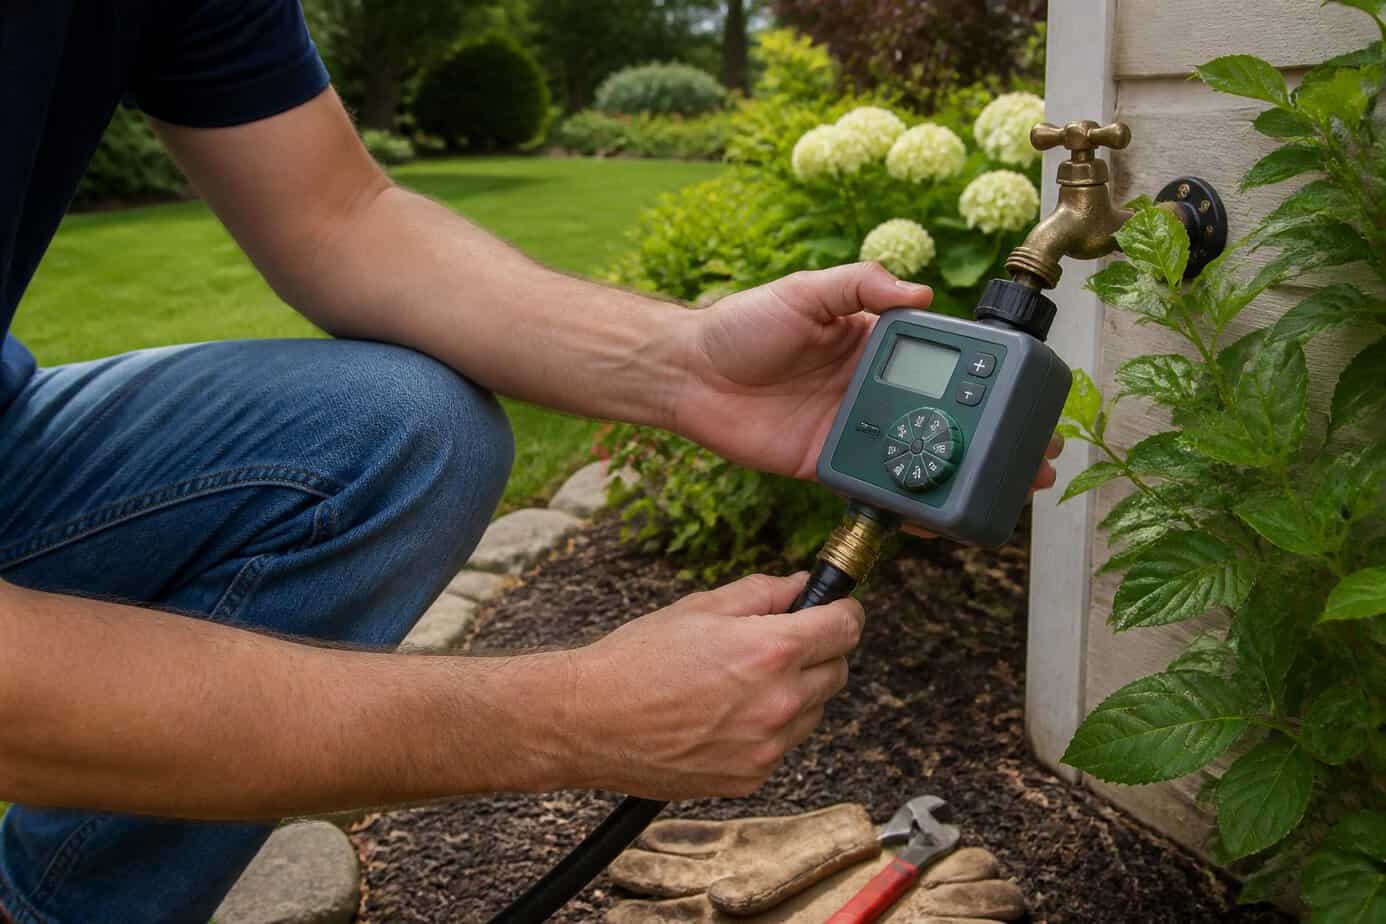
Manual watering wastes time and water. The Orbit 62061 digital hose timer solves this problem for under $100.
This compact device connects between your outdoor faucet and garden hose. You program a watering schedule, and the timer automatically opens and closes water flow. No more forgetting to turn off sprinklers or missing watering days.
Installation requires no tools or special skills. You simply attach the timer to your faucet, then connect your hose to the timer’s outlet. The large display and dial make programming straightforward.
You can customize watering duration and frequency to match your landscape’s needs. The timer includes a rain delay feature to prevent unnecessary watering. A manual watering option gives you control when needed.
Remember to remove the timer before freezing temperatures arrive to prevent damage.
Smart Strategies for Maximizing Your Budget
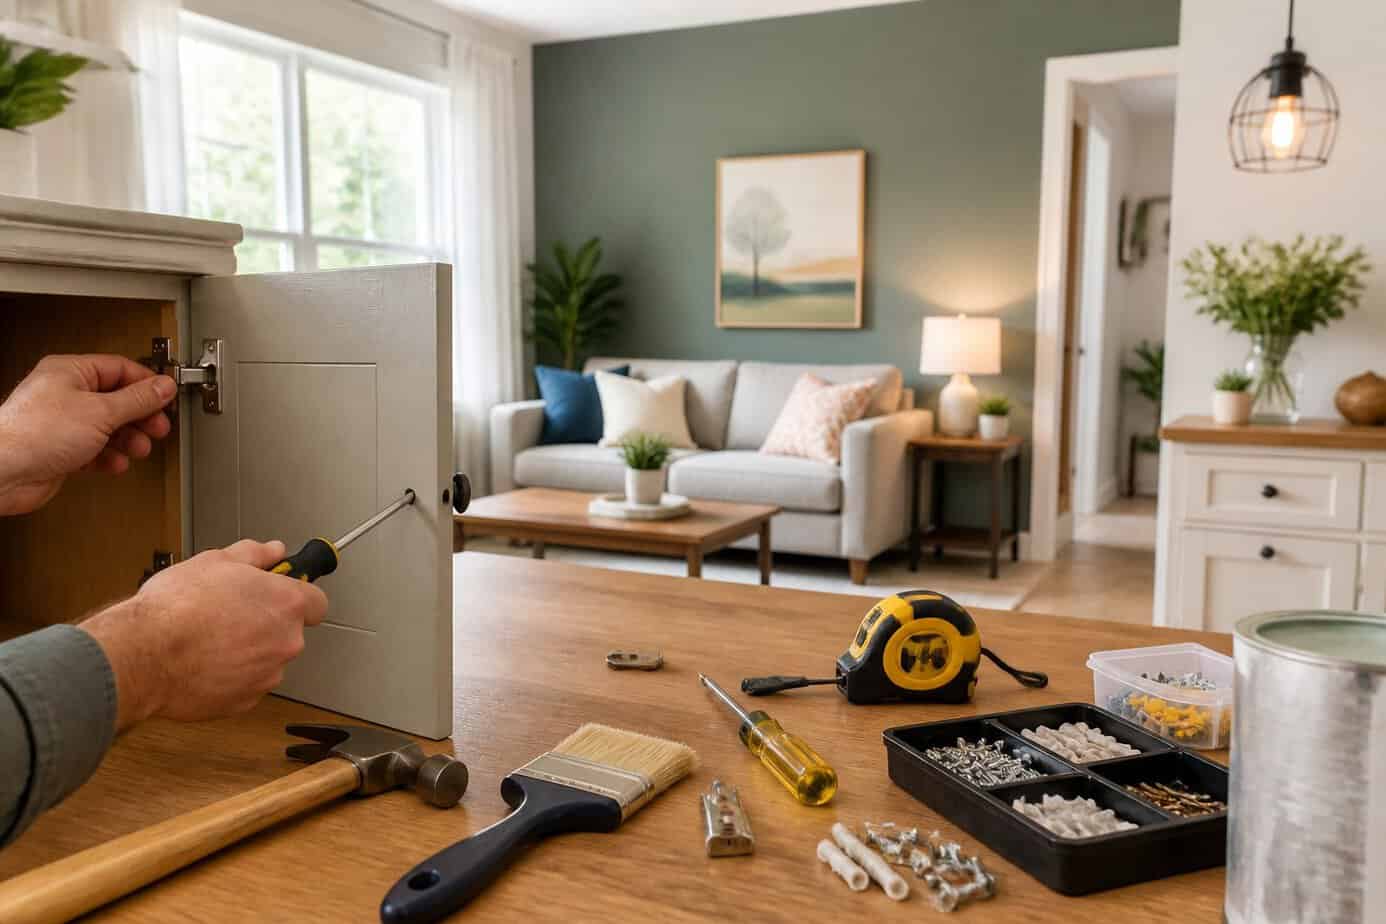
Budget home improvements require careful planning around materials, tools, and project selection to stretch every dollar without sacrificing quality. These three areas determine whether your upgrades deliver professional results or become costly mistakes.
Choosing Reliable Materials
Your material choices directly impact both project longevity and final costs. Focus on mid-grade options that balance affordability with durability rather than choosing the cheapest products available.
For paint projects, select brands like Behr or Valspar that offer good coverage and washability without premium pricing. These typically require fewer coats than budget alternatives, saving money on paint and supplies. Hardware stores often discount paint with minor color mixing errors by 50-70%, providing identical quality at fraction of the cost.
Purchase materials during seasonal sales, particularly during spring and fall when retailers clear inventory. Stock up on items like caulk, sandpaper, and brushes when prices drop. Compare per-unit costs rather than package prices to identify genuine value.
Consider reclaimed materials for specific projects. Salvage yards and architectural reuse centers sell vintage hardware, light fixtures, and trim at 30-60% below retail. These pieces add character while reducing expenses. Inspect all secondhand materials carefully for damage or wear that could compromise your project.
Sourcing Affordable Tools
Tool costs can quickly consume your budget, but strategic acquisition keeps expenses manageable. Borrow specialized tools from friends, family, or local tool libraries for one-time projects instead of purchasing equipment you’ll rarely use.
Essential tools to own:
- Quality paintbrushes and rollers
- Screwdriver set
- Hammer
- Tape measure
- Level
- Utility knife
Buy these basics in durable versions since you’ll use them repeatedly. Harbor Freight and similar discount retailers offer acceptable quality for occasional-use tools like sanders or tile cutters.
Rent expensive power tools from home improvement stores by the hour or day. A tile saw rental costs $40-60 daily versus $200-500 to purchase. Check if stores offer multi-day discounts for extended projects.
Purchase used tools through online marketplaces, estate sales, or pawn shops. Test power tools before buying to confirm they operate properly. Avoid tools with frayed cords, excessive rust, or missing safety guards.
Prioritizing Projects for Immediate Impact
Your limited budget achieves more when directed toward visible, high-traffic areas. Entry spaces, living rooms, and kitchens deliver the strongest visual improvements per dollar spent.
Start with projects affecting multiple rooms simultaneously. Fresh paint throughout your home costs $75-100 in materials but transforms your entire space. Updating all door and cabinet hardware for under $100 creates cohesive flow between rooms.
Address obvious dated features first, particularly those that immediately catch attention. Brass light fixtures, almond-colored switch plates, and worn cabinet knobs signal neglect regardless of other improvements. Replace these elements before tackling less noticeable updates.
High-impact projects under $100:
- Painting accent walls or entire rooms
- Replacing outdated light fixtures
- Installing modern cabinet hardware
- Updating faucet fixtures
- Removing popcorn ceiling sections
- Adding peel-and-stick backsplash
Avoid projects requiring follow-up expenses. Installing new flooring samples might look appealing but creates mismatched transitions demanding additional purchases. Complete one project fully before starting another to prevent half-finished spaces that waste your initial investment.
Essential Safety Tips for Home DIY Projects
Before tackling any home improvement project, you need proper protective equipment and a clear understanding of tool safety to prevent injuries. Knowing your limitations and when to call a professional can save you from costly mistakes or dangerous situations.
Protective Gear Recommendations
Safety glasses or goggles protect your eyes from dust, debris, and chemical splashes during demolition, drilling, or painting work. You should wear them for any project that involves power tools, sawing, or sanding.
Work gloves suited to your specific task prevent cuts, splinters, and blisters. Choose leather gloves for rough materials, rubber gloves for chemical handling, and cut-resistant gloves for working with sharp objects or glass.
A dust mask or respirator is necessary when sanding, working with insulation, or handling materials that produce fine particles. N95 masks work for most dust situations, while projects involving paint strippers or chemical fumes require respirators with appropriate filters.
Ear protection becomes essential when using loud power tools like circular saws, drills, or sanders for extended periods. Steel-toed boots protect your feet from falling objects and provide better traction on ladders.
Safe Use of Common Tools
Always unplug power tools before changing blades, bits, or attachments. Keep your work area well-lit and free from clutter to prevent tripping hazards and improve visibility for precise cuts.
Secure your workpiece with clamps or a vice rather than holding it with your hands. This prevents slipping and keeps your hands at a safe distance from blades and drill bits.
Maintain a stable stance with both feet planted firmly on the ground when operating power tools. Never reach beyond your natural range or lean too far in any direction, as this compromises your balance and control.
Check power cords for damage before each use and replace frayed or cracked cords immediately. Use ground fault circuit interrupter (GFCI) outlets when working with electrical tools, especially in damp areas like bathrooms or basements.
Identifying When to Consult a Professional
Electrical work beyond simple switch or outlet replacements requires a licensed electrician. Any project involving your main electrical panel, rewiring circuits, or installing new circuits can cause fires or electrocution if done incorrectly.
Structural modifications like removing walls, cutting joists, or altering load-bearing elements need professional assessment. What appears to be a simple wall might be supporting your entire second floor.
Gas line work of any kind should always be left to licensed professionals due to explosion and carbon monoxide risks. Plumbing projects that involve main water lines, sewer lines, or require permits also typically exceed DIY scope.
Roof work beyond minor shingle replacement poses fall risks and requires proper safety equipment and experience. Projects involving asbestos, lead paint removal, or mold remediation need professionals with proper containment equipment and disposal protocols.